This is totally normal and sometimes unavoidable — it’s rare that a wall is completely straight. This one was particularly bad, so before I added more trim to this wall, I needed to fix those spots.
If you hit the stud, your trim should tighten up against the wall nicely. These screws are great because you don’t have to pre-drill into the wood — they are very skinny but strong!
I normally don’t use screws to attach trim…but in this instance it’s needed. Brad nails won’t pull it tight enough.
You want all of the trim as uniform as possible, because as you add more trim to your project, you’ll have spots where some of it will stick out or not be flush against each other.
Next up, I needed to figure out the spacing for my paneled molding. To do this, I take the measurement of the full length of the wall, then figure out how many “boxes” I want.
I made some simple graphics to give you a visual. I started out with four boxes, but ended up liking the look of five panels:
I always lean toward odd numbers, it’s just more visually appealing to me. You can do whatever you prefer!
Adding too many will feel busy, and too few will feel unfinished. Find a good in between!
When I knew how many boxes I wanted, I took the measurement of the wall and subtracted the width of all of the trim I was using. So for five panels, I subtracted the width of six molding pieces — the two sides and then four in between.
When you have that number, divide it by the number of boxes you want to figure out how wide each panel will be.
I hope that makes sense! I always get a lot of questions about figuring out the spacing.
Note: I start at each side of the wall, then flip back and forth from side to side as I work. That way if I mess up my measurements at all, only the middle panel is slightly off and it looks intentional.
Step Two: Install your molding
To create my “paneled” look. I first took the 1×2 cut to the height I needed, and marked where I wanted to install it on the wall:
Make sure it’s level before nailing in.
The brad nails should be sufficient to attach your trim, but if you’re having trouble and/or can’t use a stud, try angling your nail gun back and forth to give it some more grip:
I NEVER use glue to attach my molding! It’s rarely needed and if you ever decide to take it down, you’ll end up with a ton of drywall damage.
Next up, I installed the coved molding around the edges of each “square” I created. This is going to create that paneled look.
Be sure to hold your trim tight against the adjustable base so you get a clean cut.
I nailed this decorative trim all the way around, so it beefed up the look of all of the vertical trim, plus the chair rail and baseboards.
Step Three: The finishing touches
The busy work really starts after all of the trim is installed. It’s time to fill all the holes:
When your wood filler is dry, you’ll want to give it a super light sanding and then wipe away any dust.
These little detail sanders are awesome and come with seven different sandpaper grits:
They are so easy to hold (and if you hate touching the texture of sandpaper, you’ll love these).
After the sanding was done, I filled any gaps with caulk. I always try to use a dark caulk with dark paint:
It’s a bit easier to cover when painting.
Caulk and nail filler will take a project from looking messy to more professional and complete!
I gave everything a couple more coats of paint and then his paneled wall was complete!:
I also covered the light switch cover with some scrap wallpaper:
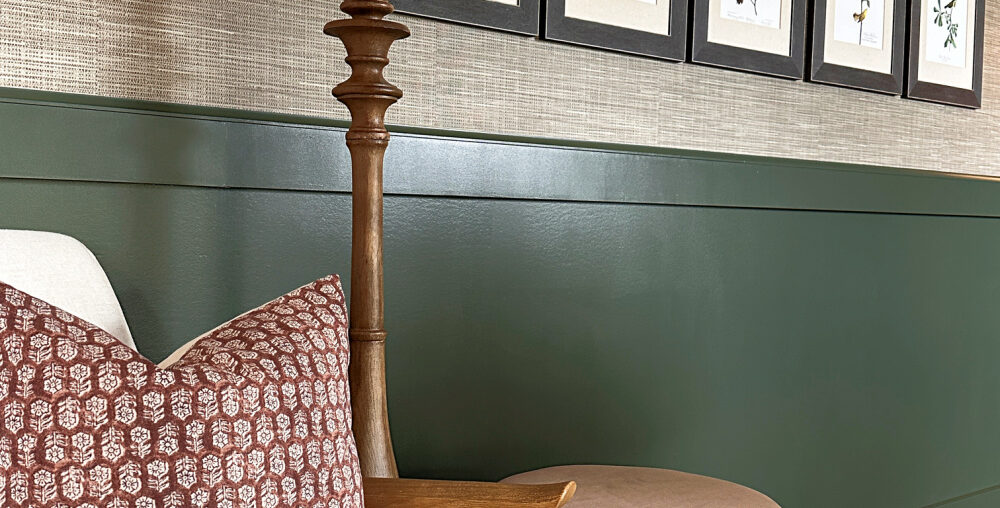
I LOVE this dark green paint color with the neutral grasscloth wallpaper. It’s so warm and moody…very much the dark academia look that’s popular right now (that I’ve loved for years):
One wall down! 😂 Thankfully this is the majority, since the rest is mostly windows and a large doorway.
I really want to get this room finished up before the holidays. It’s pretty much done except for finishing up the trim:
I’ve done so many molding DIY projects over the years, but none quite like this!
If you have super textured walls, you’ll probably want to cover the area with a thin luan before starting the trim portion of this project.
If you have any questions about this DIY, please let me know. 🙂


