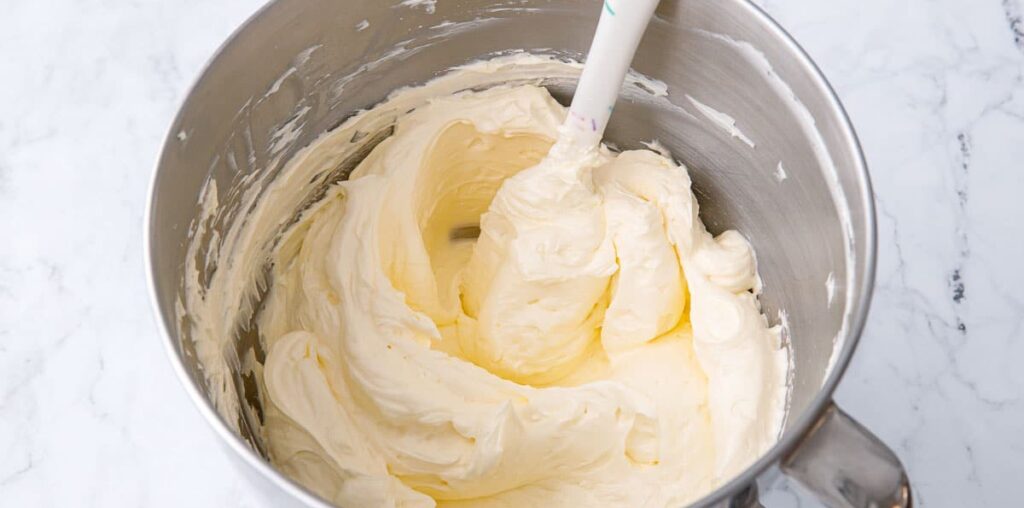
Creamy, fluffy, and silky smooth, Swiss meringue buttercream is perhaps the queen of all buttercream frostings. While it takes a little bit more time than your standard American buttercream, the result is rich and buttery frosting that is not cloyingly sweet.
Swiss meringue buttercream is made by cooking egg whites with sugar and then beating it into a fluffy, glossy meringue before adding butter (that’s right, you only need 3 ingredients to make it!) From there you can flavor it with simple vanilla, lemon curd, or any number of other fun flavor possibilities.

This recipe makes about 4 cups of buttercream, enough to frost and fill a 6-inch, three layer cake (like this gorgeous Triple Lemon Layer Cake). Double the recipe for an 8-inch layer cake, or triple for a multi-tiered cake (google ‘buttercream calculator’ and there are a ton of free tools to help you determine exactly how much buttercream you’ll need).
Here’s How to Make It:
The first step to make Swiss meringue buttercream is to make the Swiss meringue (obviously).
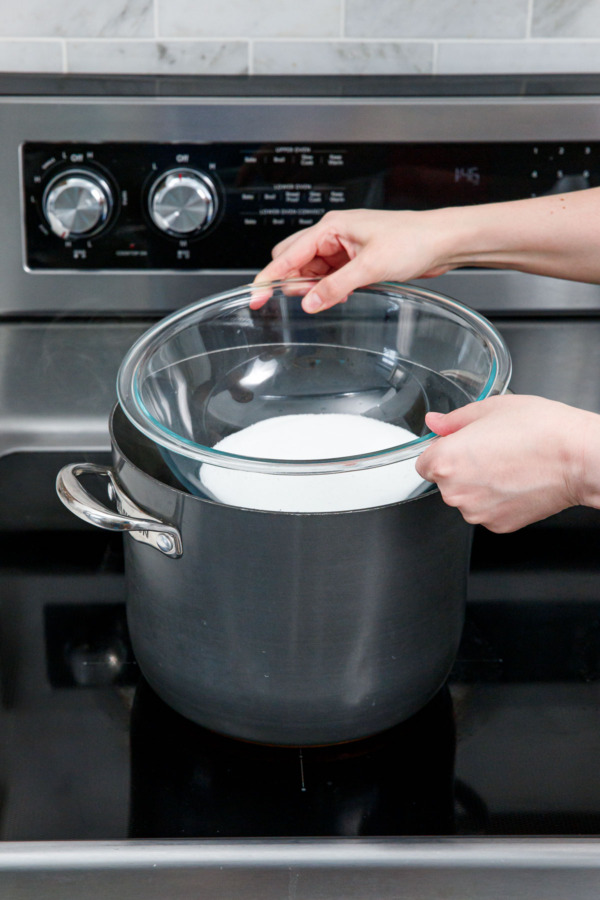
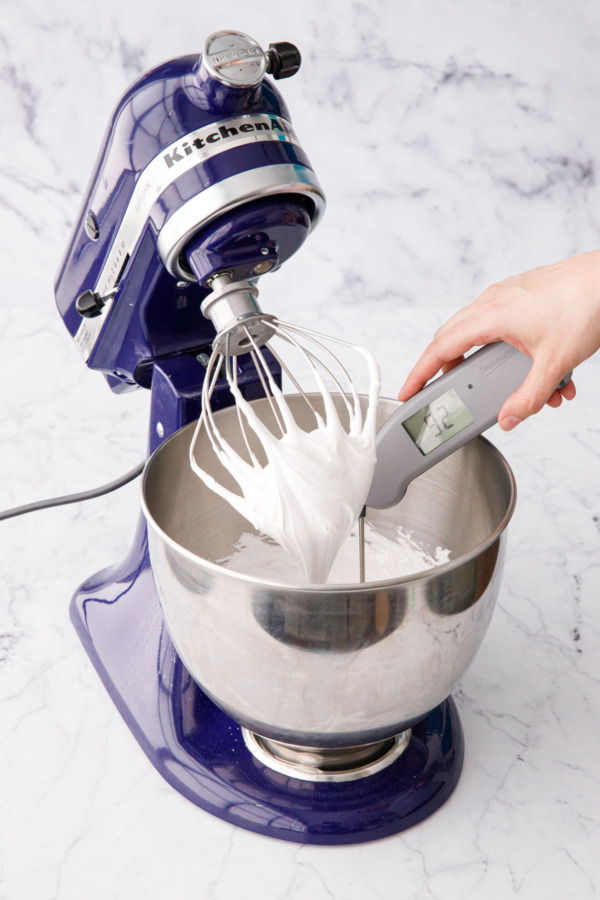
This is accomplished by cooking egg whites and sugar over very low heat (using a double boiler provides gentle heat so the eggs do not scramble, because I don’t know about you, but scrambled egg white buttercream sounds awful). Whisk the egg whites and sugar in the double boiler until the sugar is completely dissolved (it should measure 165-170ºF at this point, which also means the eggs are fully cooked and no longer considered raw if you are concerned about that sort of thing).
If you don’t have an actual double boiler (which, really, who does?) you can make your own by fitting a heat-proof mixing bowl over a saucepan filled with a few inches of gently simmering water. The bowl should not touch the water below it. You can use your stand mixer bowl if you have a saucepan that will fit (remember the bottom of the bowl shouldn’t touch the water or the bottom of the pot).
In my case, I’ve found the largest size from this Pyrex mixing bowl set fits snugly on top of my 8-quart pasta pot, making the most stable combination that doesn’t move around as I whisk.

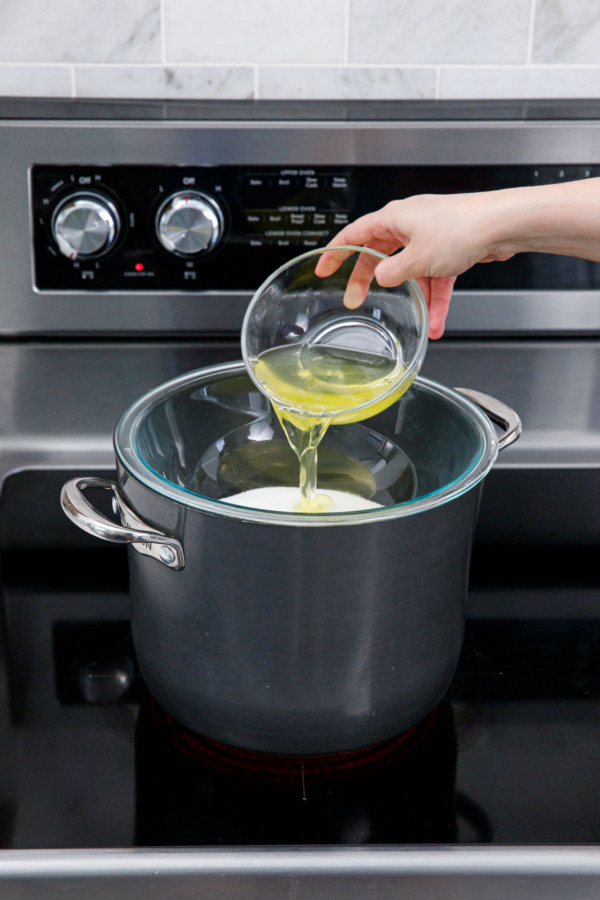

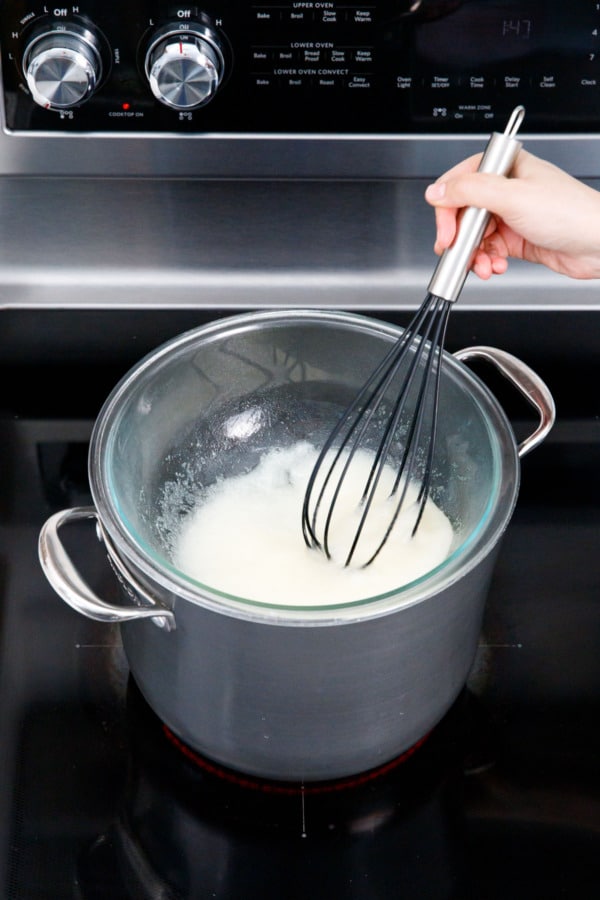

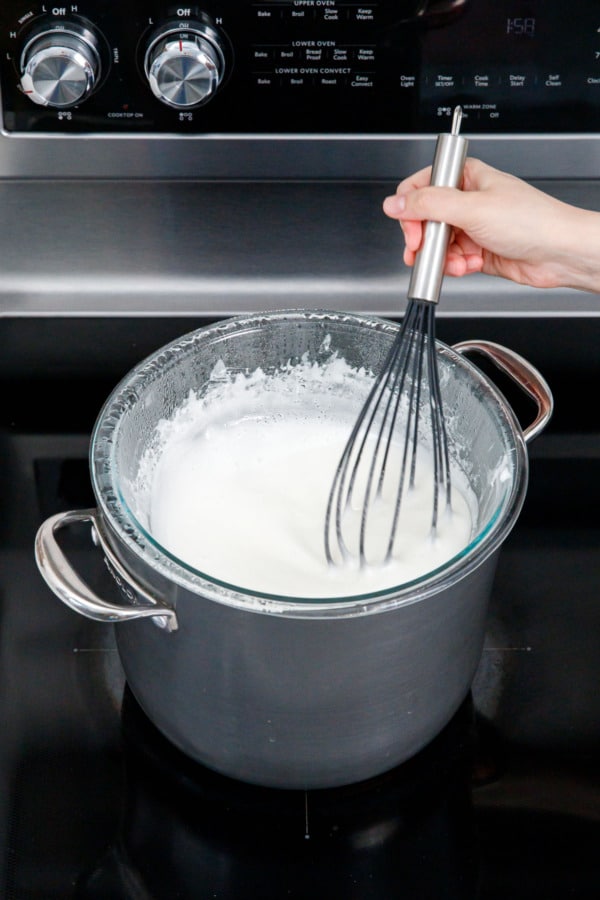


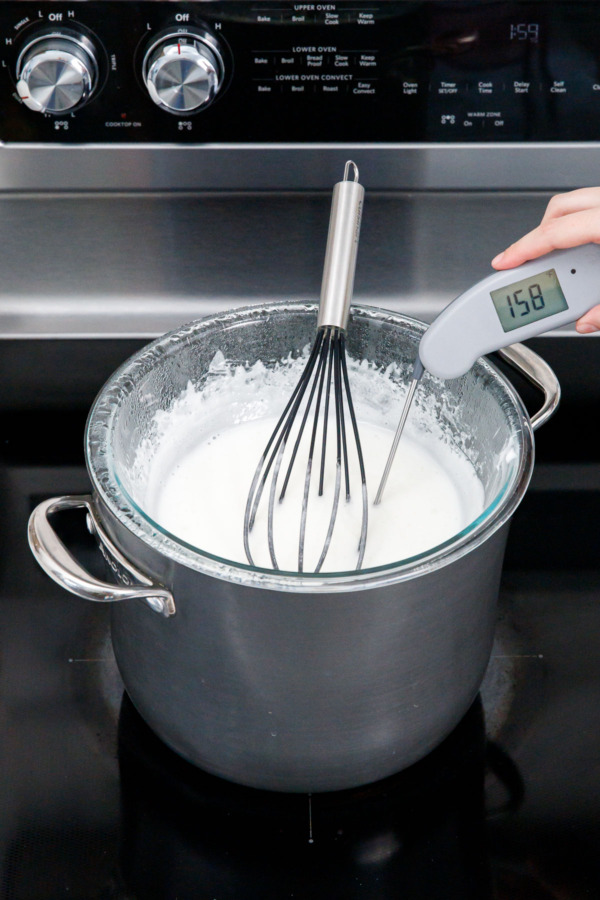

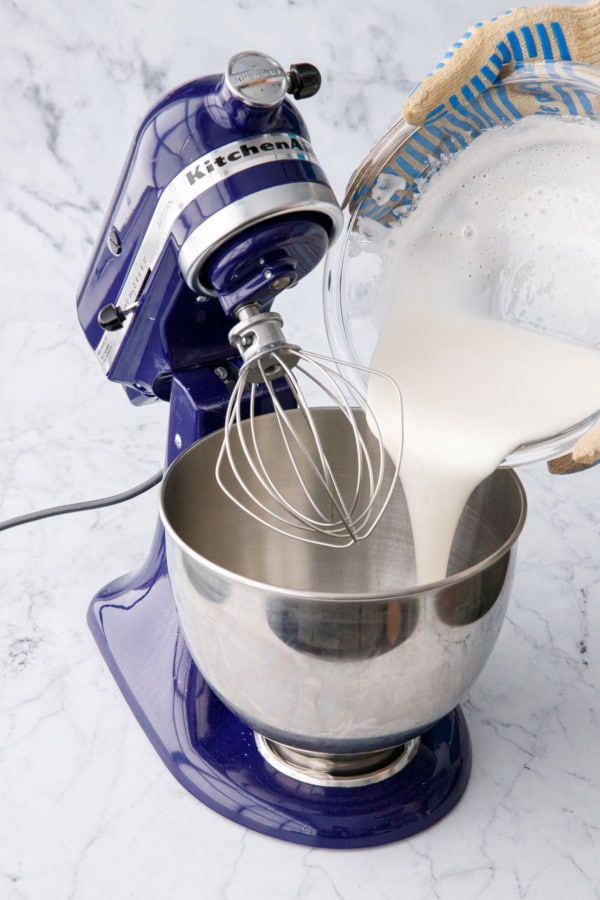
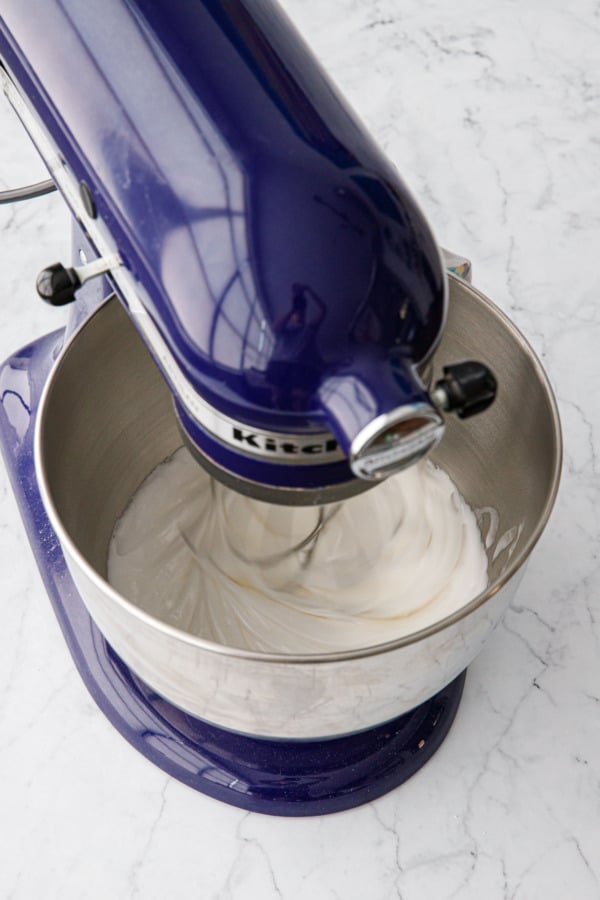
Once the egg white syrup reaches the desired temperature and consistency, then it’s time to transfer it to your stand mixer fitted with the whisk attachment and start beating. Technically you don’t need a stand mixer and can use a hand mixer, but it’s going to take a solid 10 minutes so I hope you’ve been doing your arm workouts!
You can’t rush this part; the beating volumizes the meringue, yes, but it also cools it as more and more air is incorporated, and that is the most critical part: the meringue cannot be too hot or your butter will melt and your buttercream will curdle (that’s not to say it can’t be saved, see below for tips).








You butter not cry (here’s how to fix that buttercream!)
For any kind of buttercream, but particularly meringue-based buttercreams, having your butter at the correct temperature is the key to a successful buttercream—too cool and the frosting will be thick and greasy, too warm and it’ll be soft and soupy.
Luckily, even if your butter isn’t quite right at first, it’s very easy to adjust to achieve the perfect consistency, no matter the weather.


Too Cool
For my first batch of buttercream, the butter was too cold, resulting in a buttercream thick and greasy and not very fluffy.
To resolve this issue, transfer about 1/4 cup of the buttercream into a microwave safe bowl and microwave on 50% power for 10 to 15 seconds until the frosting is just barely melted. Then, with the mixer running on low, drizzle in the melted buttercream into the rest of the batch, increase the speed, and beat it for another couple of minutes. (This is also my preferred method of rewhipping buttercream that has been refrigerated overnight, more on that below).
Too Warm
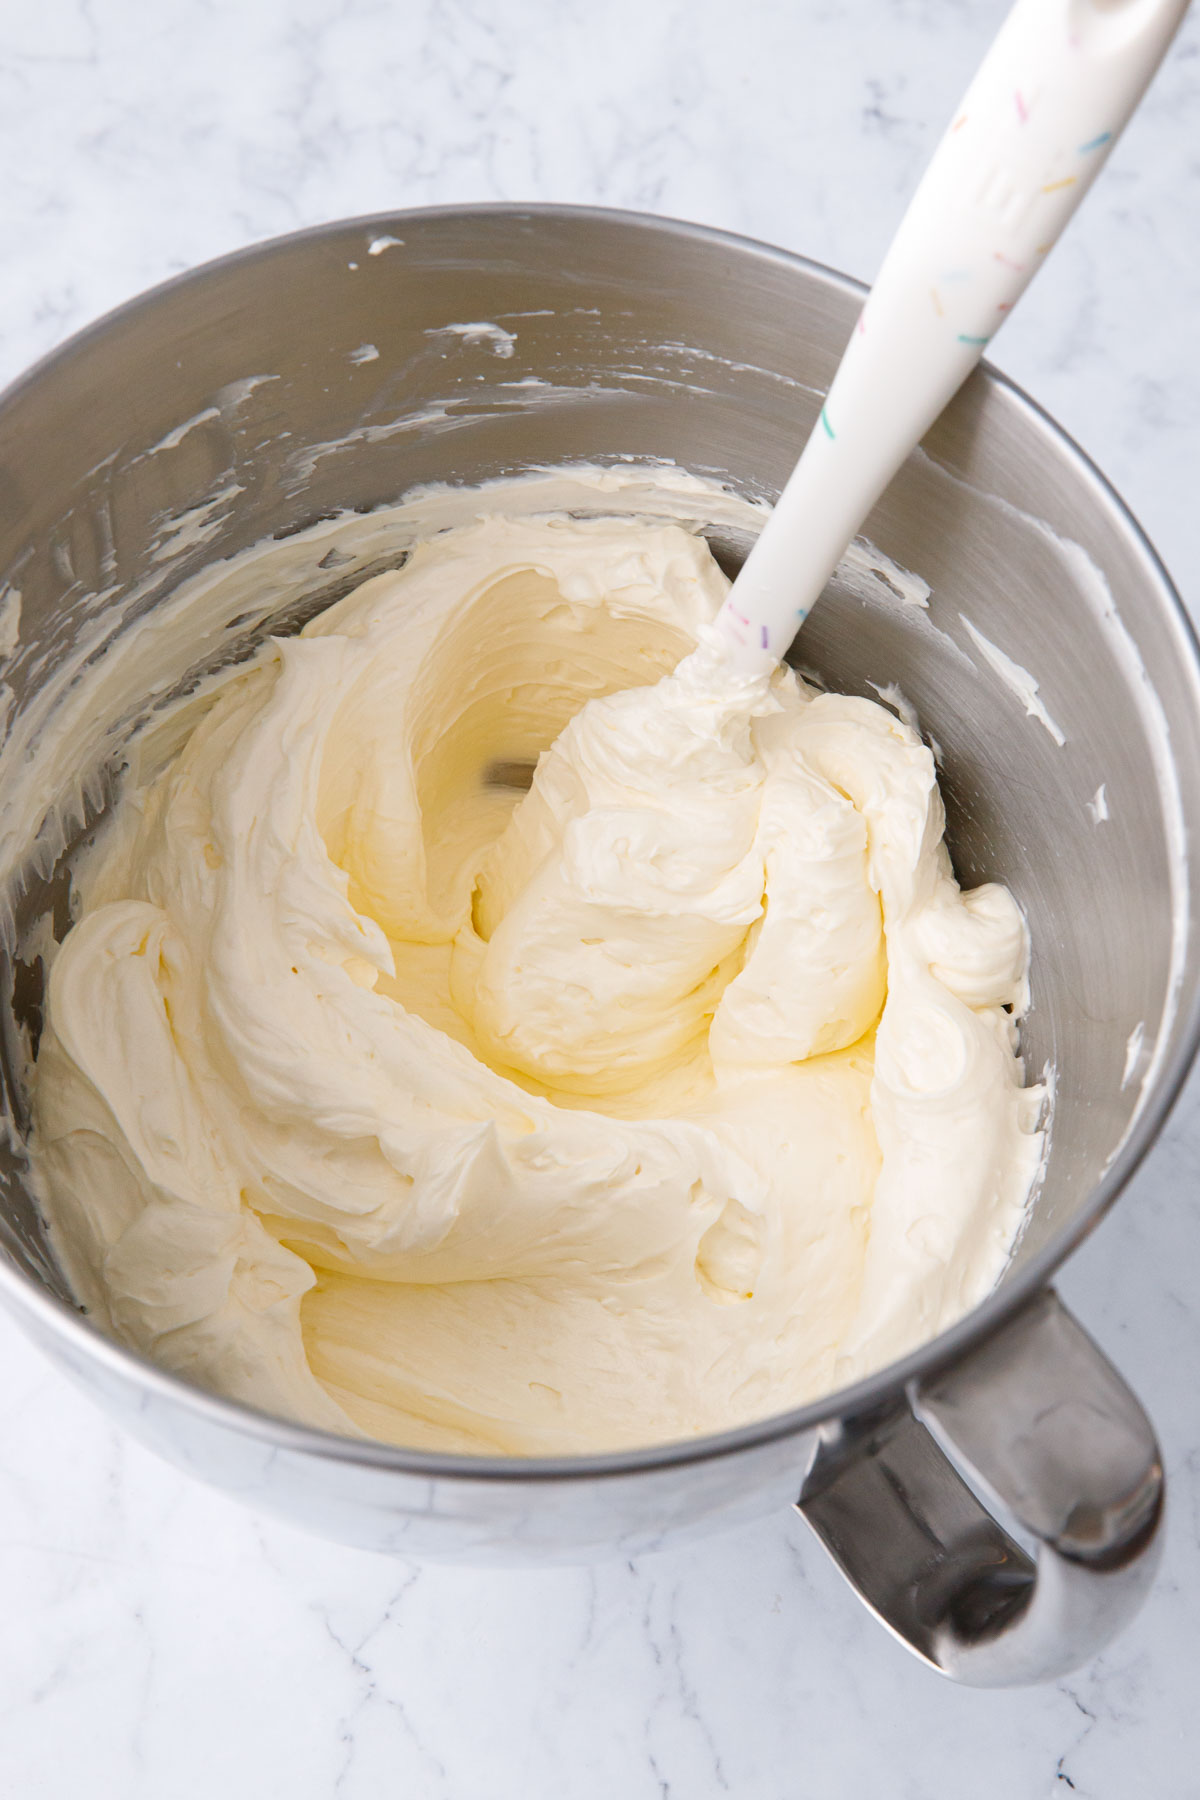
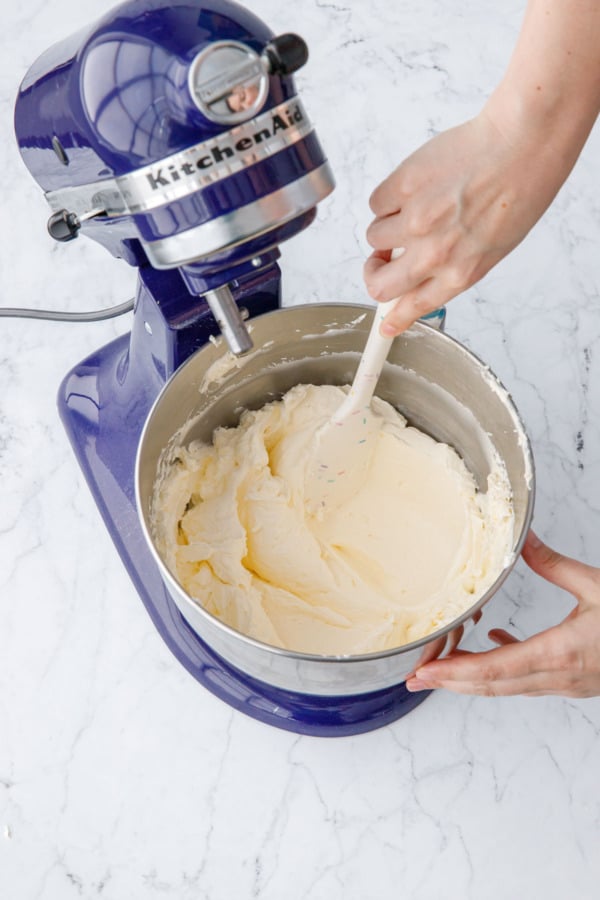
My second batch, however (pictured above), went in the completely opposite direction, appearing soft and soupy even after all the butter was incorporated. No way I could’ve spread, let alone piped this onto a cake!
This can occur if your meringue wasn’t cooled long enough, or if your butter was too soft, both reasons why your buttercream may seem too loose and soupy or even separate and curdle (ack!)
If this happens to you, don’t panic, take a deep breath and pop the entire mixing bowl in the fridge for 15 to 30 minutes. Then, after both you and your buttercream have had some time to chill, put it back on the stand mixer and beat it for a few more minutes. It should whip right up in to a stiff yet fluffy and silky smooth buttercream. Voila!
Just Right
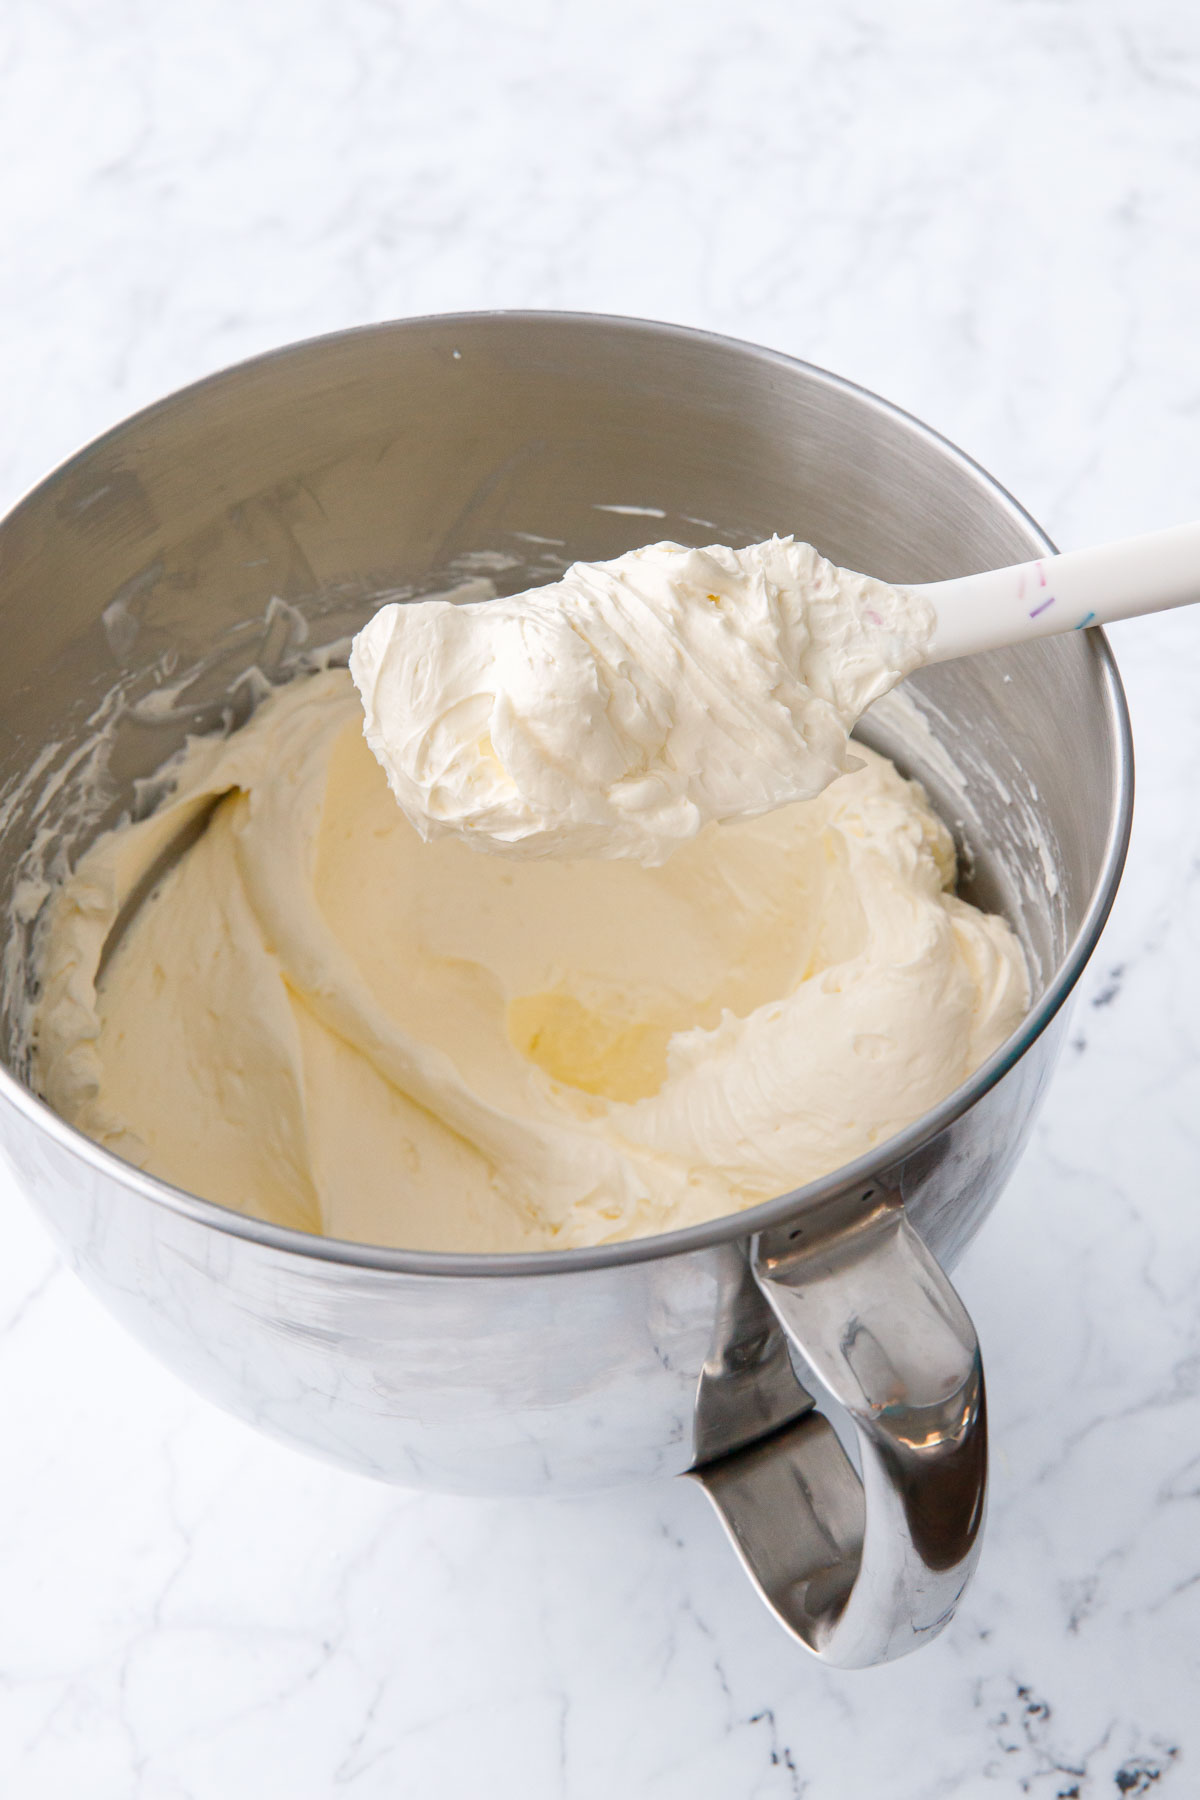
The perfect temperature for making Swiss meringue buttercream is 68-72 degrees F (that’s about 20-22 degrees C for you European folk). That includes everything, your kitchen, your butter, your cooled meringue.
When butter is at this ideal temperature, it will give slightly when pressed with your finger and leave an indent, but won’t sink right through. Nor will it seem slumpy, oily or greasy (that means your butter is fully softened or partially melted).
If you get it right on the first try, congratulations, your name must be Goldilocks!

Make Ahead Tips
The Swiss meringue buttercream can be made a few days ahead of time. Press a layer of plastic wrap down onto the surface of the frosting and then cover with a lid or second layer of plastic wrap (I left it in the mixing bowl since it needs to be re-whipped anyway).
To re-whip buttercream that has been refrigerated, let sit out for an hour or so to come up to room temperature, then beat with the paddle attachment for 3 to 5 minutes or until light and fluffy once again.
If the frosting seems thicker or greasier than it should be, transfer about 1/4 cup of the buttercream into a small microwave safe bowl and microwave for 10-15 seconds on 50% power. With he mixer running on low, slowly drizzle the melted frosting into the bowl with the rest of the frosting. Once all the melted buttercream has been added, increase the mixer speed to medium-high and beat for 3 to 5 minutes more. The small amount of warmed buttercream will help to quickly bring the rest of the batch up to temperature, resulting in an ultra smooth and fluffy buttercream just like the day it was made!
Swiss meringue buttercream is not particularly heat-tolerant and must be refrigerated. If you want your frosting to be a bit more stable (if it needs to sit out at room temperature for longer than 30 minutes, for example), I’d recommend replacing some of the butter (up to half) in the recipe with shortening for added stability.
You can also freeze Swiss meringue buttercream! Transfer to an airtight, freezer-safe container or even a zip-top bag. Label with the recipe name and date and then freeze for up to 2 months. Let thaw overnight in the fridge, then follow the same re-whipping instructions above.

Flavors & Variations
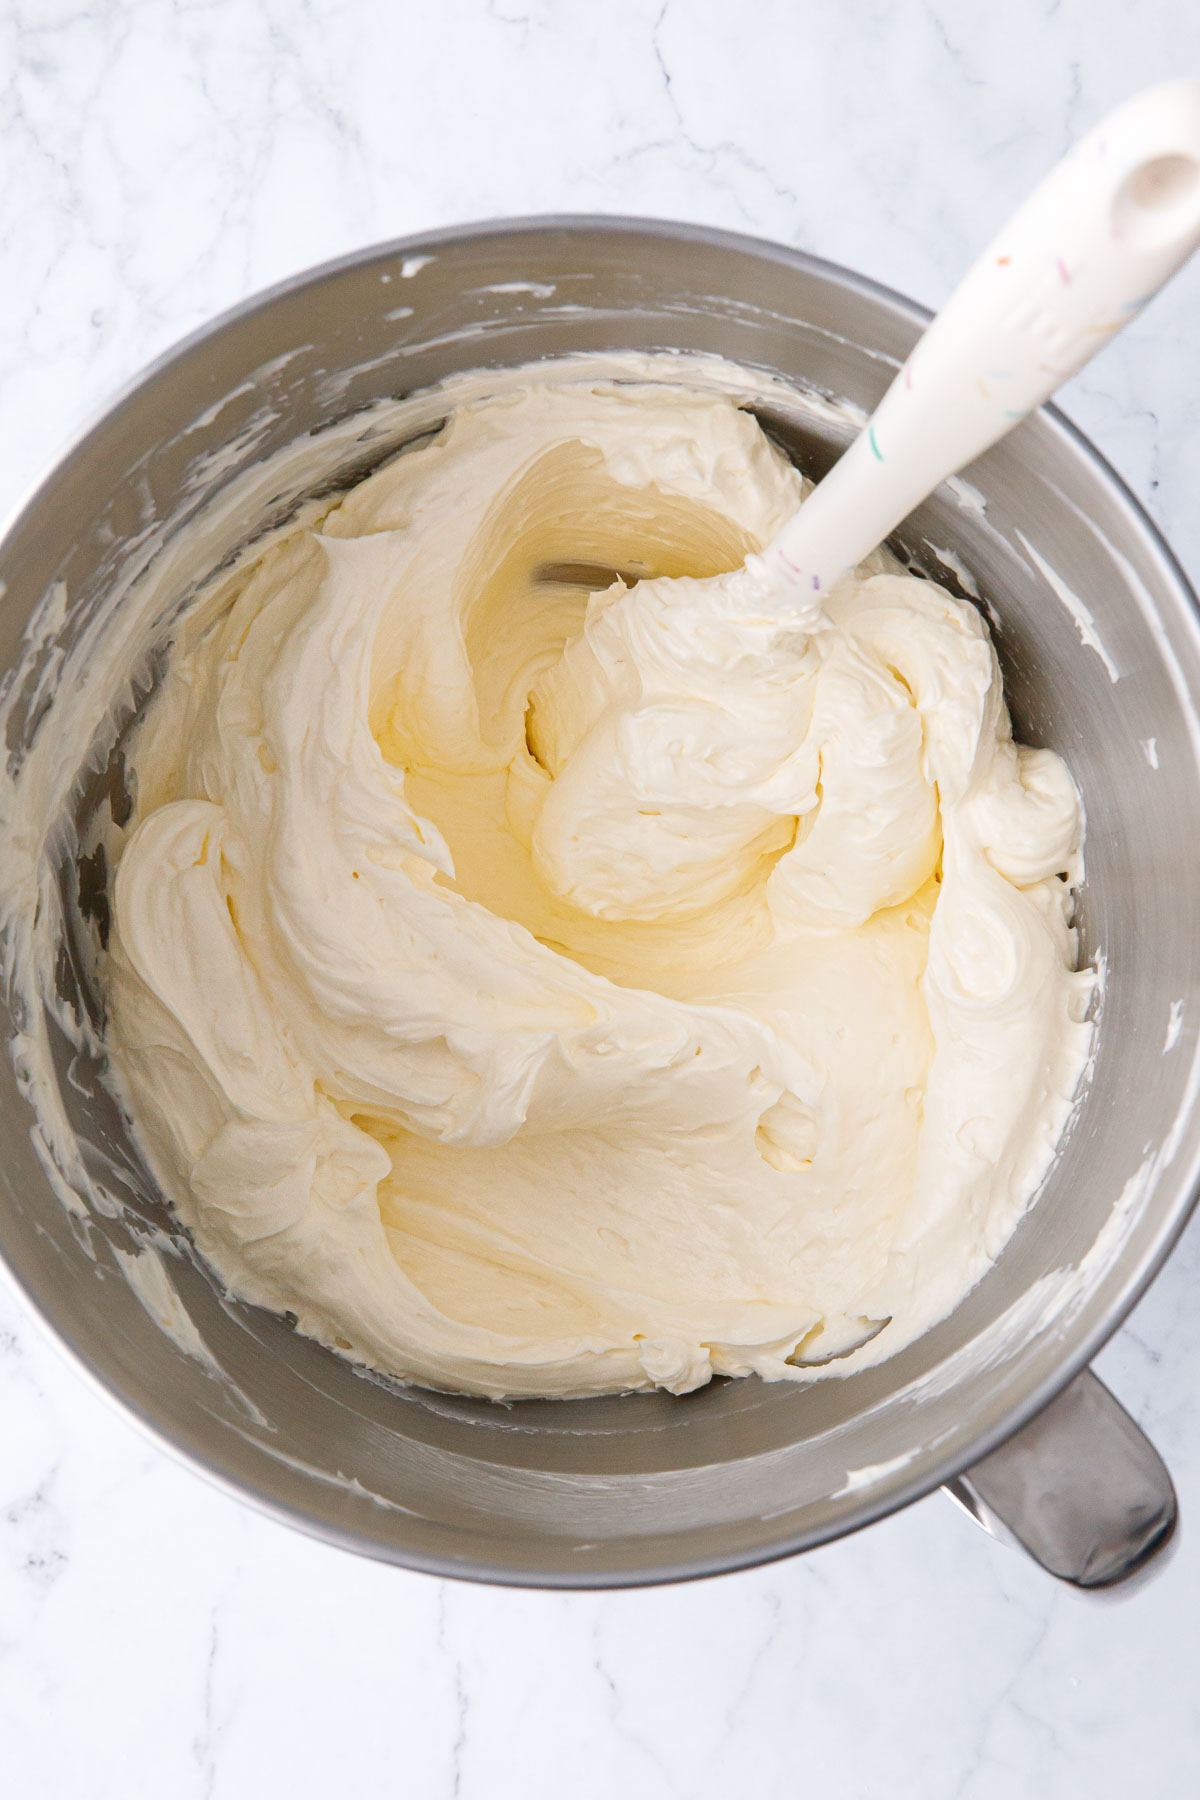
This basic Swiss meringue buttercream recipe is intentionally devoid of any flavorings, the perfect blank canvas for whatever flavor your creative mind can contemplate!
And the possibilities really are almost endless; the only caveat is you don’t want to add too much water-based liquid to the frosting, or any warm ingredients, or you risk it curdling or thinning too much to be able to pipe. With that in mind… go flavor-crazy!
- Add the seeds of 1 vanilla bean or a teaspoon or two of vanilla bean paste for a perfectly speckled vanilla bean buttercream, or 1 tablespoon vanilla extract (use clear extract for the whitest buttercream).
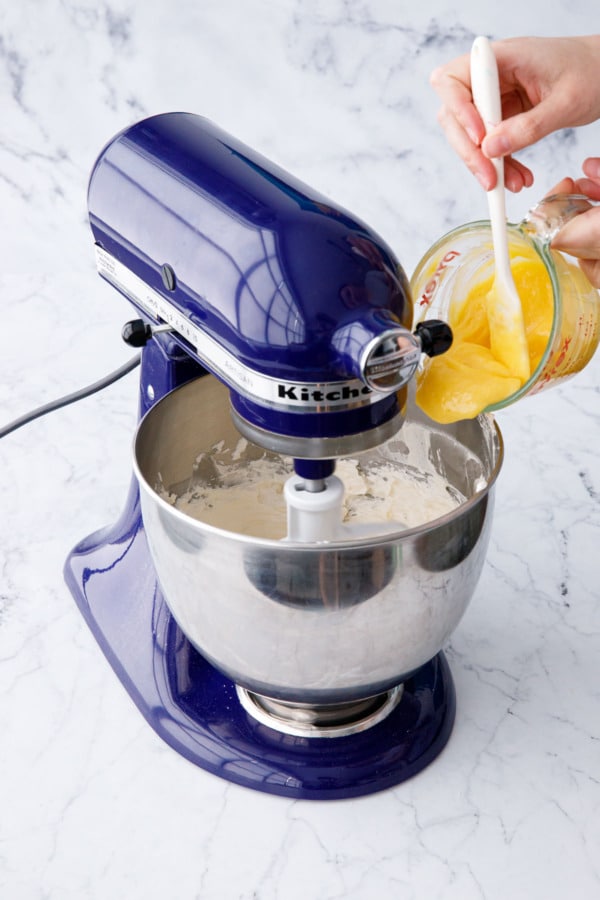
- Add 1/2 cup lemon curd for a beautifully bright lemon-flavored buttercream (not to mention lemon curd is great way to use the 4 egg yolks leftover from this recipe!)
- Add up to 8 ounces of melted dark, milk, or white chocolate (let chocolate cool to lukewarm before adding it to your frosting, after all the butter has been incorporated).
- Add 1/2 cup of strawberry jam or up to 1/4 cup of fresh strawberry puree for a bright pink strawberry buttercream (note that using fresh fruit is a bit more finicky than jam due to the extra moisture content; you can try reducing the fruit puree first which will give you more flavor with less excess moisture).
- Add a few tablespoons of finely ground freeze-dried fruit (like strawberries or raspberries) for a fabulously fruity buttercream without having to worry about adding too much liquid (freeze-dried fruit is my favorite flavoring trick for recipes like this!)
- Use brown sugar instead of white sugar for a beautifully toasty brown sugar buttercream.
- Add a few tablespoons of molasses for a lovely seasonal flavor (I used this variation on a chocolate sweet potato layer cake and it was fabulous!)
- Add 1 tablespoon instant coffee or espresso for a buzz-worthy tiramisu buttercream (layered with a tender vanilla buttermilk cake and chocolate ganache *swoon*)
Swiss Meringue Buttercream
This recipe will make about 4 cups of buttercream, enough for a 6-inch, three-layer cake.
Prevent your screen from going dark
-
Combine egg whites, sugar and salt in a double boiler (or use a large, heat-proof mixing bowl set over a pot of gently simmering water–the bottom of the bowl should sit over, but not touch, the water below). Whisk vigorously until doubled in volume and sugar is completely dissolved (will read 160 degrees F on an instant-read thermometer).
-
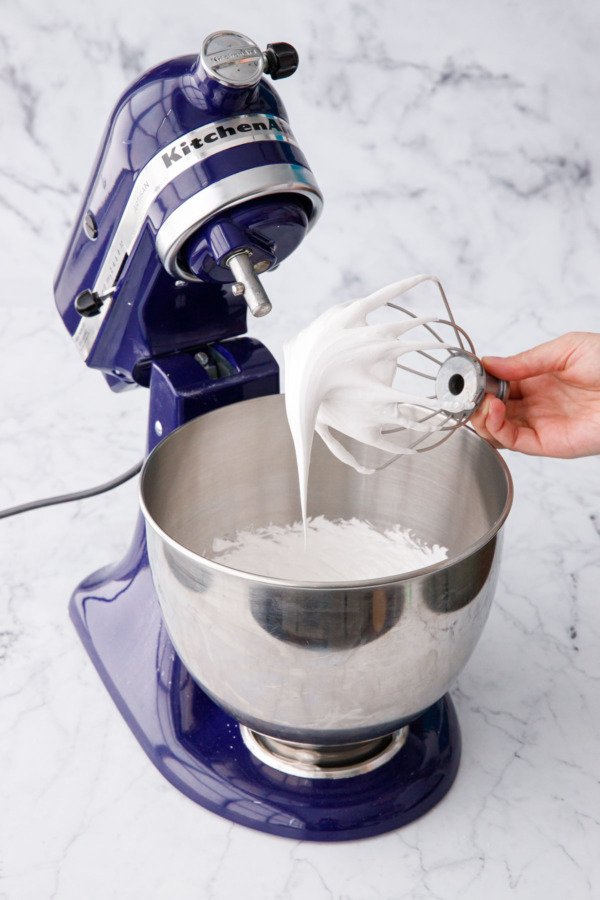
Return bowl to stand mixer fitted with the whisk attachment. Beat on medium-high speed until meringue is about tripled in volume and forms stiff, glossy white peaks. At this point it should also feel cool to the touch (measuring 80ºF or below) – this is the most important thing to check, as your buttercream will curdle if the meringue is still too warm.
-
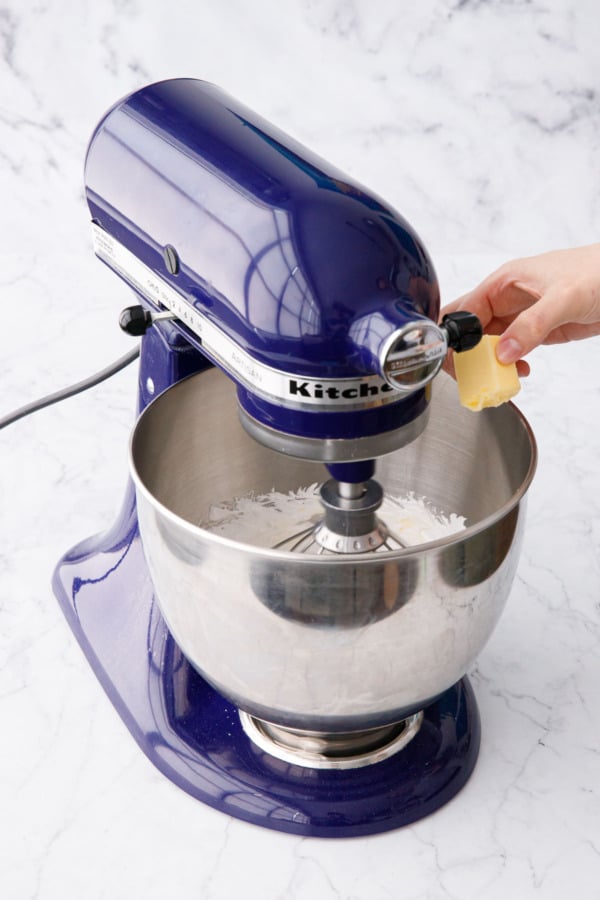
With the mixer running on medium speed, add 1 chunk of butter at a time, increasing speed and mixing until butter is completely incorporated before adding the next piece. Your buttercream will start to soften, going from stiff peaks to soft and almost soupy, but as you continue to add butter it will thicken up again. If at any point it begins to curdle, stop adding butter and increase mixer speed to high, beating until it comes together again before adding the remaining butter.
-
If frosting is still soupy after adding all the butter (very likely if your kitchen is on the warm side) pop it in the fridge for 15 to 20 minutes to firm it up a bit, then return to the mixer and beat on medium-high for a few minutes until thick, smooth, and fluffy.
-
On the other hand, if your frosting seems too thick and almost greasy, it’s likely too cold. In which case, gently melt about 1/4 cup of the buttercream in the microwave (10-15 seconds on half power), then drizzle into mixer running on low. Increase speed to medium-high and beat for 2 to 3 minutes or until light and fluffy.
-
Switch over to the paddle attachment and add lemon curd. Mix on low speed for a few more minutes until curd is fully incorporated (mixing on low speed will also help remove excess air bubbles).
-
Buttercream can be made ahead of time, refrigerate with a layer of plastic wrap pressed to the surface. Before frosting, let come to cool room temperature then return to the stand mixer and re-whip on medium-high speed for 3 to 5 minutes or until light and fluffy once again.
All images and text © for Love & Olive Oil.
There may be affiliate links in this post. We are a participant in the Amazon Services LLC Associates Program, an affiliate advertising program designed to provide a means for us to earn fees by linking to Amazon.com and affiliated sites.
