This year DubDub is over and I am very excited about the new developer treats that iOS17 will bring us that expand the animation possibilities of SwiftUI. I am talking mainly about the PhaseAnimator, KeyframeAnimator and the ability to utilize Metal shaders on SwiftUI views through modifiers .distortionEffect, .layerEffect, and .colorEffect (docs).
In this post, we will play with the .distortionEffect and learn, how to utilize it for creating custom transitions, like this:
Kickstart
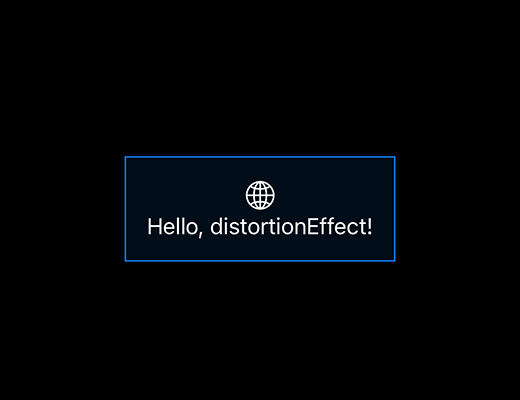
Let’s start with the simple Hello world view and set a basic .distortion effect for the view:
struct DemoView: View {

    var shader: Shader {
        let shaderLibrary = ShaderLibrary.default
        return Shader(function: ShaderFunction(library: shaderLibrary, name: "demoShader"), arguments: [])
    }

    var body: some View {
        VStack {
            Image(systemName: "globe")
                .imageScale(.large)
            Text("Hello, distortionEffect!")
        }
        .padding()
        .background(Color.blue.opacity(0.1))
        .distortionEffect(self.shader, maxSampleOffset: CGSize(width: 500, height: 500))
        .overlay(Rectangle().stroke(Color.blue)) // adding stroke so we see bounds of our view
    }
}
We need to add a new Metal file to our Xcode project and define the shader function there. As the documentation says: For a shader function to act as a distortion effect it must have a function signature matching:
[[ stitchable ]] float2 name(float2 position, args...)which tells us, that the function can “alter” the position of every pixel of our View. So in the minimum variation, the Shader can look like this
#include <metal_stdlib>
using namespace metal;

[[ stitchable ]] float2 demoShader(float2 position) {
    return position;
}
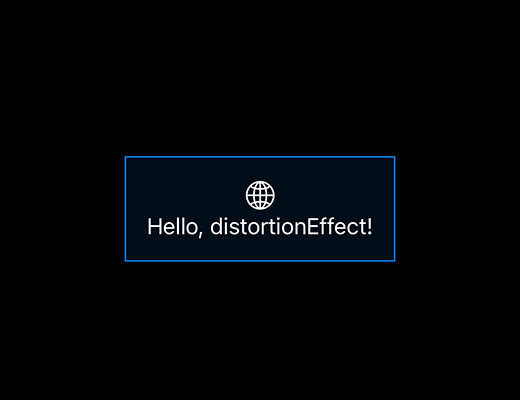
This is a fully working shader, but you cannot see any effect on the view as it is basically an identity function that just returns the input positions.

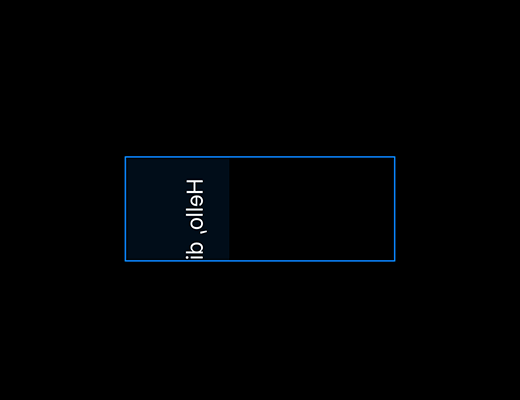
But with just a few simple alterations to the return value, you start seeing how the view image changes. For example, you can switch the x and y axis and get transposed view.
[[ stitchable ]] float2 demoShader(float2 position) {
    return float2(position.y, position.x);
}
Notice, that the shader cannot extend our view dimensions, so if we are transposing the rectangular view, the result will be cropped. But we learned an important lesson here: if we are returning an invalid position from the shader, it just leaves the pixel transparent. And this fact we are gonna utilize for the transitions later.
But before we move to that, let’s see, how to extend the shader with more parameters. From the initial function signature we see, that the shader is not aware of the view frame, so naturally, we want to provide at least that parameter. Adding a new param is simple as that, just extend the function with more parameters and provide those parameters in the SwiftUI part like so.
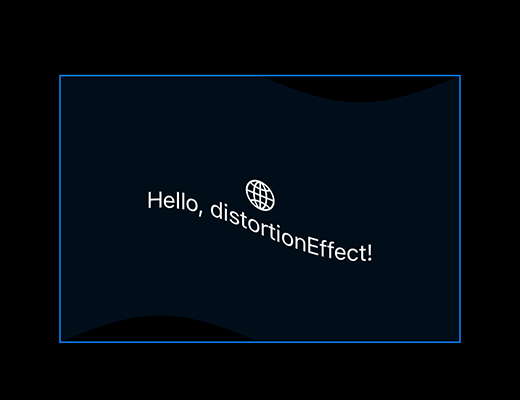
Very easily, we are now able to create waved distortion effect using the shader:
[[ stitchable ]] float2 demoShader(float2 position, float2 size) {
    float f = sin(position.x/size.x*M_PI_F*2);
    return float2(position.x, position.y+f*20);
}
The full view with applied shader with parameter is now:
struct DemoView: View {

    let size: CGPoint = CGPoint(x: 300, y: 200)

    var shader: Shader {
        let shaderLibrary = ShaderLibrary.default
        return Shader(function: ShaderFunction(library: shaderLibrary, name: "demoShader"), arguments: [.float2(self.size)])
    }

    var body: some View {
        VStack {
            Image(systemName: "globe")
                .imageScale(.large)
            Text("Hello, distortionEffect!")
        }
        .frame(width: size.x, height: size.y)
        .background(Color.blue.opacity(0.1))
        .distortionEffect(self.shader, maxSampleOffset: CGSize(width: 500, height: 500))
        .overlay(Rectangle().stroke(Color.blue)) // adding stroke so we see bounds of our view
    }
}
Try to experiment with the shader parameters and messing the output with various functions. How fun, right?
Transitions
Now, let’s utilize what we have learned to build a custom view transition. I want to create an effect, that shifts away the content of the view like so:
for that, I extend the shader with one more parameter named effectValue, which controls the offset and the skew of the view content. My shader looks like this:
[[ stitchable ]] float2 demoShader(float2 position, float2 size, float effectValue) {
    float skewF = 0.1*size.x;
    float yRatio = position.y/size.y;

    float positiveEffect = effectValue*sign(effectValue);
    float skewProgress = min(0.5-abs(positiveEffect-0.5), 0.2)/0.2;

    float skew = effectValue>0 ? yRatio*skewF*skewProgress : (1-yRatio)*skewF*skewProgress;
    float shift = effectValue*size.x;

    return float2(position.x+(shift+skew*sign(effectValue)), position.y);
}
The shader is result of some experimentation session trying to tweak the behavior so it works also for the negative effect values. The goal is to use positive value for insertion transition and negative for removal. While testing, I am using a simple slider just to be sure that it behaves correctly for all effectValues between -1 and 1.
Once we are happy with the basic effect, we just wrap it into a view modifier. (I am keeping the size parameter as a constant just for the simplicity of the code snippet. OFC, you can set it dynamically from the actual geometry)
struct ShiftTransitionModifier: ViewModifier {
    let size: CGPoint = CGPoint(x: 300, y: 200)
    var effectValue: CGFloat = 0

    var shader: Shader {
        let shaderLibrary = ShaderLibrary.default
        return Shader(function: ShaderFunction(library: shaderLibrary, name: "demoShader"), arguments: [.float2(self.size), .float(self.effectValue)])
    }

    func body(content: Content) -> some View {
        content
            .frame(width: self.size.x, height: self.size.y)
            .distortionEffect(self.shader, maxSampleOffset: CGSize(width: 500, height: 500))
    }
}
And the last step is to use the modifier for a custom Transition definition:
let insertionTransition: AnyTransition = .modifier(active: ShiftTransitionModifier(effectValue: 1), identity: ShiftTransitionModifier(effectValue: 0))
let removalTransition: AnyTransition = .modifier(active: ShiftTransitionModifier(effectValue: -1), identity: ShiftTransitionModifier(effectValue: 0))

let shiftTransition: AnyTransition = .asymmetric(insertion: insertionTransition, removal: removalTransition)
And we are done.
One more thing
If you are wondering, how does the shader look like for the transition from the beginning of this article, it is here:
(Notice, the shader looks much nicer due to after-experimentation optimizations and utilizing vector operations)
[[ stitchable ]] float2 slideAwayShader(float2 position, float2 size, float time, float direction) {
    float2 c = size/2;
    float2 v = position - c;

    float f = (direction > 0 ? position.x : (size.x - position.x) )/size.x;

    if ( time > f ) {
        float mul = (time-f)/(1-f);
        return c + v*mul;
    }
    else {
        return float2(-1, -1);
    }
}
Your turn!
Now it is your time to get creative!
Let me know, if you find this article helpful, and send me your animations on Twitter.

