Quick Links
Overexposing your photos can create amazing effects, but if it’s not intentional, it can be annoying. Fortunately, there are numerous apps and tools to fix this issue. Here are my top smartphone apps for making overexposed pictures look good.
1 My Smartphone’s Native Editing App
Before using any other tool on this list, I recommend starting with your smartphone’s native editing app. Since I have an iPhone, I use Apple Photos. The app is significantly better than it used to be for image editing, it has actually replaced more powerful tools for some functions.
The obvious place to start is with the Exposure tab. The slider goes to +100 on the right and -100 on the left. Since we’re trying to fix an overexposed photo, we’ll need to move it to the left. Do this until you’re happy with how the overall lighting looks.
Brightness is another tool that I suggest using when you aren’t happy with your photo’s exposure. This slider mainly affects your picture’s highlights, and I recommend using it alongside the Highlights slider. Depending on the image, you might also want to adjust the Black Point; however, this isn’t mandatory.
2 Lightroom
Lightroom gives you a whole host of options for fixing overexposed photos on your smartphone. First, I suggest using the Exposure slider; it works the same way as it does in Apple Photos. The Highlights slider is also ideal for this, and you should adjust the Contrast so that you’re happy with the balance of lights and darks.
The Whites tab is one of Lightroom’s most underrated editing tools for overexposed pictures, and I strongly suggest altering it to get the look you want. Sometimes, it actually makes sense to move the slider to the right; doing so can add a nice bit of contrast to the rest of the picture and bring out its personality.
However, you’ll need to ensure that you don’t make these Lightroom mistakes that could ruin your photos. For example, many photographers ignore a lot of features and don’t go deeper with their edits, and as a result, the photos look suboptimal.
Once you’ve adjusted the above-mentioned sliders, I recommend going to the Curve feature. To make a picture less overexposed, I suggest bringing down the slider toward the right; start from the top to bring down the highlights a bit. Then move the other parts of the curve tool until the lighting improves.
Besides making manual edits, you can use presets. I suggest creating Lightroom presets for different photography styles so that you don’t need to make multiple adjustments each time.
Download: Lightroom for iOS | Android (Free, in-app purchases available)
3 Canva
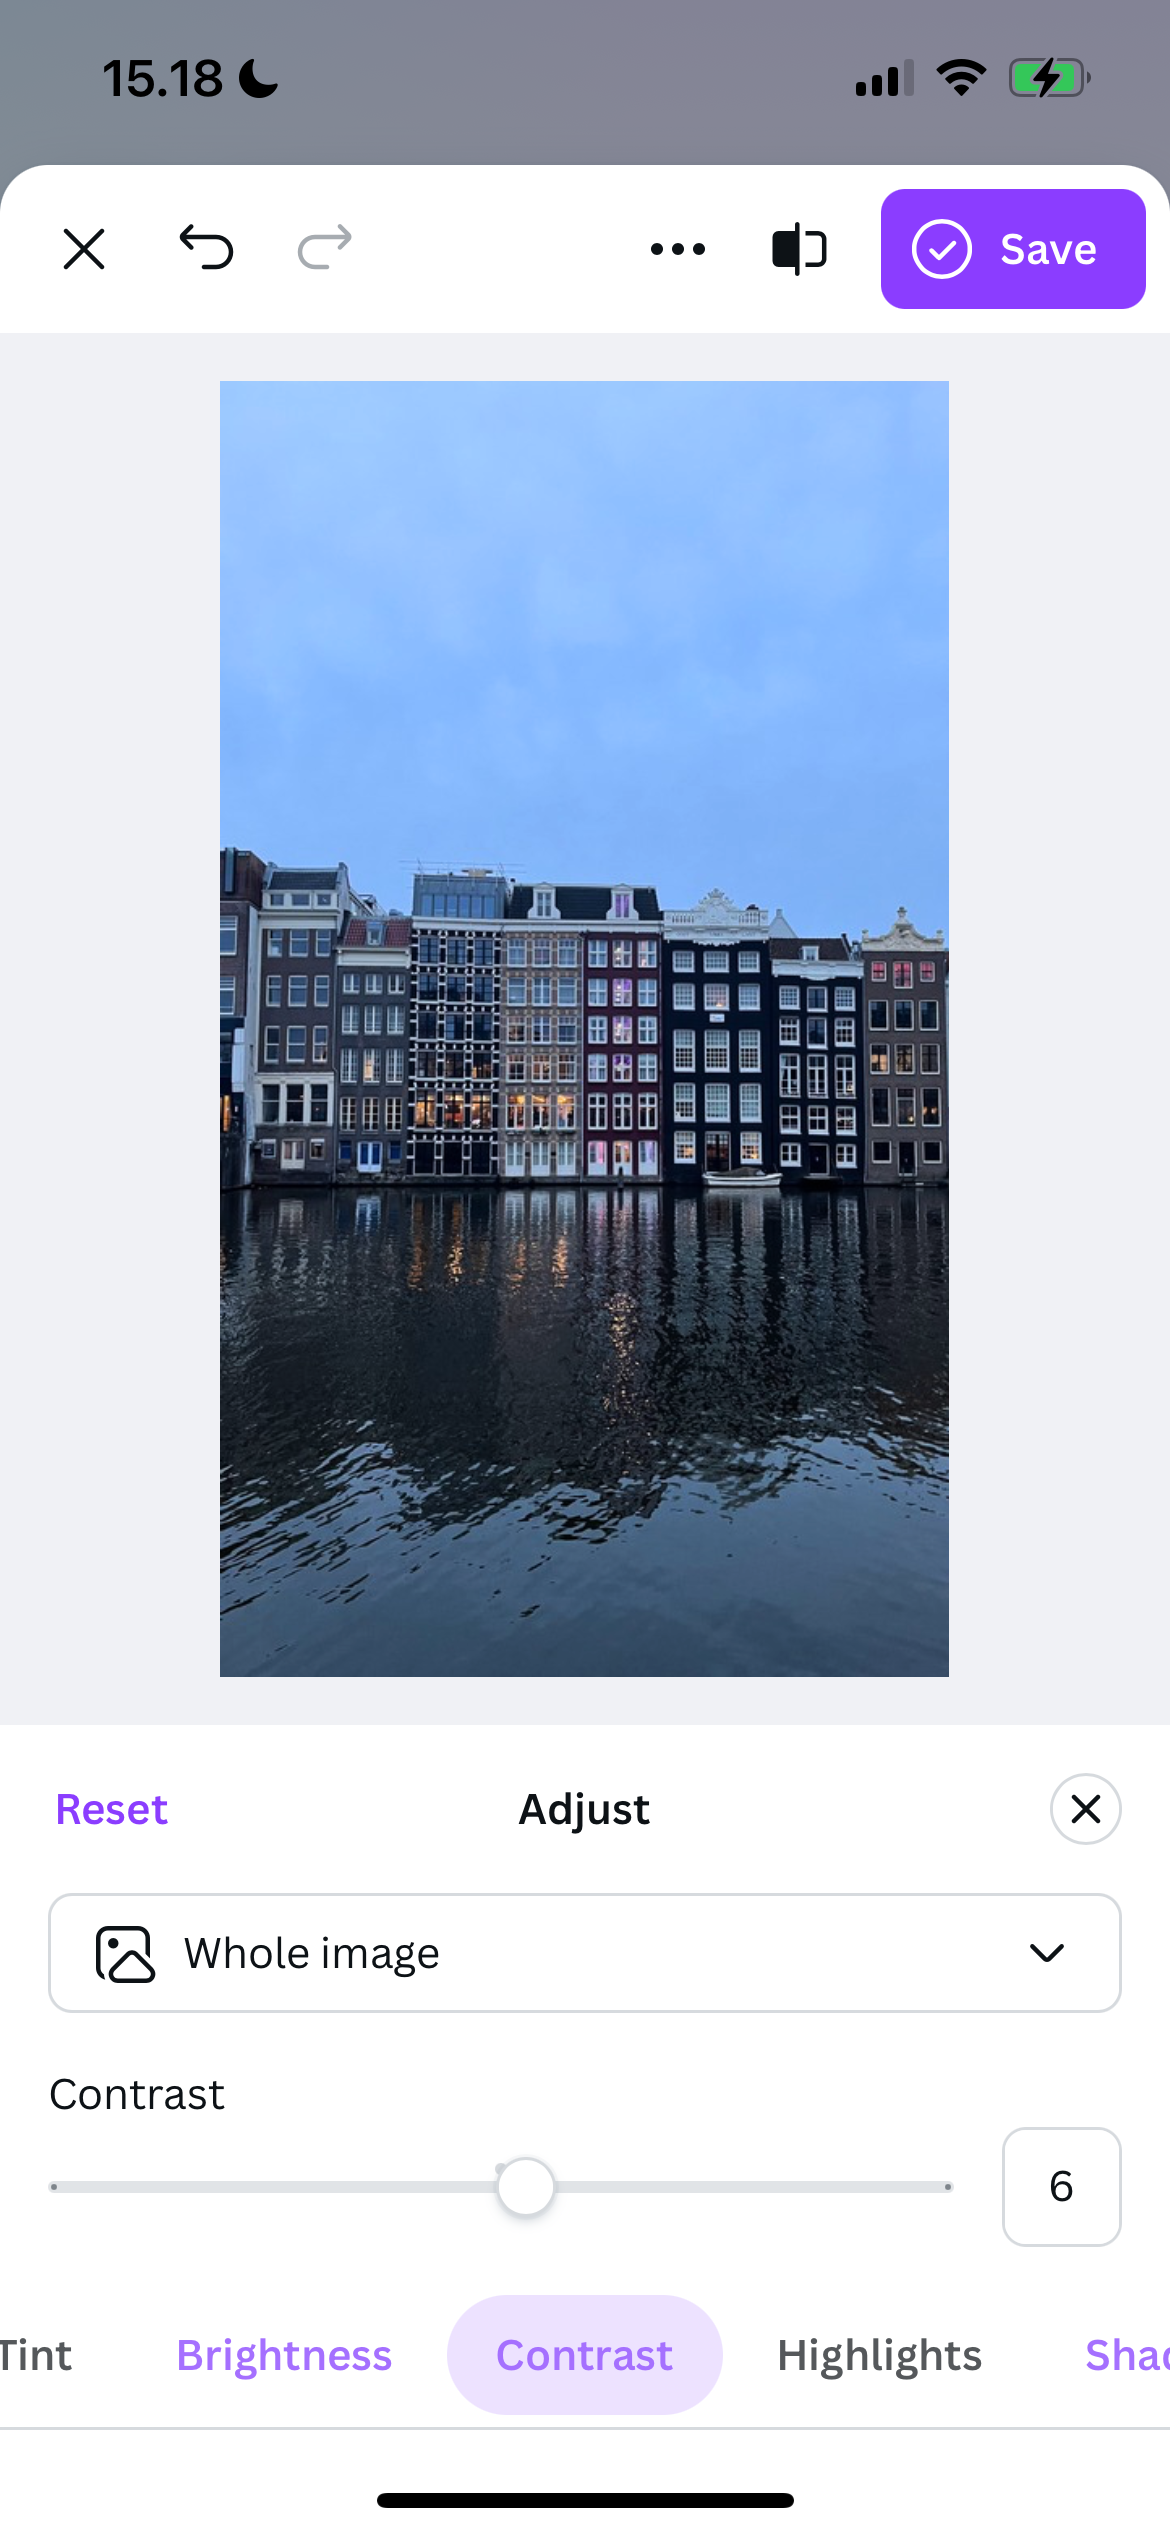
Canva is, in my opinion, the best all-round app for basic designs; you can create multiple things in Canva with zero effort . If you don’t need to go into as much detail as you would with Lightroom, it’s a handy tool for altering your pictures quickly and easily. I also suggest using Canva if you’re already going to create some kind of design, such as Pinterest pins or banners for your social media profiles.
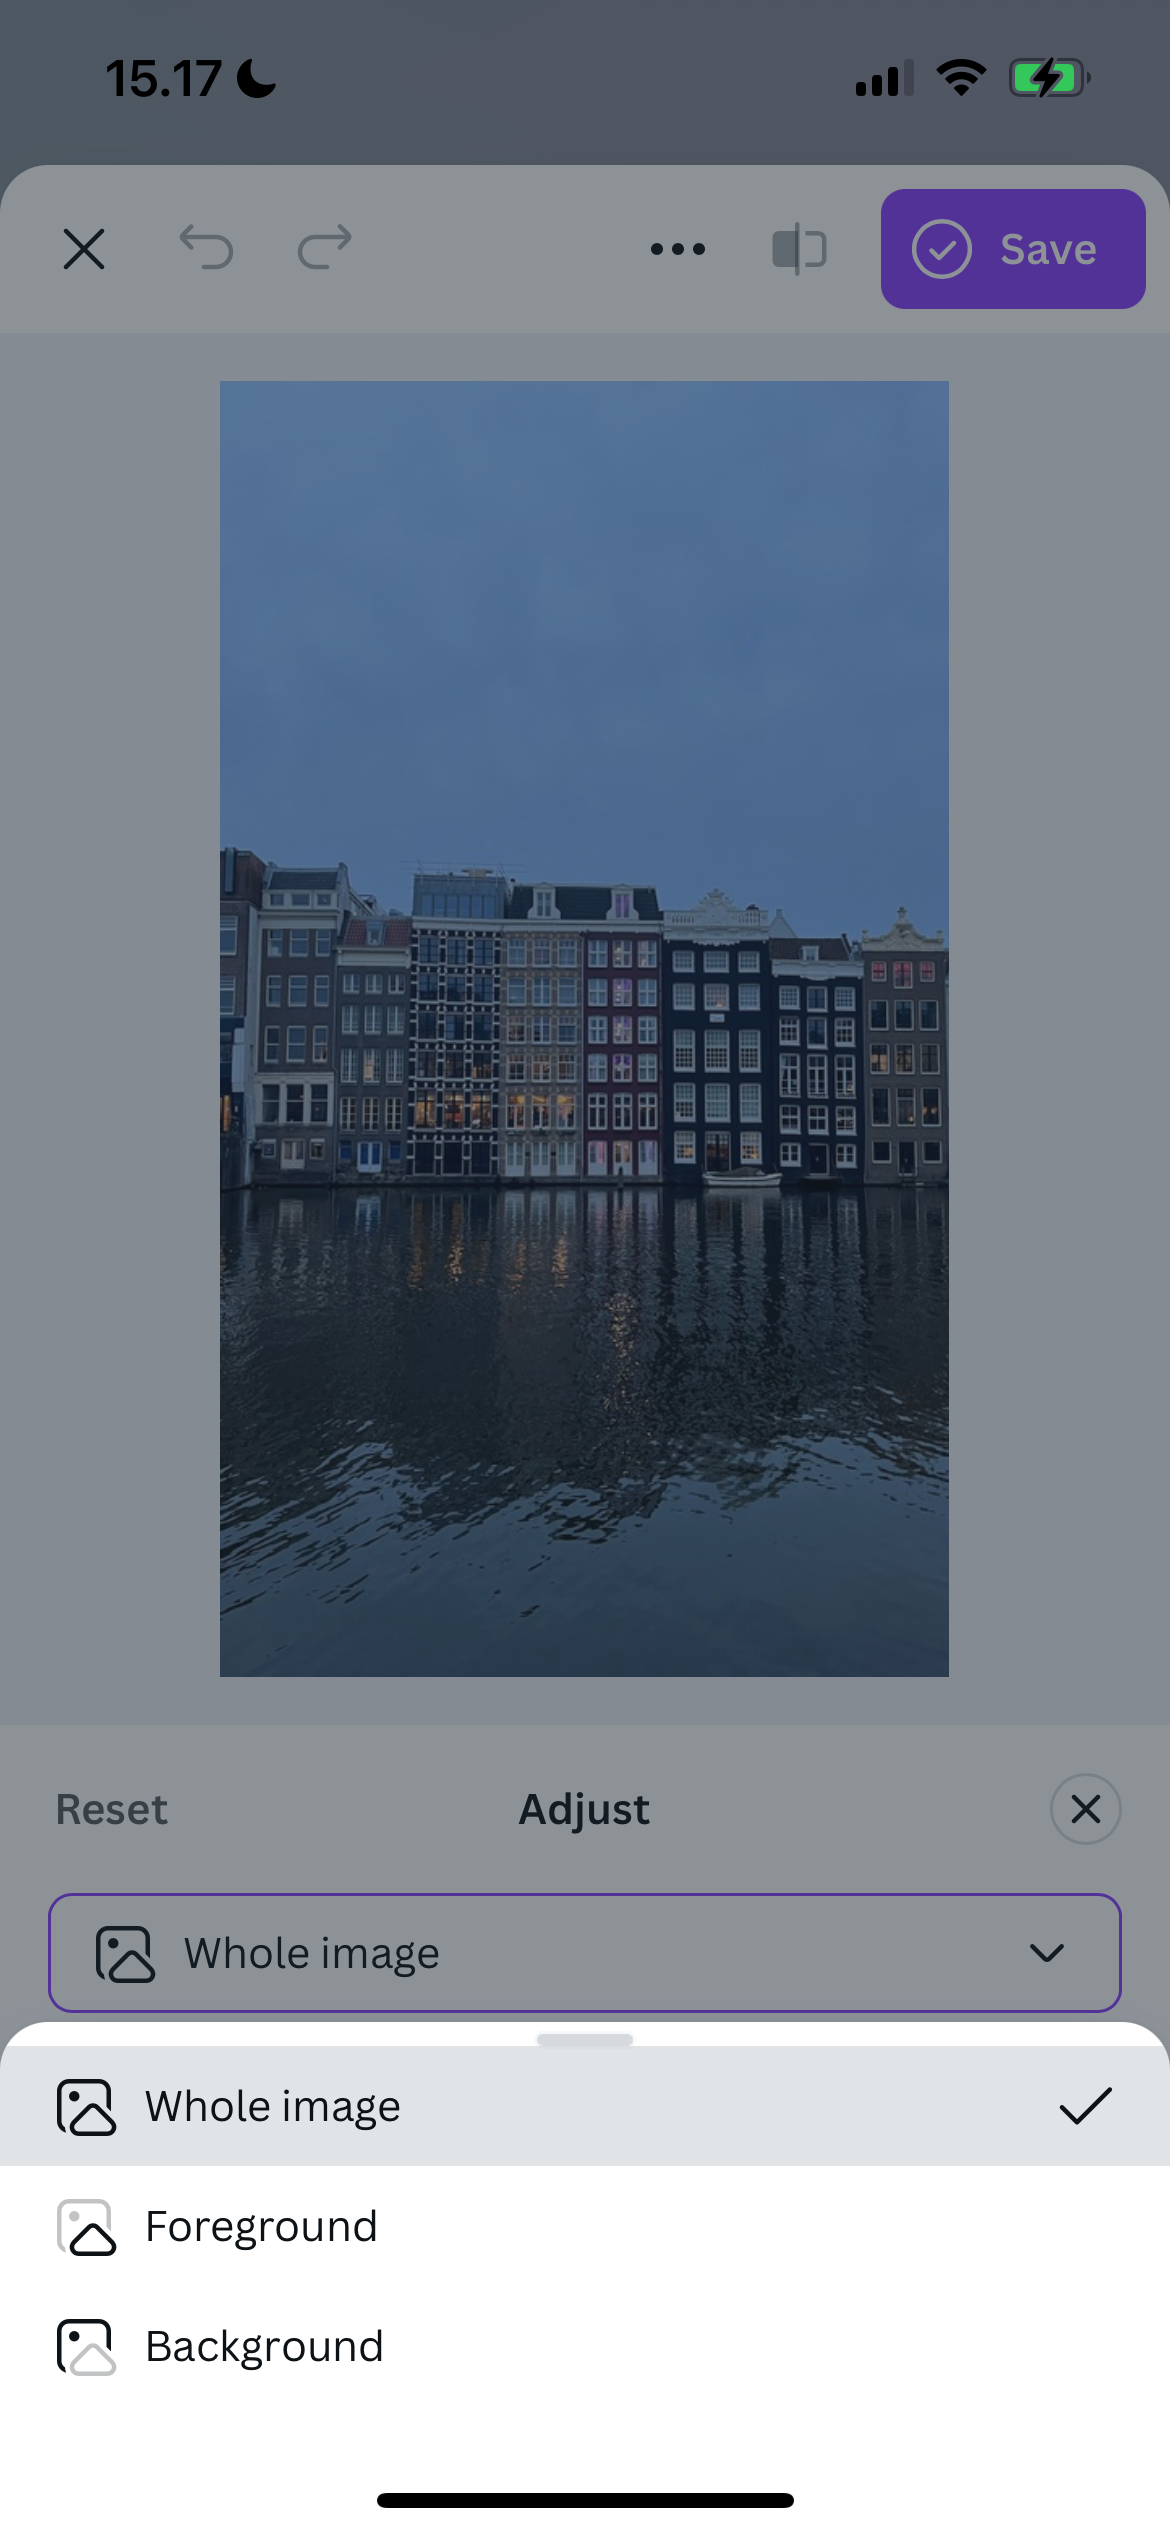
When using Canva, you can choose if you want to edit the entire picture or just the foreground/background. So, you have much more control over your edits without needing to add masks and the like. Start by altering the brightness until you’re happy with how the picture looks.
Once you’ve adjusted the brightness, change the whites and contrast sliders. You can use the auto-edit feature, but I only recommend trying this and seeing if it works; most of the time, I think your adjustments will look better with manual edits.
Download: Canva for iOS | Android (Free, in-app purchases available)
4 VSCO
VSCO is my favorite mobile editing app for filters, and it gives Lightroom a run for its money. But beyond its filters, you’ll also find a handful of basic sliders that you can use to adjust your overexposed photos.
Unlike Apple Photos and Lightroom, the Exposure slider in VSCO only goes from a scale of -6 to + 6. Nonetheless, the principle is the same; simply move the slider down until you’re happy with the lighting in your photo. Another way to edit overexposed pictures in VSCO is by adding some vignette once you’ve altered the exposure. I find that this is particularly useful if the highlights are blown out.
Sadly, you’ll need a paid subscription to access many of VSCO’s other sliders. Since many of the free ones add brightness to your picture, I suggest approaching these cautiously.
Download: VSCO for iOS | Android (Free, in-app purchases available)
5 Instagram
Instagram might not be the first tool to come to mind for fixing overexposed pictures, but some of the filters can make your images look less overexposed. I think that the New York, Oslo, Juno, and Slumber filters do a good job at muting the light in your picture. For each of these, you can move the slider to the left if you need to bring the exposure down.
Tapping the magic wand (Lux) tool will edit your photo automatically; you can move the slider to the left to reduce the effects if needed. Knowing which are the best Instagram filters will help you select the right ones.
6 Photoshop Express
Photoshop Express is another app that I’ve spoken very highly of in the past, and as one of the many Adobe mobile apps worth using, it’s ideal for making tweaks to your overexposed photos.
You can, like in Canva, choose different parts of the image to edit—but on a much more granular level. For example, you can pick specific subjects within your image. This is especially helpful if only certain parts of your photo require adjustments.
You’ll find many of the basic sliders are available in Lightroom, such as Whites, Shadows, and Highlights. I also suggest changing the luminance to change the overall lighting of the image. If needed, you can double-tap on your screen to zoom in.
Download: Photoshop Express for iOS | Android (Free, in-app purchases available)
7 Darkroom
Darkroom has similar tools to Lightroom, with sliders like Brightness and Highlights. You can also use a tone curve tool to edit different parts of your image, along with adjusting the luminance for different areas in your photo. If you’ve got overexposed skies, for example, you may want to consider bringing the blues’ luminance down.
You can also access multiple presets and sliders. Moreover, the app provides access to luminance masks.
Download: Darkroom for iOS (Free, in-app purchases available)
Fixing overexposed photos is very easy on your smartphone, and there are plenty of apps and tools that’ll help you do this. I always recommend starting with your native editing app, but tools like Lightroom are better if your photo needs more advanced tools.


