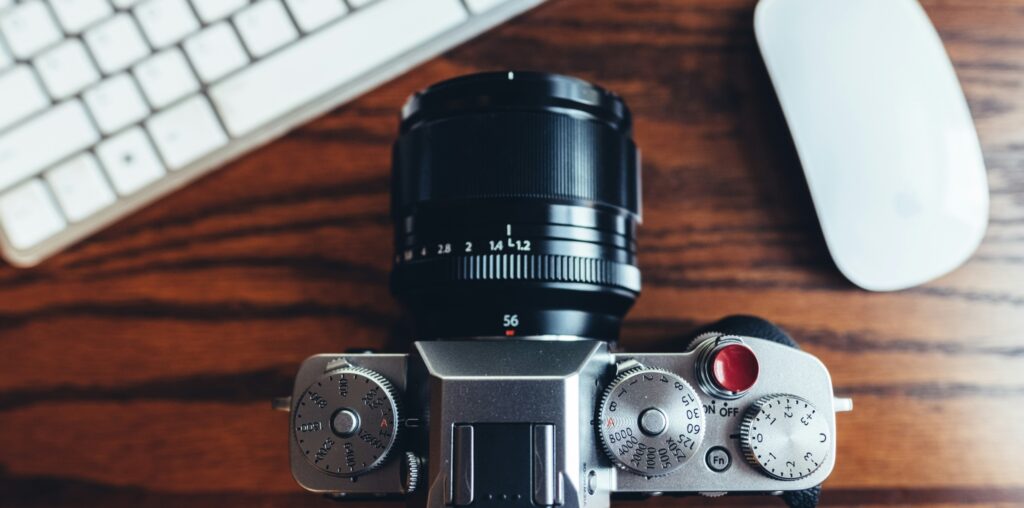
Auto ISO can be a very powerful tool for photographers. But if left on, in the wrong circumstances, it can also be at least a hindrance and at worst, reduce image quality.
Newcomers to photography may not even know about Auto ISO, yet it may be enabled by default on their cameras. Is Auto ISO a friend or foe? Today we are going to take a little dive into what it is, why and when you should use it, and more importantly when you should turn it off.
What Is ISO?
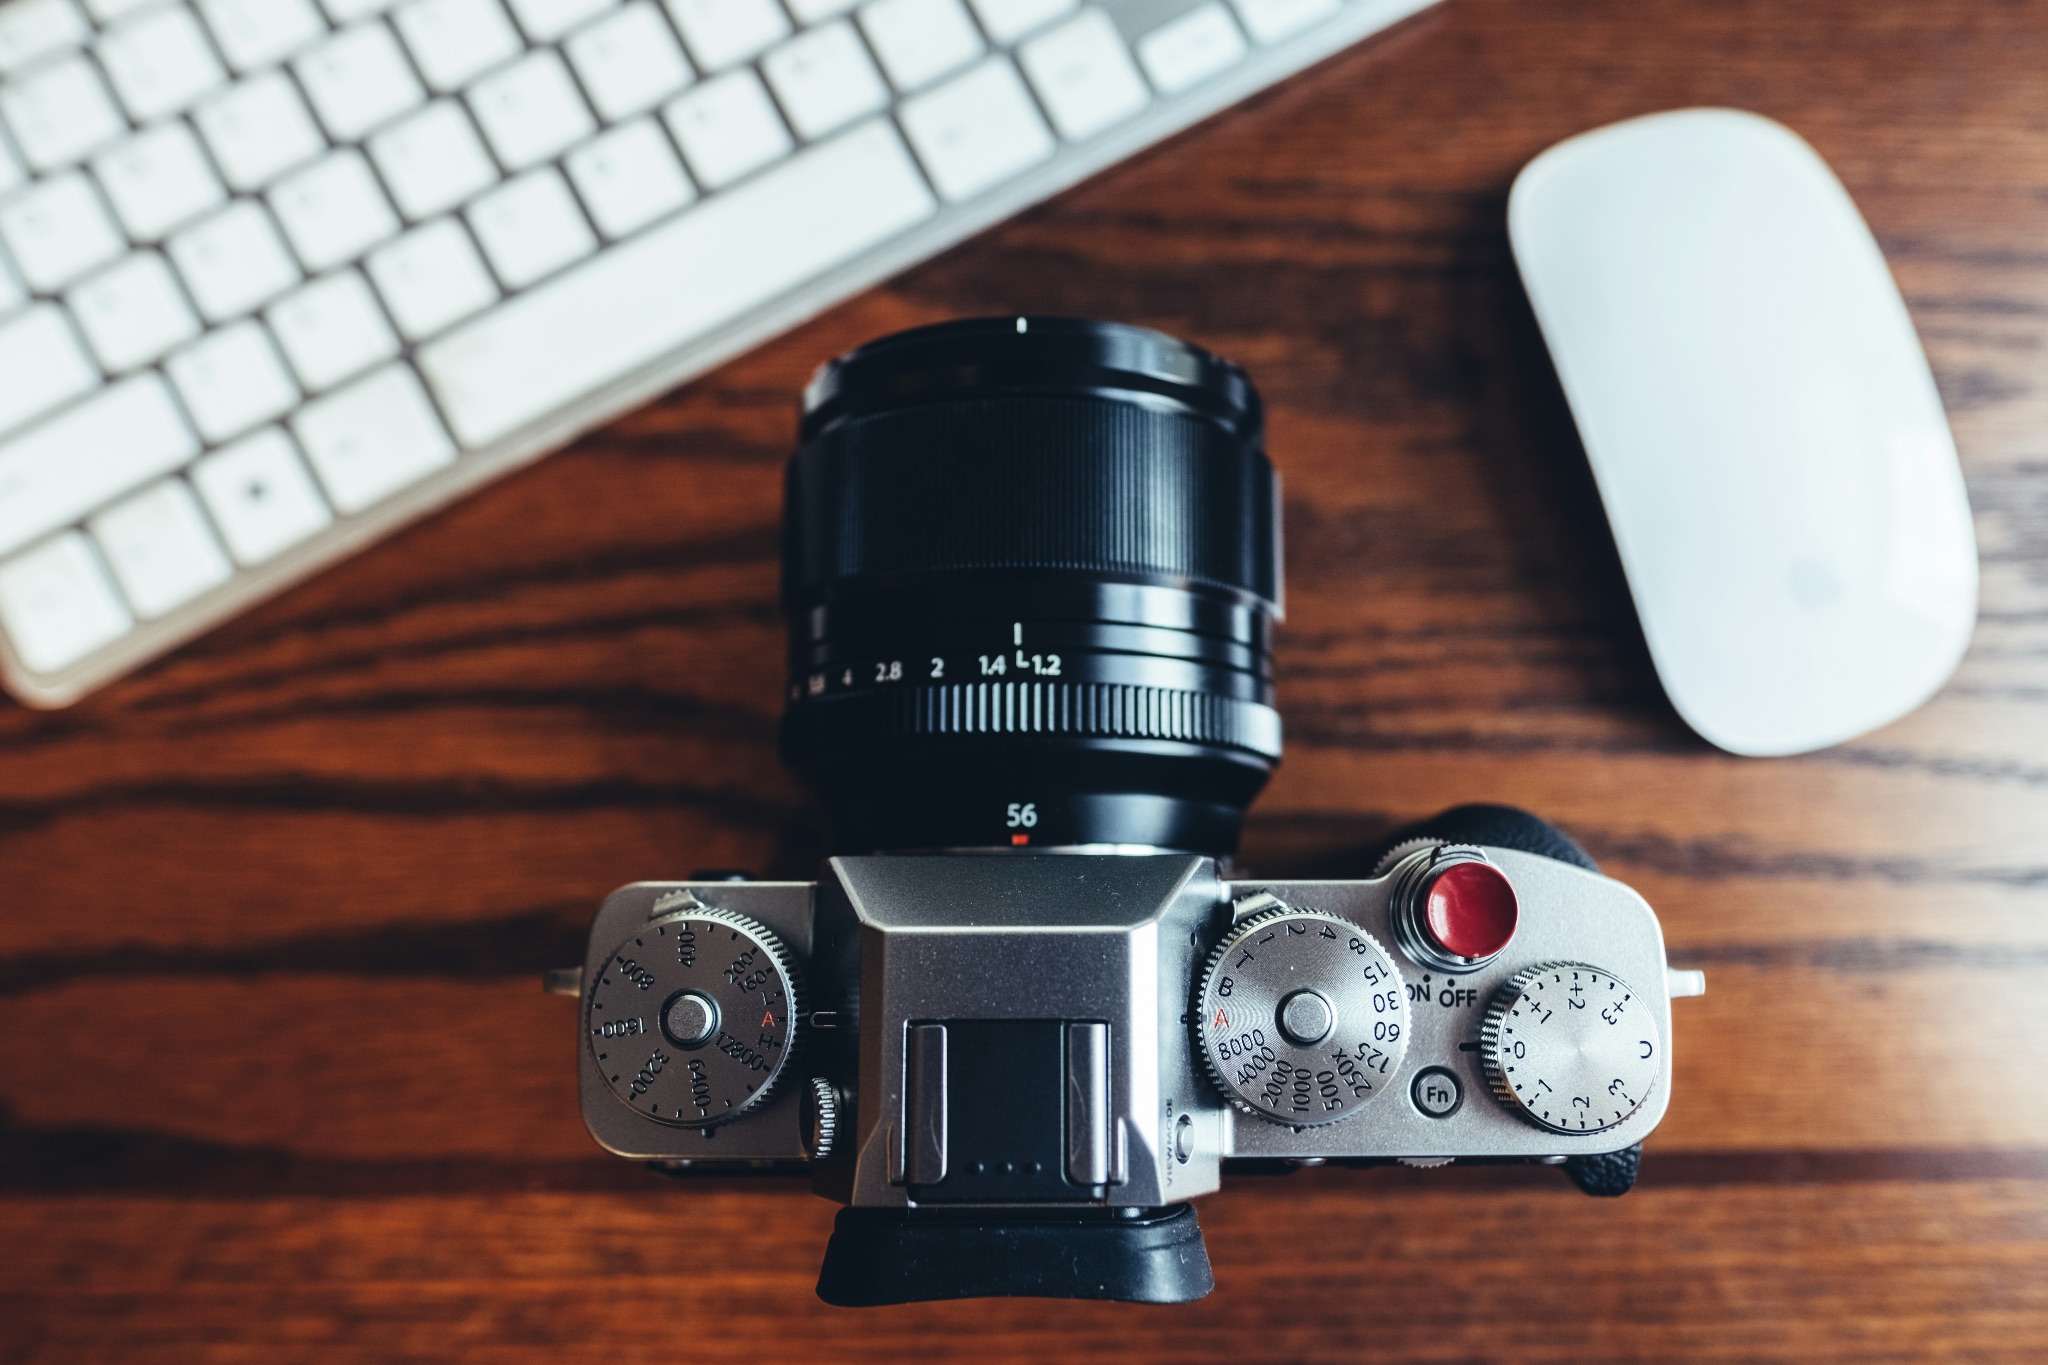
Before looking at Auto ISO, let’s look first at what ISO is. ISO, in layperson’s terms is the sensitivity of your camera’s sensor to light. It will have a base ISO, usually 100 or 200 but can be ramped up to much higher levels, in some cases 102400.
However, there is a cost to increasing that sensitivity, and that is noise. The more we bump the ISO, the higher and more prominent the noise will become in our photos.
In most cases we control the ISO ourselves. It’s part of the “fabled” exposure triangle, the other two sides of which are shutter speed and aperture.
Generally when shooting, we want the highest image quality so we use shutter speed and aperture to control our exposure. However there may be times when the light levels have dropped too low for the shutter speed or aperture we require, in that case we start to bump the ISO.
What Is Auto ISO?
Whilst in most cases we will set our ISO to base level and increase it as required, Auto ISO takes control of that decision making for us. It is mainly used when shooting in automatic modes such as shutter or aperture priority.
When using Auto ISO, the camera will decide if the shutter speed, for example, has become too low for hand holding the shot. It will also bump the ISO if the aperture cannot be opened any wider.
Generally in shutter priority it will increase the ISO if the camera cannot open the aperture wide enough. In aperture priority it will start to raise the shutter speed if the camera decides it’s too low for hand holding. In program modes it will be a combination of both of these.
The algorithm for deciding when to bump the ISO varies from camera to camera, however, we can define limitations for Auto ISO. These allow us to have a little more control over how Auto ISO kick in when shooting.
Auto ISO Presets
All modern cameras, in addition to having an Auto ISO mode, will allow us to set various preset limitations for it. These will be usually set from within your camera’s menu system. When switching your ISO to auto, you may find you can choose from one of several presets.
We can define these according to our own requirements. For example we might not want to get too much noise in our images. In this case we might restrict the ISO to 6400. We might also have a preset which just allows us to “get the shot” regardless of image quality. In this case we would set the limitation to close to the highest ISO.
However, that’s not the full story. We can also adjust the Auto ISO presets based on shutter speed and aperture.
Let’s say we are shooting sports. We need to maintain a high shutter speed to freeze the action. We might set the Auto ISO’s lowest shutter speed to 1/250th of a second. If the light levels drop below that, the camera will start to bump up the ISO to maintain 1/250th.
We can create several of these presets to suit our style of shooting.
When Should We Use Auto ISO?
There are many scenarios where we might want to use an Auto ISO preset. The aforementioned sports photography would be one, as would wildlife. By maintaining a high enough shutter speed you can ensure your image will not suffer from camera shake.
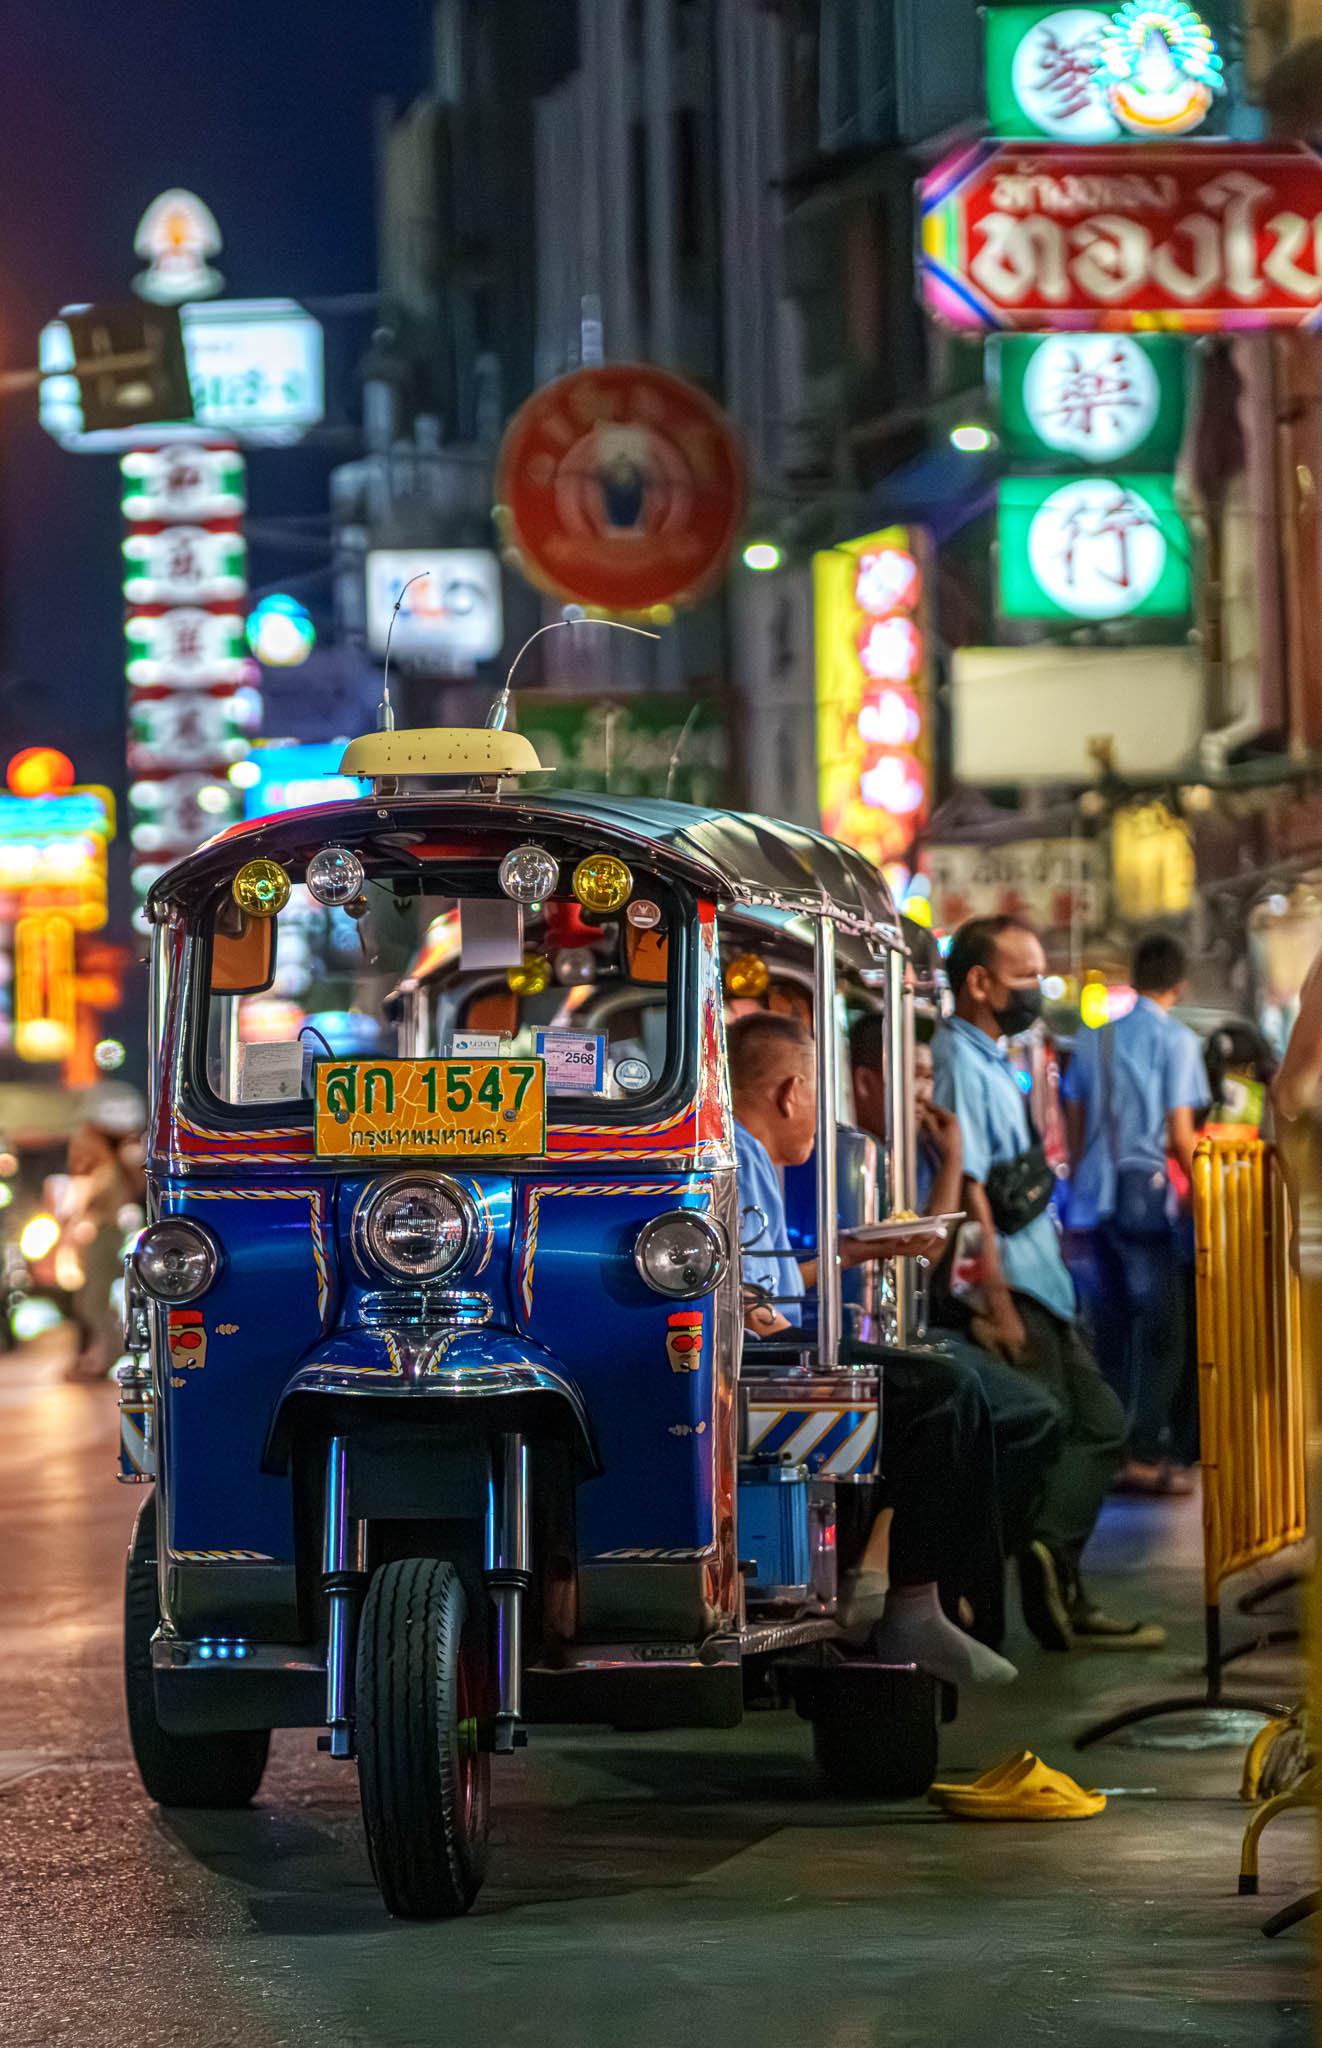
Even just wandering a city and going in and out of buildings. The change in EV levels from the street to the interior of a building can catch a lot of new photographers out. Having an Auto ISO set will bump the ISO to maintain a decent shutter speed, if for example you start shooting inside a cathedral.
Shooting in rapidly changing light conditions is another prime example of the need for Auto ISO. Low light conditions such as twilight or night when not using a tripod would be a useful scenario with which to use it.
When Not To Use Auto ISO
As useful as Auto ISO is, it’s not a get out of jail free card. There are many times where we want to maintain the utmost image quality. With Auto ISO switched on, we can often not notice a bump in ISO as we concentrate on the scene in front, leading to disappointment when we see the final image.
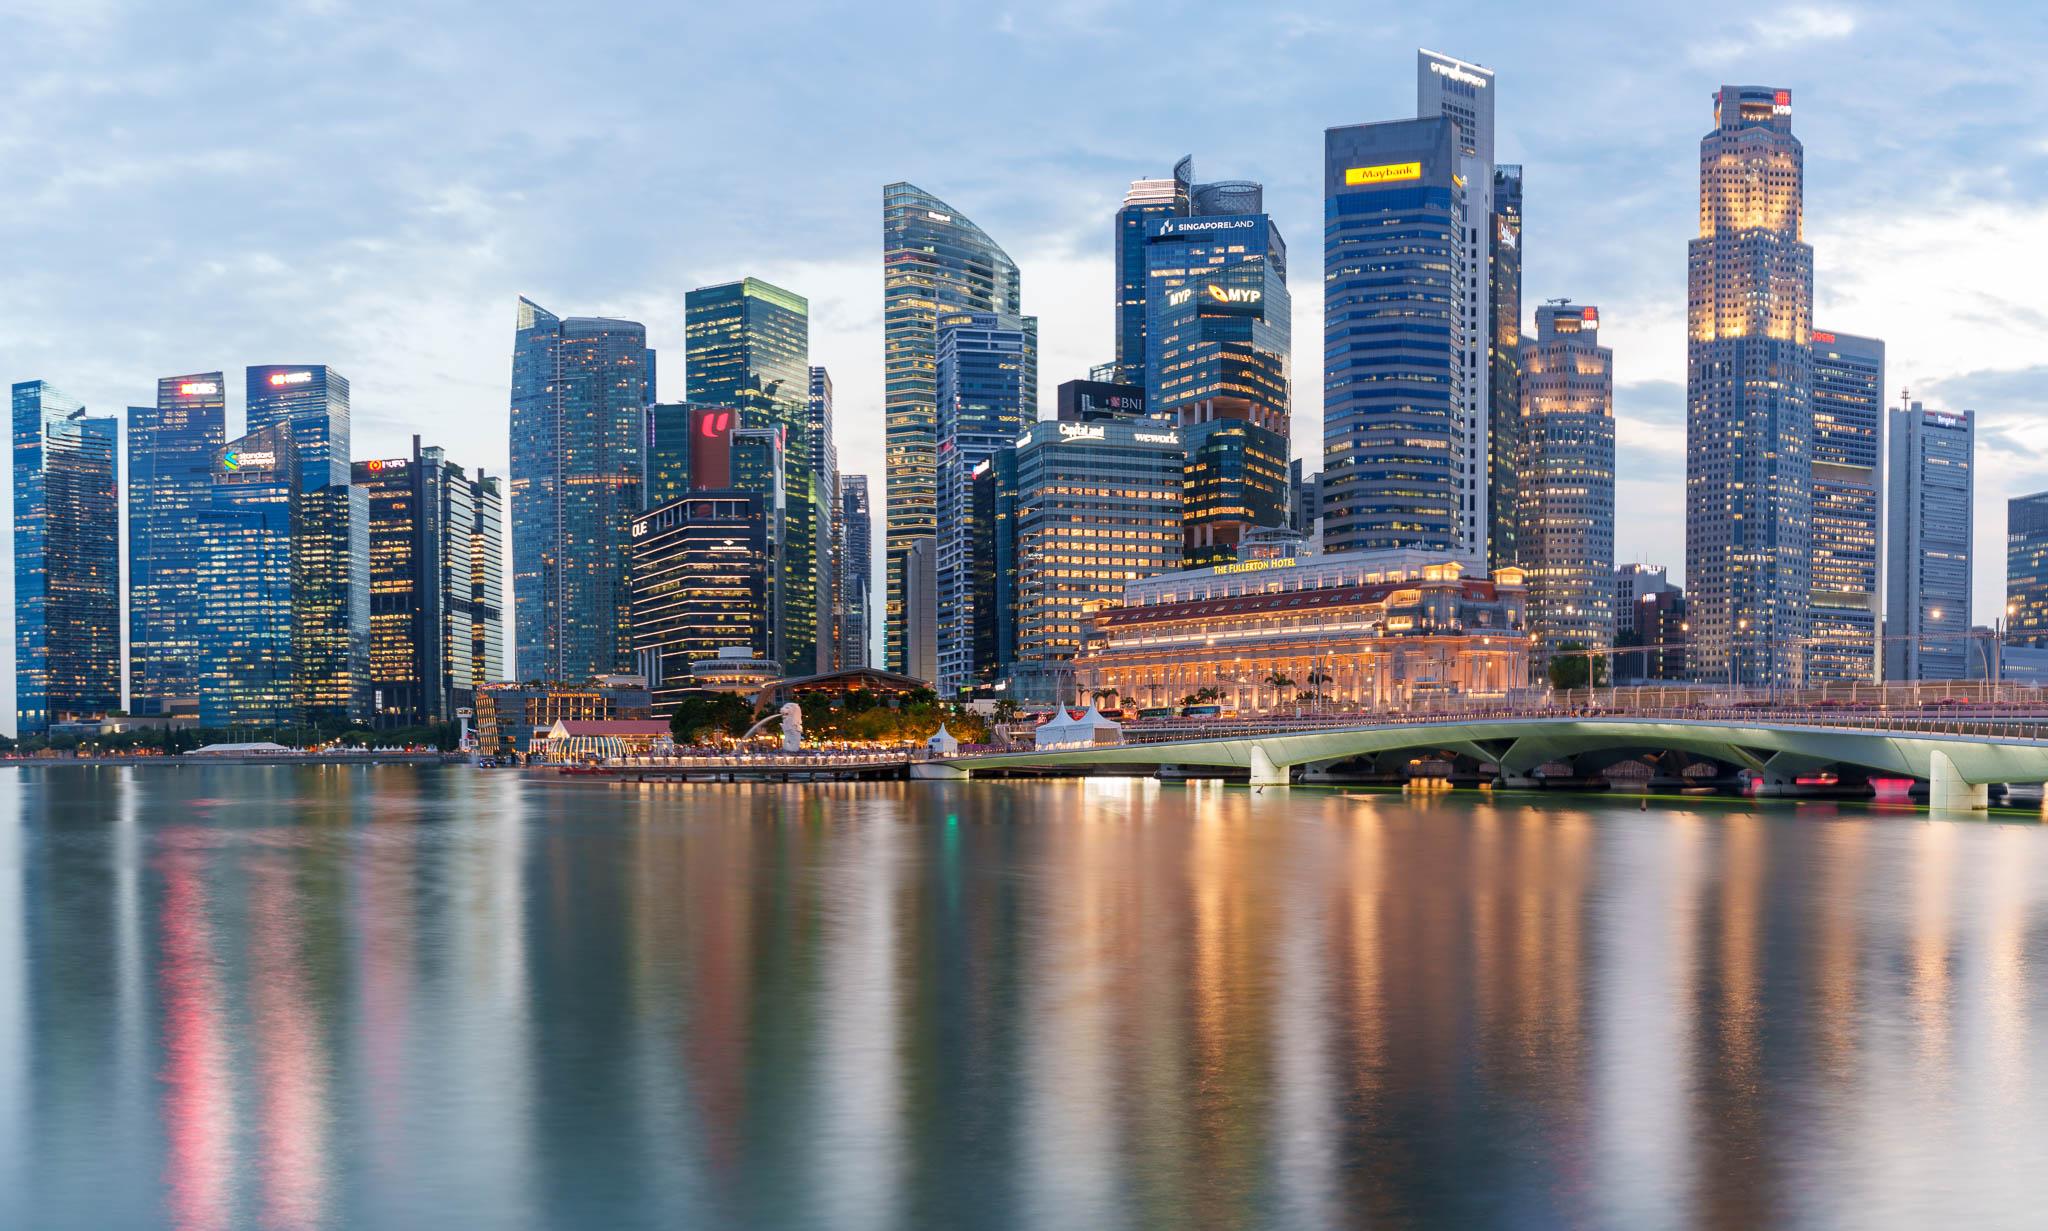
For shots where we are maintaining full control, Auto ISO is a hindrance. For example shooting a beautiful blue hour scene from a tripod. We might want to get long exposures but the Auto ISO will kick in to make sure our shutter speeds do not get too long.
Personally I have several presets for Auto ISO but it is not switched on by default. For most shots I will have the ISO set to base and increase it manually as required. However, for scenarios such as those mentioned in the previous section, I will switch it on.
Auto ISO is a very powerful and often overlooked tool. The most important aspects are knowing when to use it and also being able to set presets to suit your own style of photography.
There will be many occasions where Auto ISO is not needed, however there will be some where it can be very useful to offload the ISO decisions to the camera to allow you to concentrate more on the composition.
