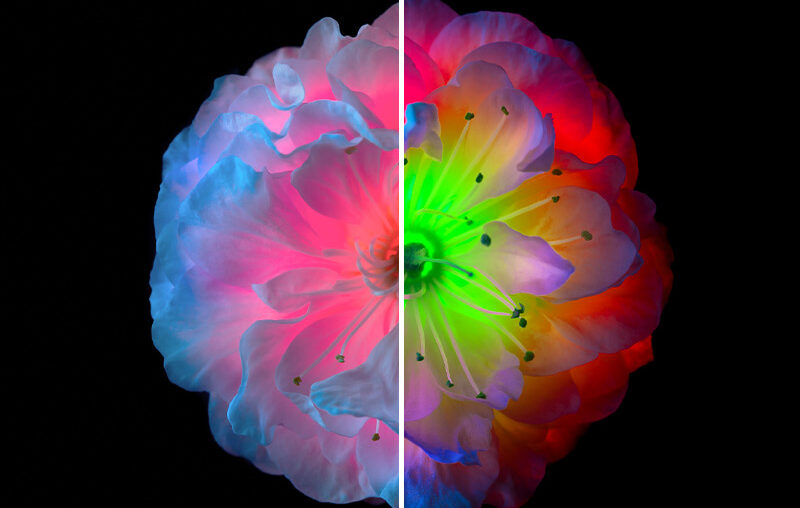
Today let’s learn about Photoshop’s Adjustment Brush tool! The Adjustment Brush is ideal for quicker edits and Photoshop adjustments like changing the color of objects or adjusting specific areas to be brighter or darker. Let’s take a closer look at how it works!
1. How to use the Adjustment Brush tool in Photoshop
Step 1
First, select the Adjustment Brush. Its default location is in the left-hand toolbar, under the Gradient tool.


Step 2
Once it’s selected, you’ll see the Adjustment settings in the upper options bar or contextual taskbar in Photoshop. Choose your preferred adjustment. I’ll be using Hue/Saturation in this example.


Step 3
Next, paint on the canvas with the Adjustment Brush. Once you click, a Hue/Saturation adjustment layer and mask will automatically be created.
You can now freely paint on this layer, switching between adding and erasing the adjustment settings using the + and – icons in the upper options bar or contextual taskbar in Photoshop.
You can control the size of the brush using the [ and ] keys.
Step 4
All of the Photoshop adjustments have default settings, but you can change them using the Window > Properties panel.
In this example, I set the Hue to 119 to change the middle of the flower to a glowing neon green color.
You can stack as many adjustment layers created using the Adjustment Brush as you’d like.


2. How to use Object Select in Photoshop
Step 1
If you have a specific object you’d like to adjust, you can use the Object Select option in the upper options bar or contextual taskbar in Photoshop.
First, choose your adjustment; I’ll be using Hue/Saturation. Next, click the Object Select icon.


Step 2
Hover over the object you want to change. Photoshop will highlight in pink the areas it thinks you might be trying to select. However, you can also manually click and drag around the object you’d like to select.


Step 3
Once you click, the adjustment layer and mask will automatically be created. Edit the adjustment layer by clicking the layer to make sure it’s active and then going to Window > Properties.
My Hue/Saturation settings are 180 Hue and Saturation 50.
If you need to make more adjustments using the same settings, keep the adjustment layer and Adjustment Brush active, and then continue to use either the Object Select option or the brush. You do not have to create separate adjustment layers for each selection.


Step 4
The adjustment works by automatically creating an adjustment layer and a mask that function the same as if you’d created them manually. This means you can edit them as much as you want.
You can edit the mask by clicking it to make sure it’s active and using your normal Photoshop brushes set to white or black to add or remove from the mask. Below, I refined the blue flowers using a default soft round Brush.
You can use custom Photoshop brushes on adjustment layers for different effects.


That’s how to use the Adjustment Brush tool in Photoshop!
The Adjustment Brush makes it easier than ever to create quick and easy color and lighting adjustments in Photoshop. Remember that the adjustments can be stacked on top of one another, and they work exactly like normal adjustment layers, so you can edit them over and over again!
Looking to learn more? Check out these Photoshop tutorials:

