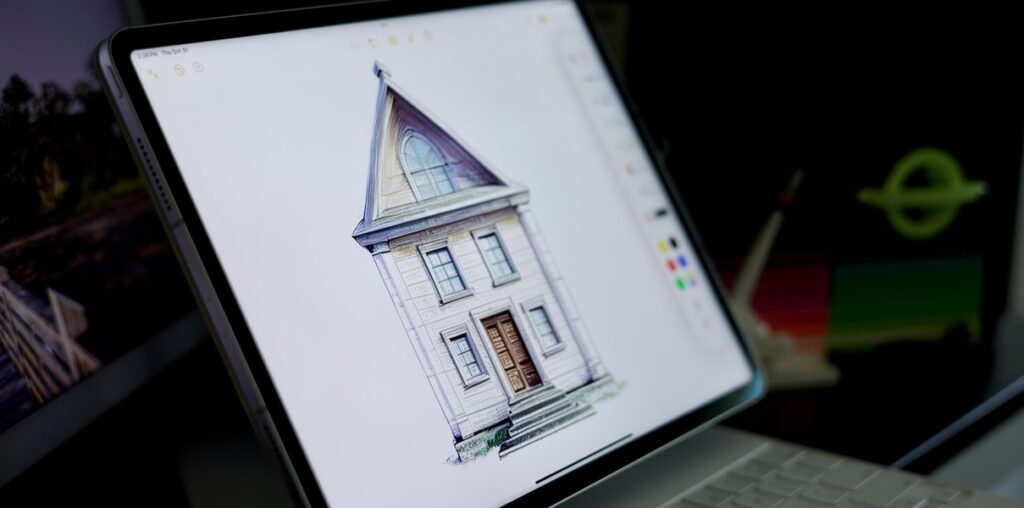
Drawing in Apple Notes can be fun, but our sketches may not always turn out as polished as we’d like (cue the “my 5-year-old can draw better than that” jokes). Thankfully, Apple’s new Image Wand feature in iOS 18.2 and iPadOS 18.2 aims to make creating professional-quality visuals a breeze, even if you lack artistic skills.
With Image Wand, an offshoot of Apple Intelligence‘s Image Playground, you can generate a polished drawing for your note by describing what you want, selecting text to convert, or even just circling a blank area to pull descriptors from nearby text. Whether you need a quick sketch for a project or a detailed diagram, Image Wand makes it possible with minimal effort.
In this guide, we’ll walk you through how to use Image Wand on an iPhone or iPad. You can use an Apple Pencil with Image Wand, but all that’s necessary is your good ol’ fingertips and some know-how.
Requirements
Image Wand is limited to iOS 18.2 and iPadOS 18.2, currently in beta, on devices that support Apple Intelligence. Here are the devices that work right now:
In addition, Apple Intelligence features must be enabled:
- Navigate to Settings » Apple Intelligence & Siri and make sure Apple Intelligence is toggled on.
- If you do not already have access, request early access to Apple’s Image Creation tools and wait to be accepted. You can request access by going to the Apple Intelligence & Siri settings, opening Image Playground, or attempting to use Genmoji or Image Wand.
At first, Image Wand will be exclusive to Apple Notes, but it may soon be supported in other apps like Pages and Keynote or in third-party apps.
If you’re using an iPad, an Apple Pencil can make things a lot easier, but one is not required to use Image Wand. But you may want to invest in one if you sketch or draw a lot on your iPad.
Use Your Note’s Text to Create an Image
If you want Image Wand to create a custom image based on the text surrounding or nearby where you want the image to go, there are a few ways to go about it. With the insertion point where you want the image to go, do one of the following:
- Tap the blinking insertion point to bring up the contextual menu, then select “Add to Playground” (previously called “Create Image”).
- Tap the Attachments button in the toolbar, then select “Image Playground” from the list.
- Tap the Markup button in the toolbar, select the Image Wand icon from the Markup or Apple Pencil tool palette, then draw a circle around a blank area in the note using your finger or Apple Pencil.
You can also select text in your note and use one of the first two options above to generate images based only on the highlighted text.

The Image Playground interface will appear, and it will pull a few keywords and phrases after analyzing the surrounding text to use as prompts. Shortly after, the first generated image will appear. You can swipe to see more generated images or remove or add descriptors to fine-tune the results.

Tap the plus (+) button next to the text field, and you might see more descriptors you can add to your image’s recipe. You can also switch styles from Sketch to Illustration to Animation from this menu.

Use a Sketch in Your Note to Create an Image
If you want Image Wand to create a custom image based on a sketch or drawing you already have in your note, open the Markup tools, select the Image Wand icon from the Markup or Apple Pencil tool palette, and then draw a circle around the sketch or drawing using your finger or Apple Pencil.
In its current state, you must add a descriptor in the text field and hit the upload button for Image Playground to begin generating your custom image. This may change in future updates so that you don’t have to enter any text to get things going. When the image appears, you’ll see your descriptor and your sketch or drawing around it.

You can swipe to see more generated images or remove or add descriptors to fine-tune the results.

Tap the plus (+) button next to the text field, and you might see more descriptors you can add to your image’s recipe. You can also switch styles from Sketch to Illustration to Animation from this menu.

Update Your Custom Generated Image
After you hit “Done” to insert your chosen generated image into your note, you can further refine the image. For example, you can drag a corner to shrink or enlarge the image. You can also tap it to bring up the contextual menu to delete or duplicate it. Select the More (•••) button from the contextual menu to get more options, such as “Remove Background,” which does its best to make your image more like a sticker.

The More menu also has a “Recreate” button, which will reopen the Image Playground interface and give you new images based on the already assigned descriptions. You can also find this option as an icon in the main contextual menu.
Your generated image will be inside a drawing field, but you can turn it into a regular image attachment. To do so, touch and hold it, then drag it outside the drawing box to another spot in the note. When you do this, you can no longer customize it with Image Playground.

As you can see, Apple Intelligence can do the heavy lifting in many scenarios, from editing a document to creating professional sketches. This is just another real-world use case of how you can leverage the power of the built-in artificial intelligence in your devices to get work done.
Just updated your iPhone to iOS 18? You’ll find a ton of hot new features for some of your most-used Apple apps. Dive in and see for yourself:

