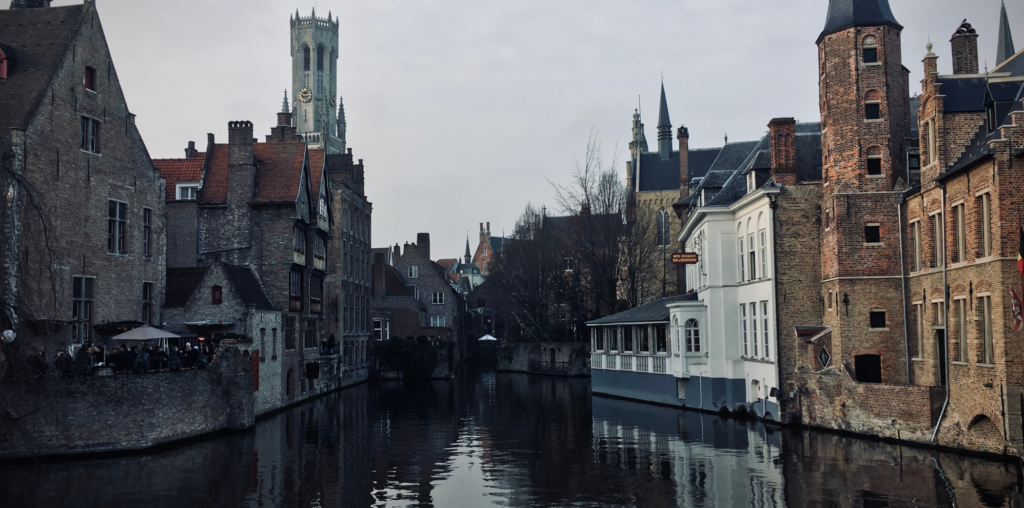
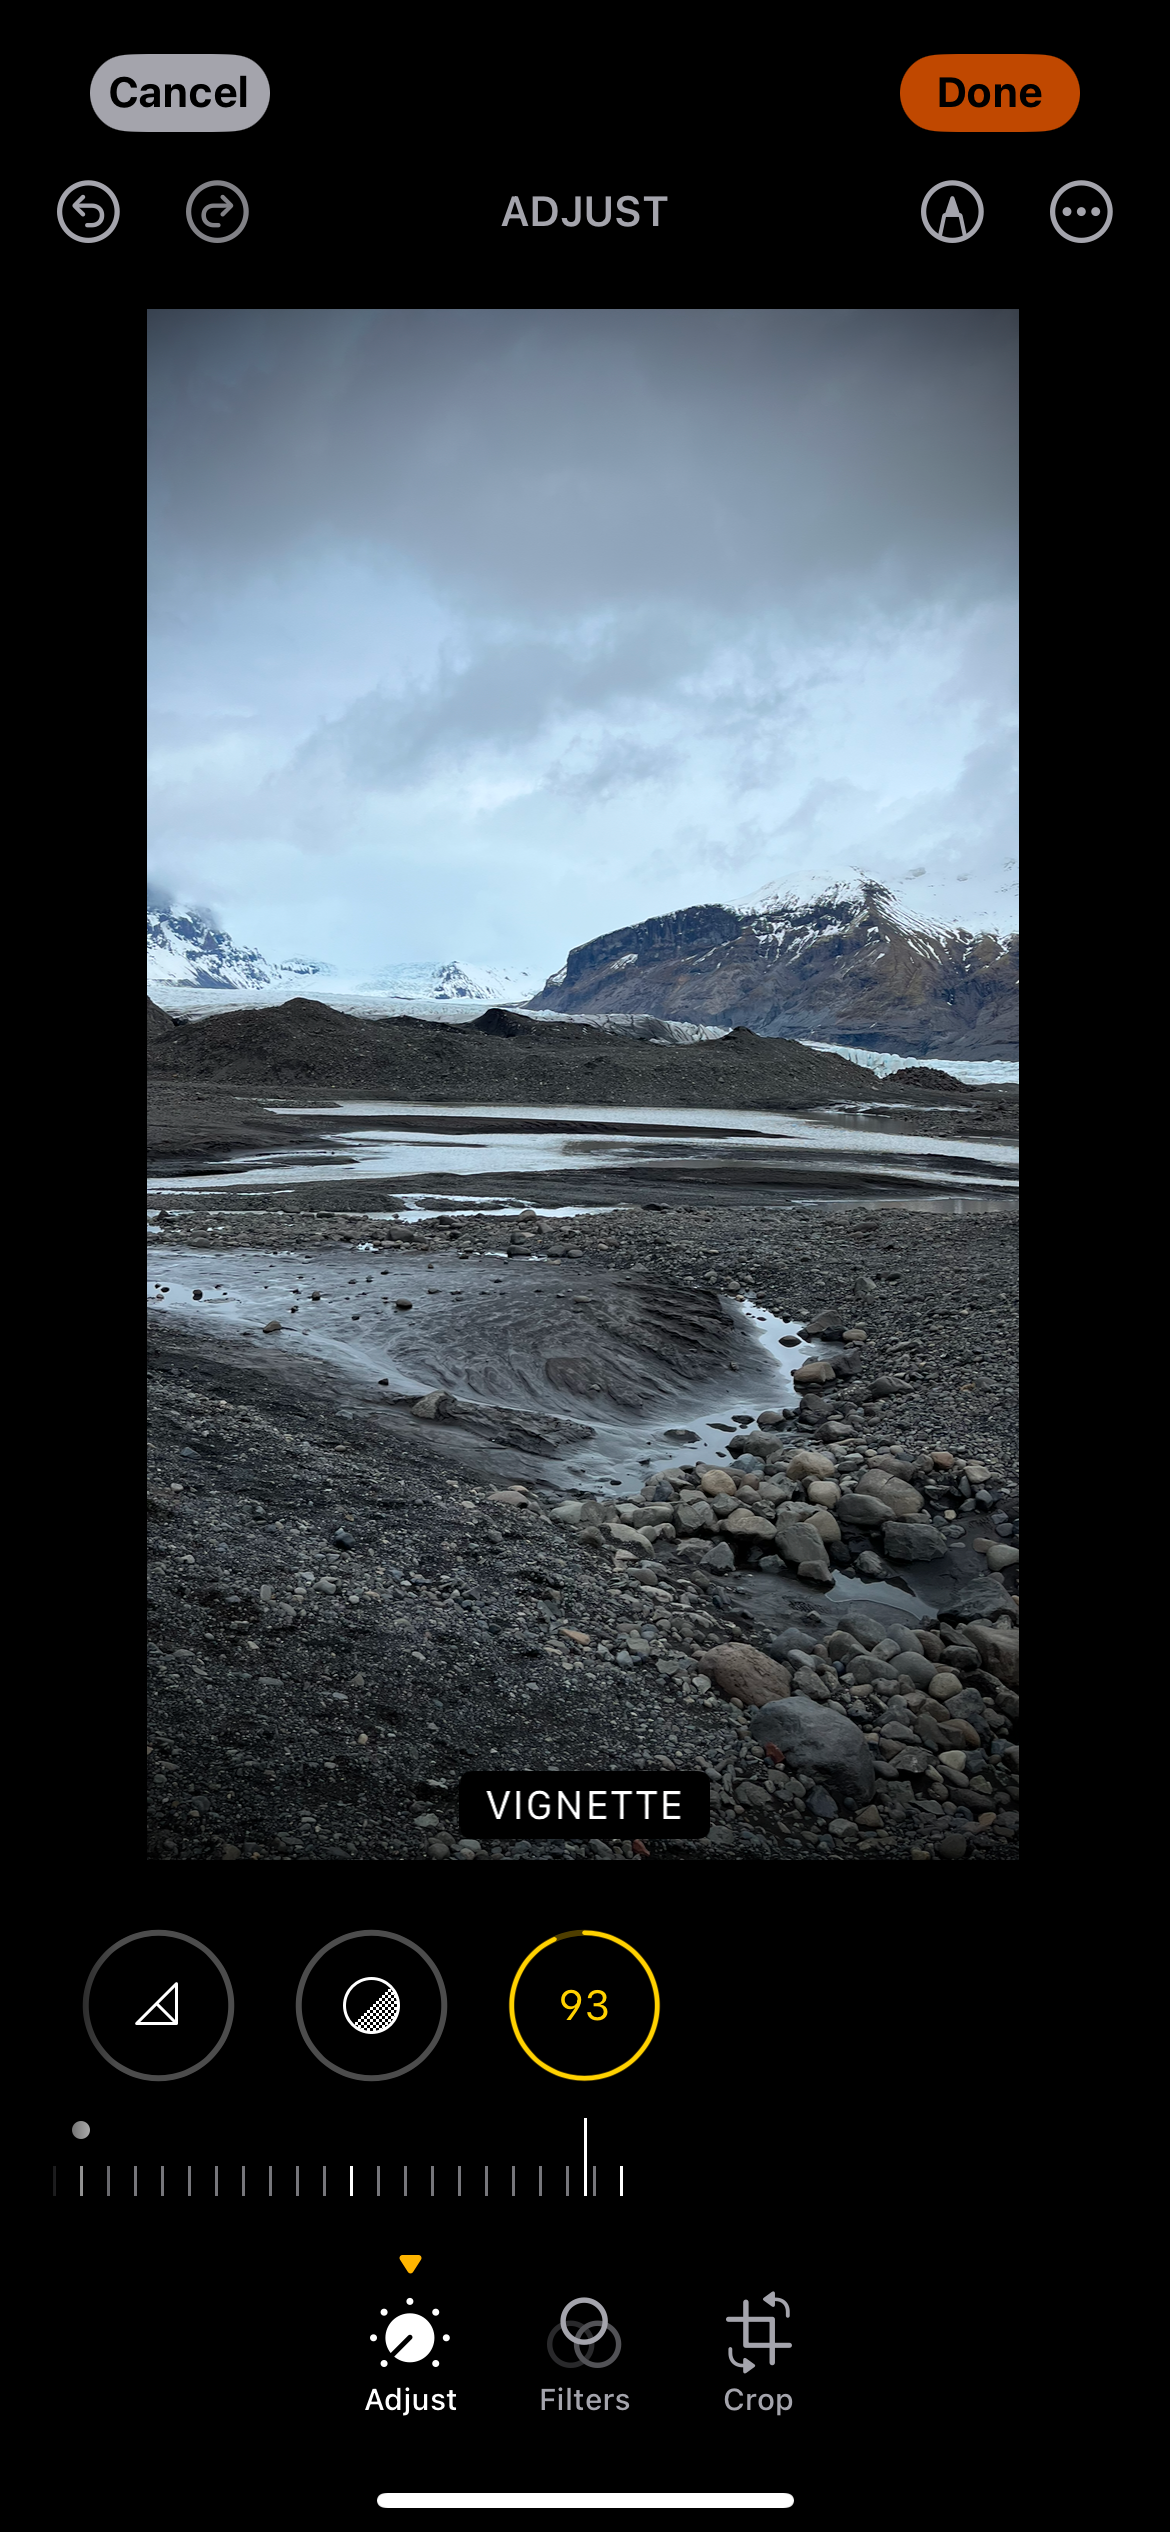
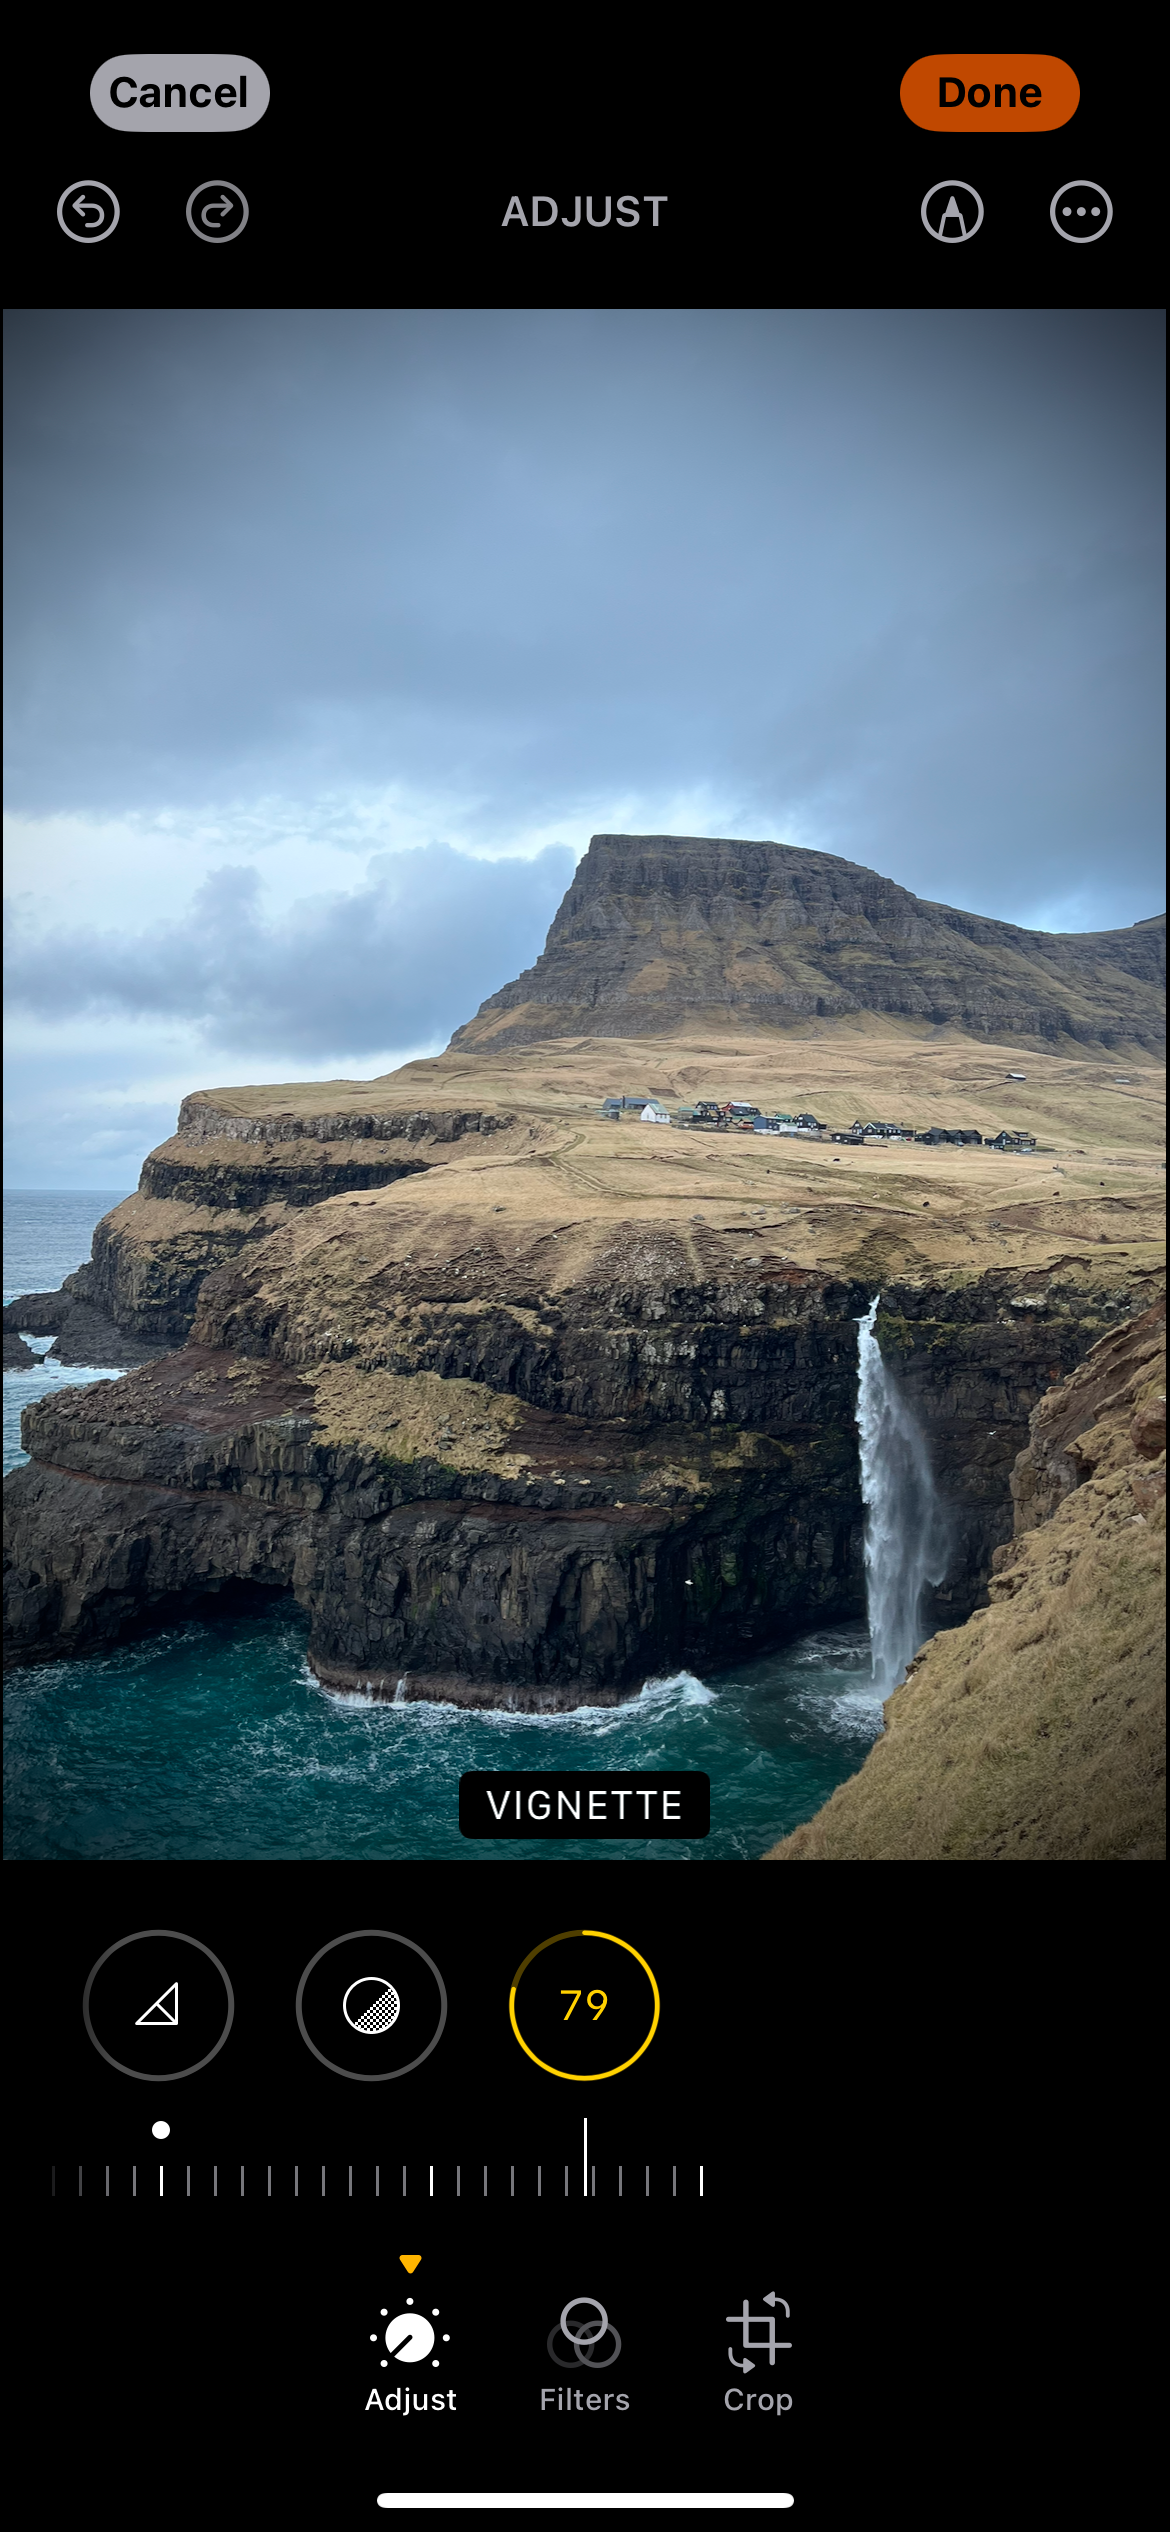
Vignetting is a simple but effective way to make your smartphone photos look better, and you can use this effect on several kinds of images. I’ve experimented with vignettes on bright and overcast days, and in both urban areas and natural landscapes. Here’s how to make the most of this photo effect in different scenarios.
1 Overcast Days
By far the best time to use vignetting in your smartphone photos is on an overcast day. I often find that the sky is a bit flat in these situations, and darkening the sides is an easy way to add another dimension to my images. Besides creating custom vignettes in Photoshop, your smartphone’s photo editing app should have a basic vignette function too.
When editing overcast pictures on your smartphone, I recommend moving your vignette slider to the right. Doing so will add more of a black vignette; doing the opposite will make the picture more white, but that’s not the best choice for overcast conditions.
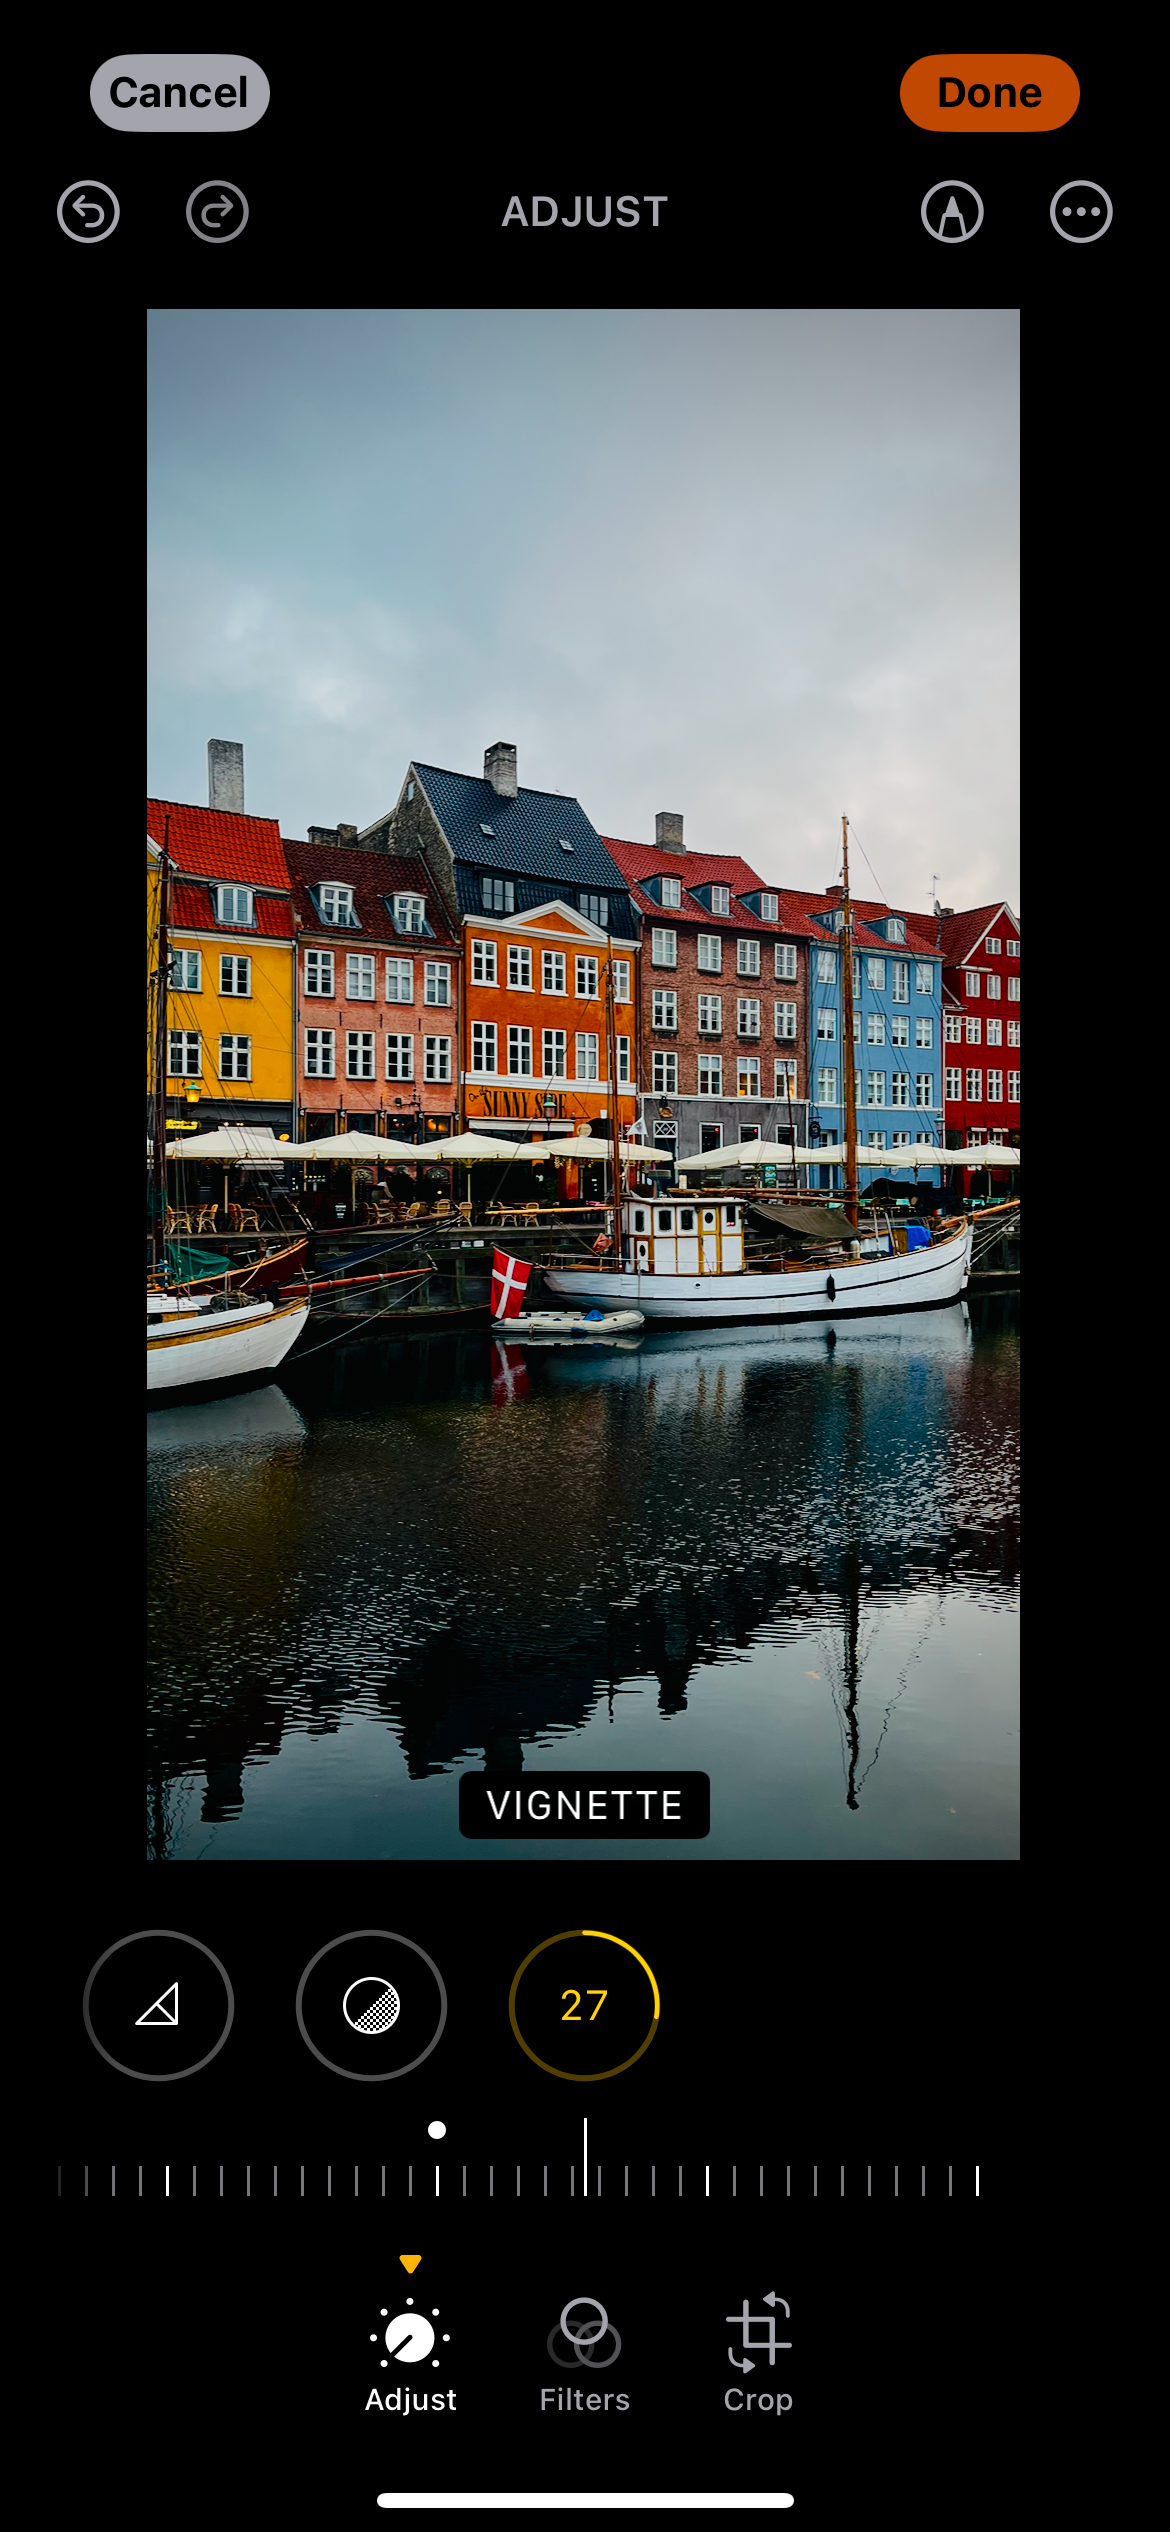
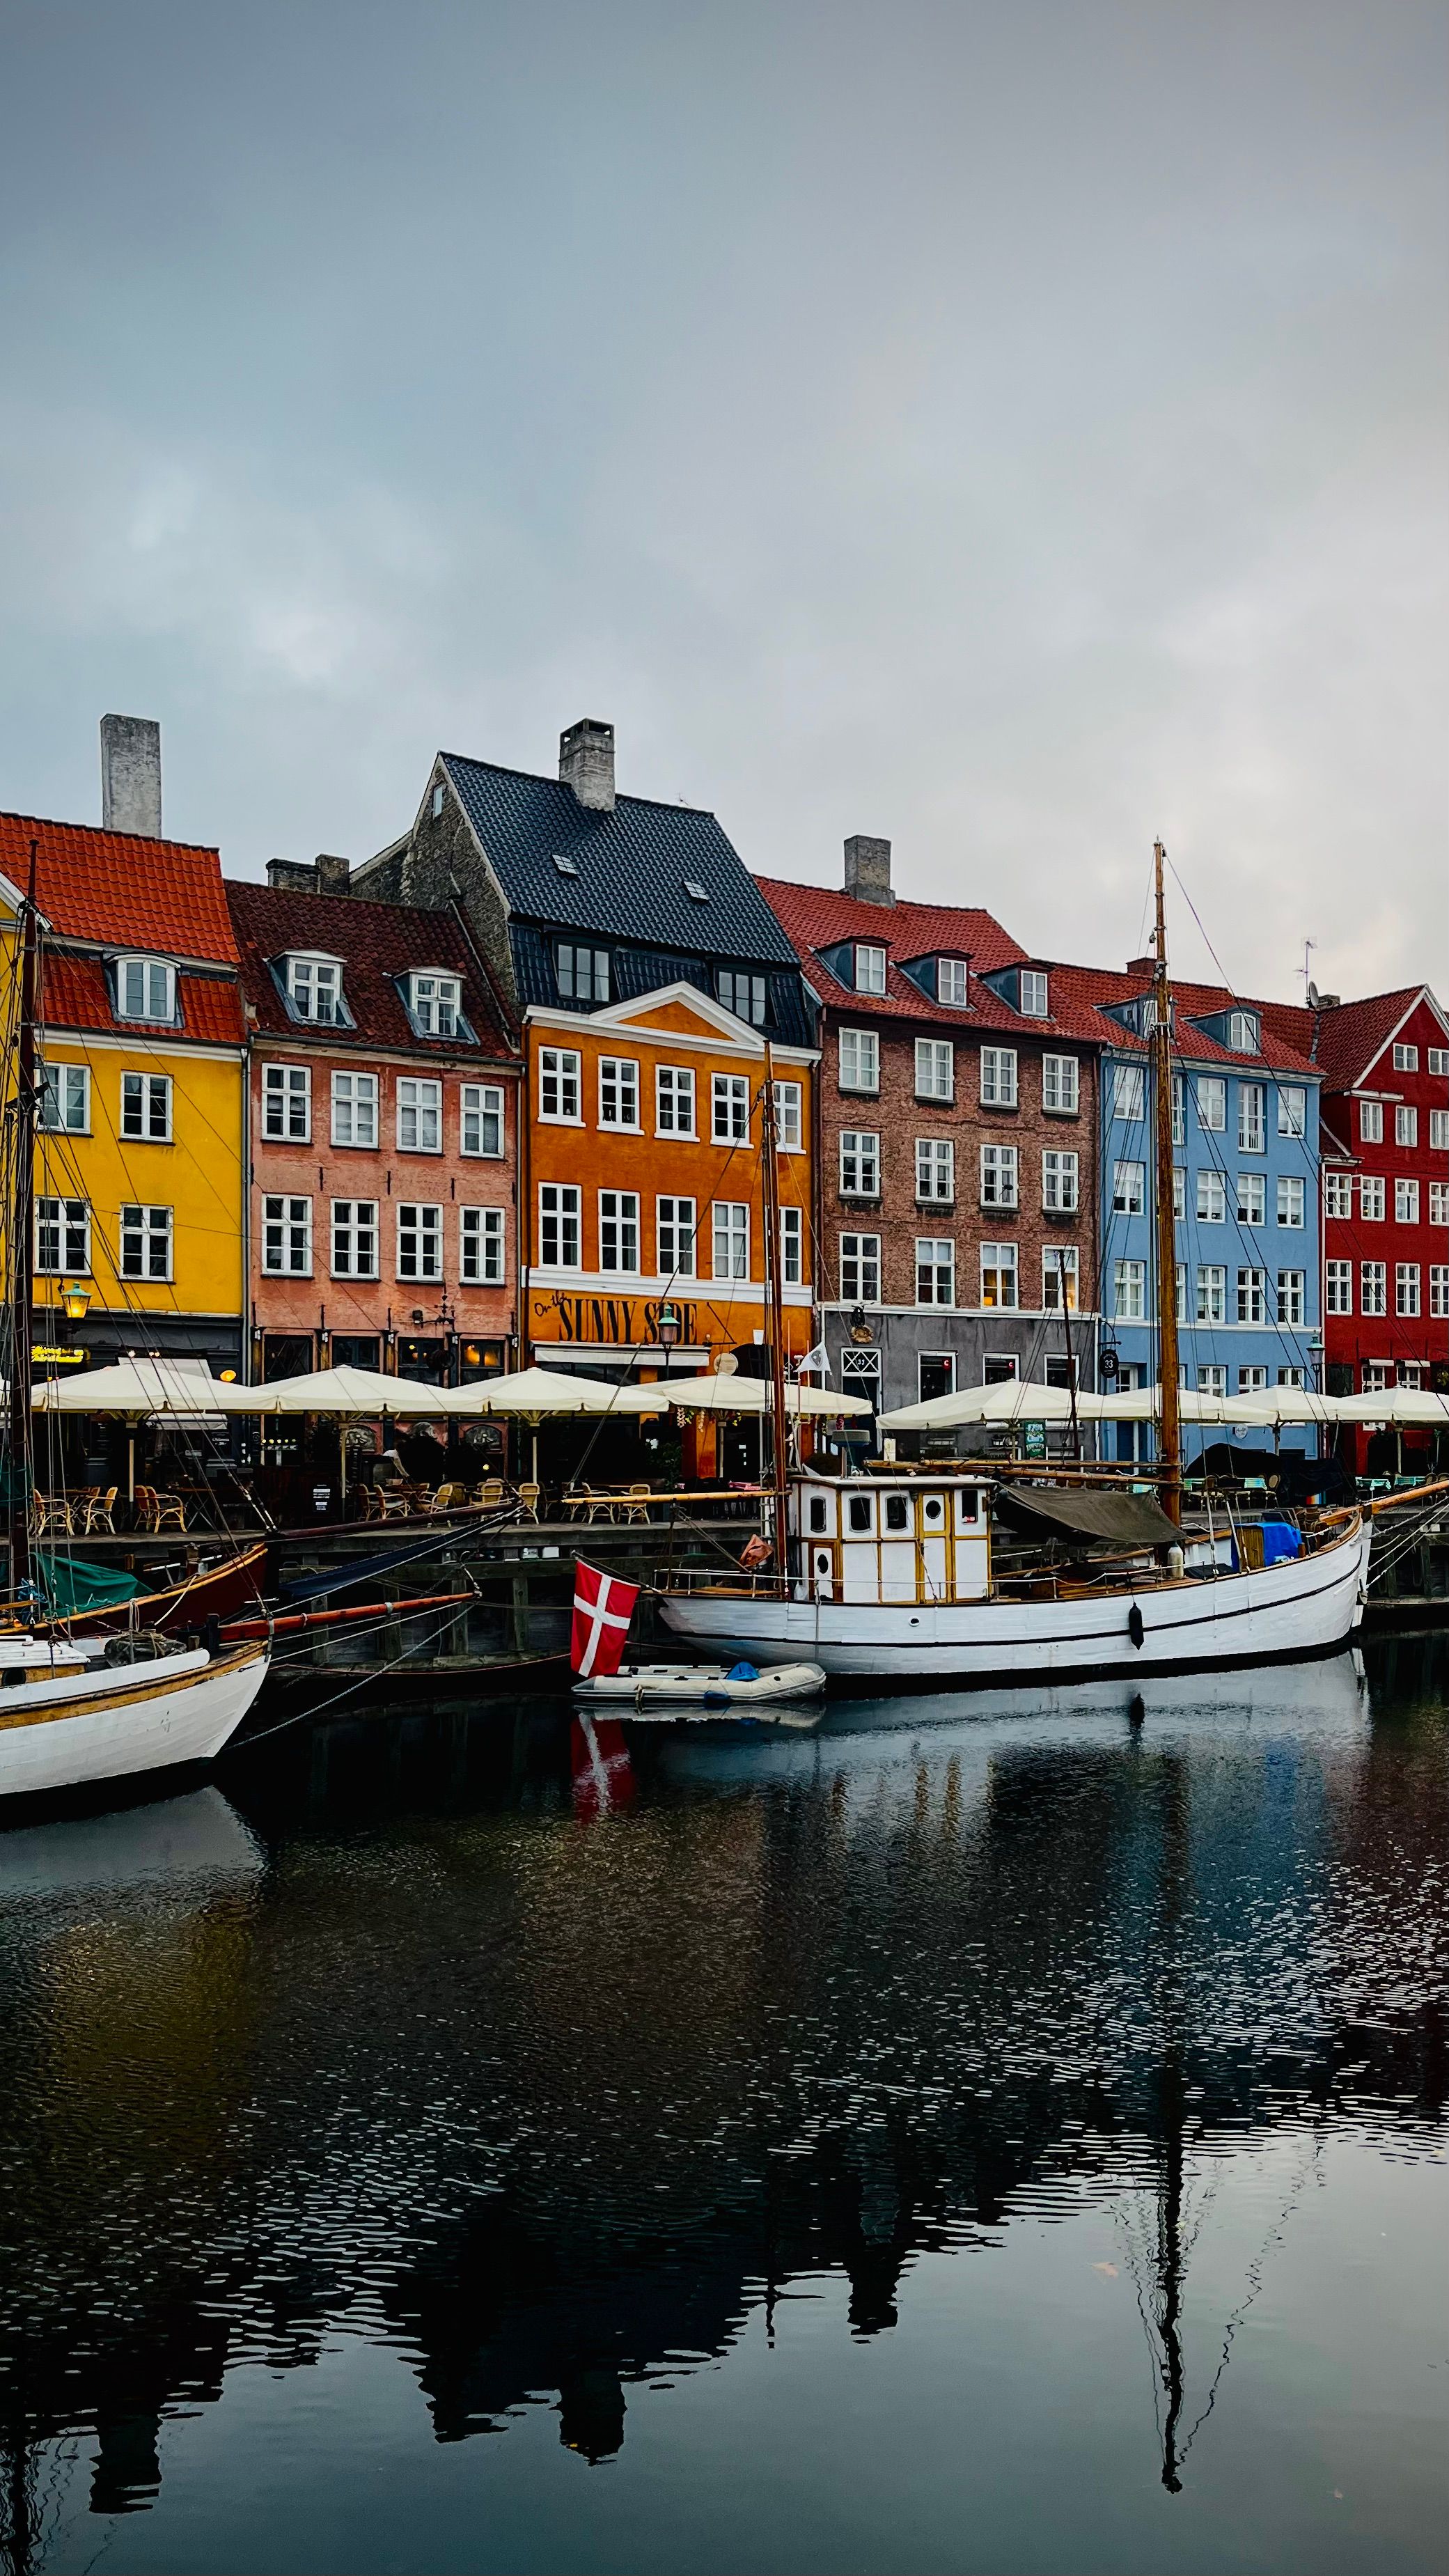
While moving the slider to the right added a black vignette effect on my smartphone’s editing app, some tools—such as Lightroom—will do the opposite if you move your slider in that direction. This is something to keep in mind if you’re working with different photo editors.
2 Blue Skies
Controversially, I don’t like sunny weather—and I dislike taking pictures on sunny days even more. Nonetheless, whether you have to fix an overexposed picture on your smartphone or make harsh lighting look better, adding vignettes can help you do that.
The type of vignette I recommend adding will depend on how blue your sky is. On particularly bright days, I recommend adding a brighter vignette. This effect can work quite well with overexposed images, too, and in numerous settings (such as capturing images on the beach).
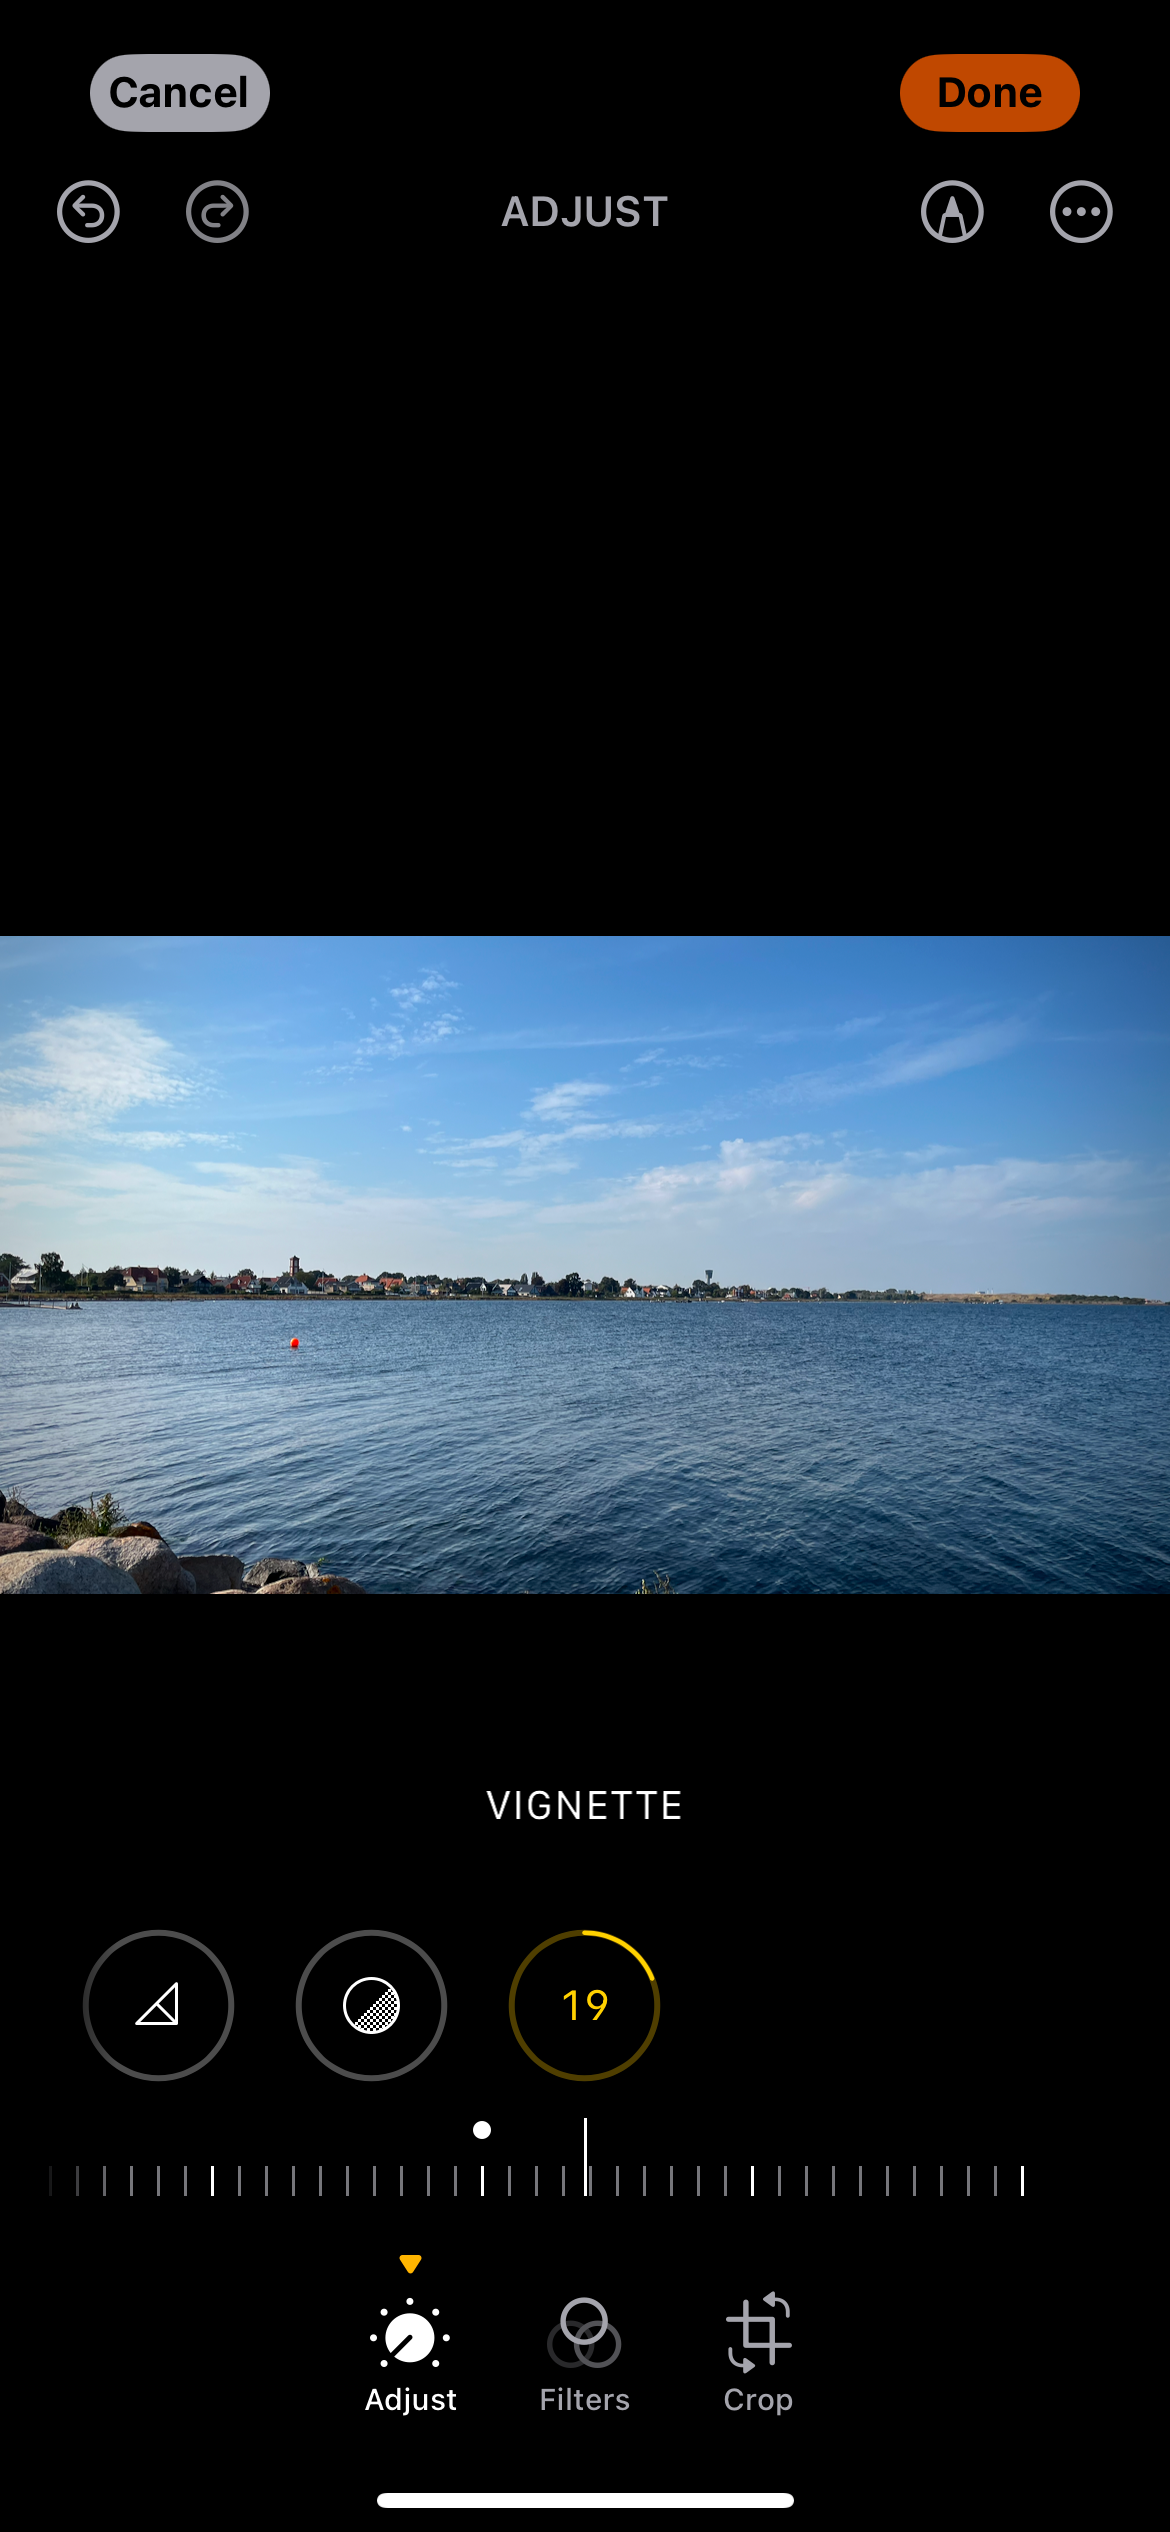
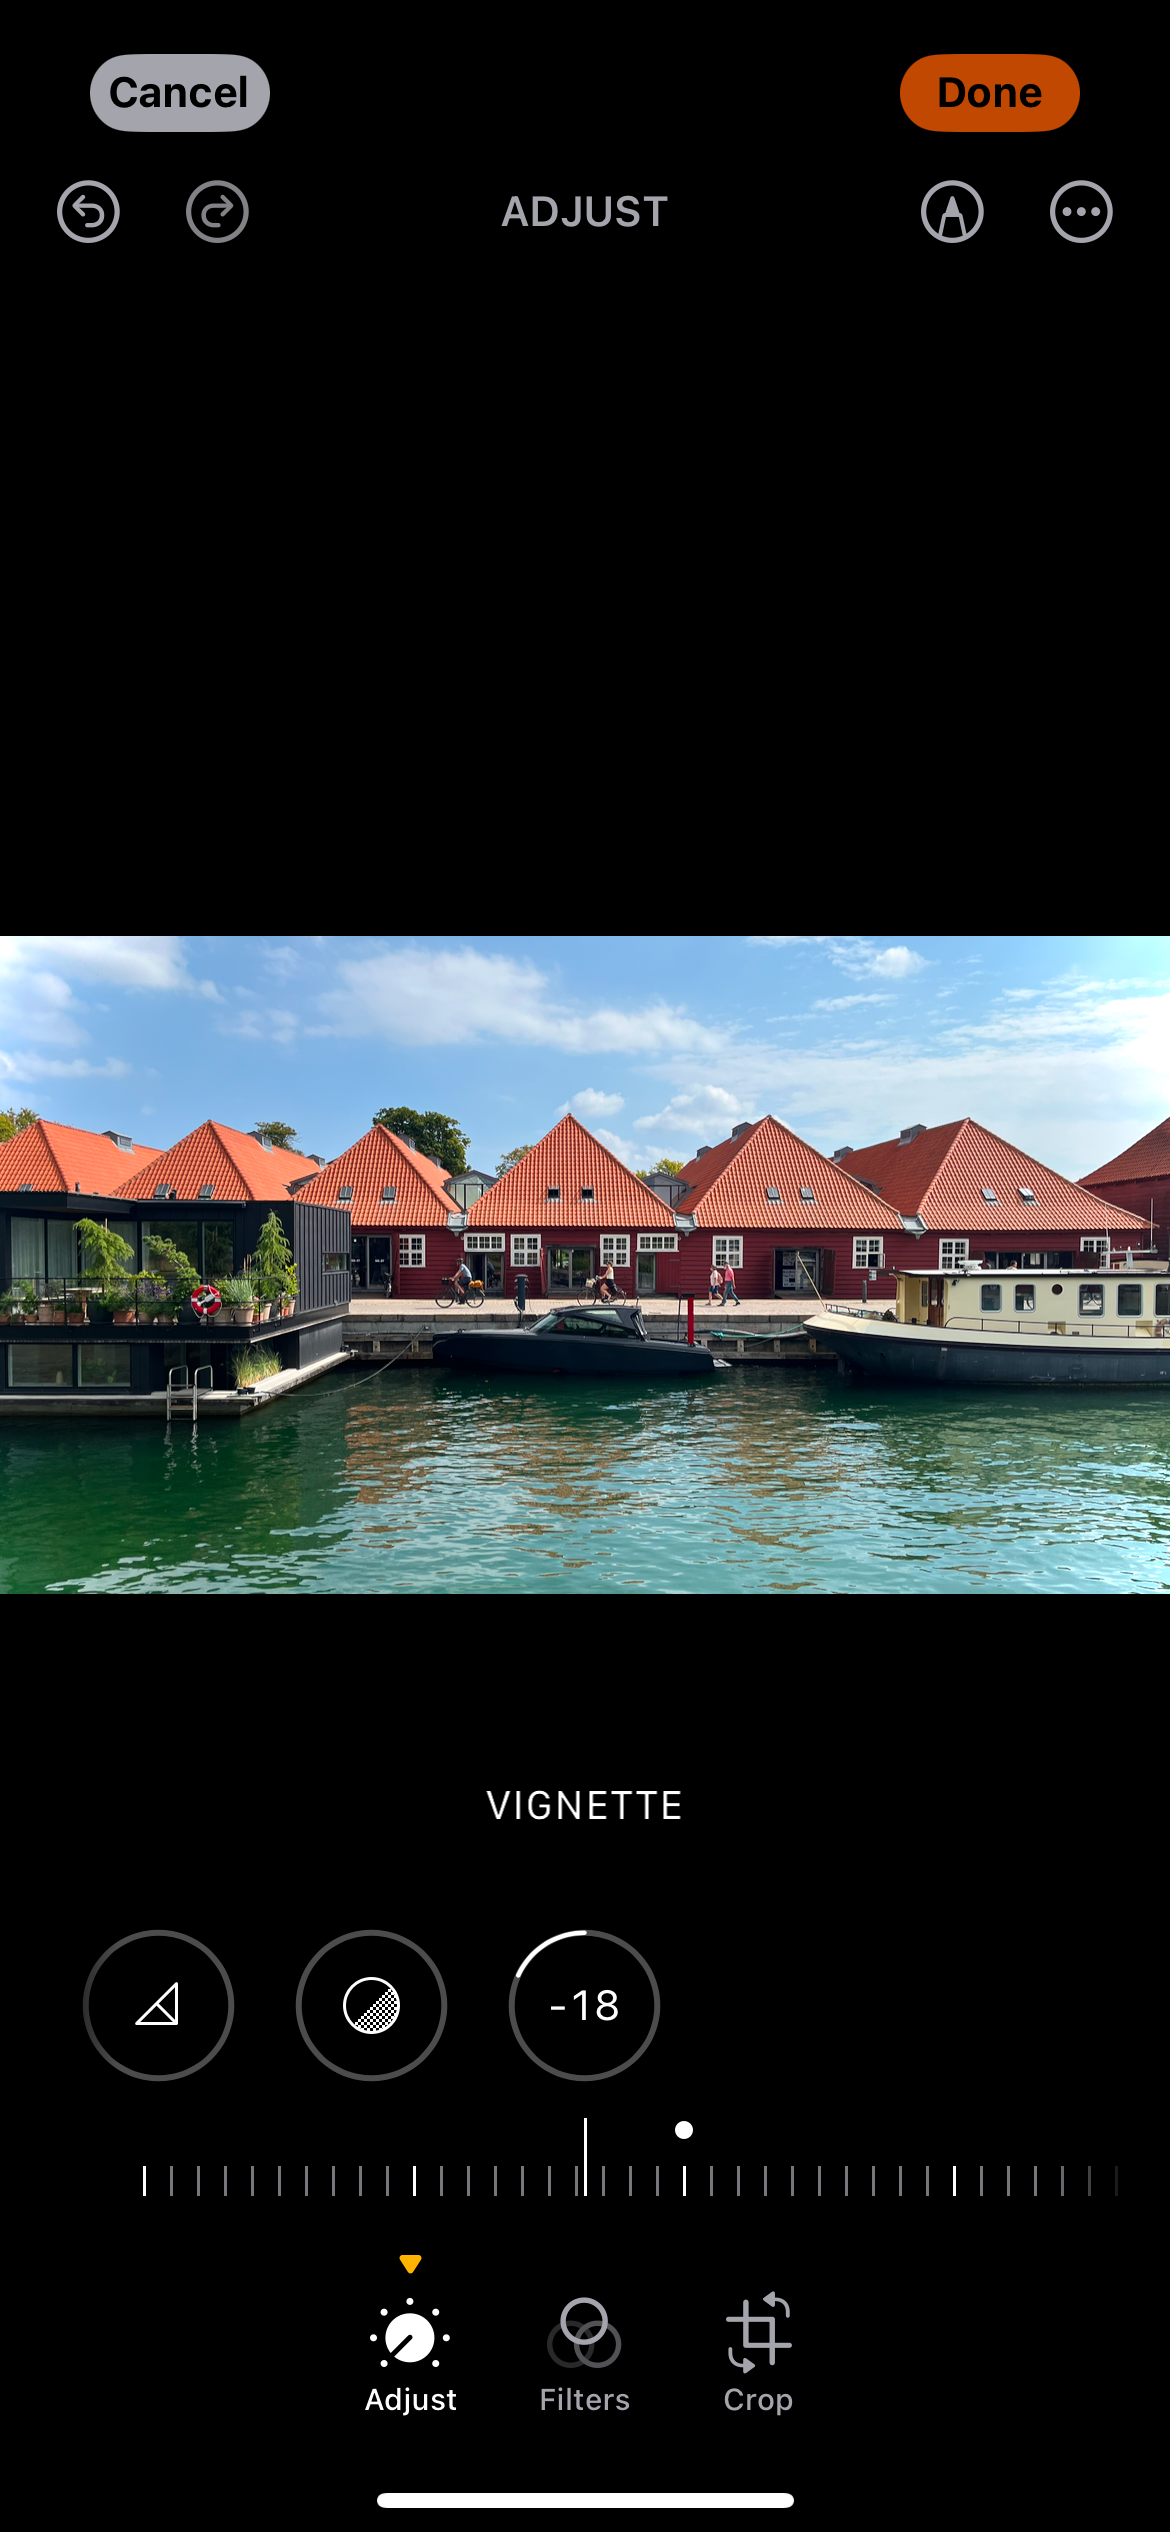
On the other hand, I recommend adding a darker vignette if the sky is a darker shade of blue. Doing so will ensure that everything blends in better. You should also adjust the exposure so that your picture doesn’t look inconsistent.
3 Portraits
Adding vignettes to your portraits is one of the best ways to place more emphasis on your main subject. In most cases, I recommend applying a good amount of vignetting so that it covers most of your corners. This is the case regardless of whether you’re taking portrait-style shots of people or inanimate objects.
Besides adding vignette to your portrait pictures, I also suggest increasing the contrast. In my opinion, doing this will make the most important parts of the image pop even more. You should also use a darker vignette rather than a light one in portrait photos
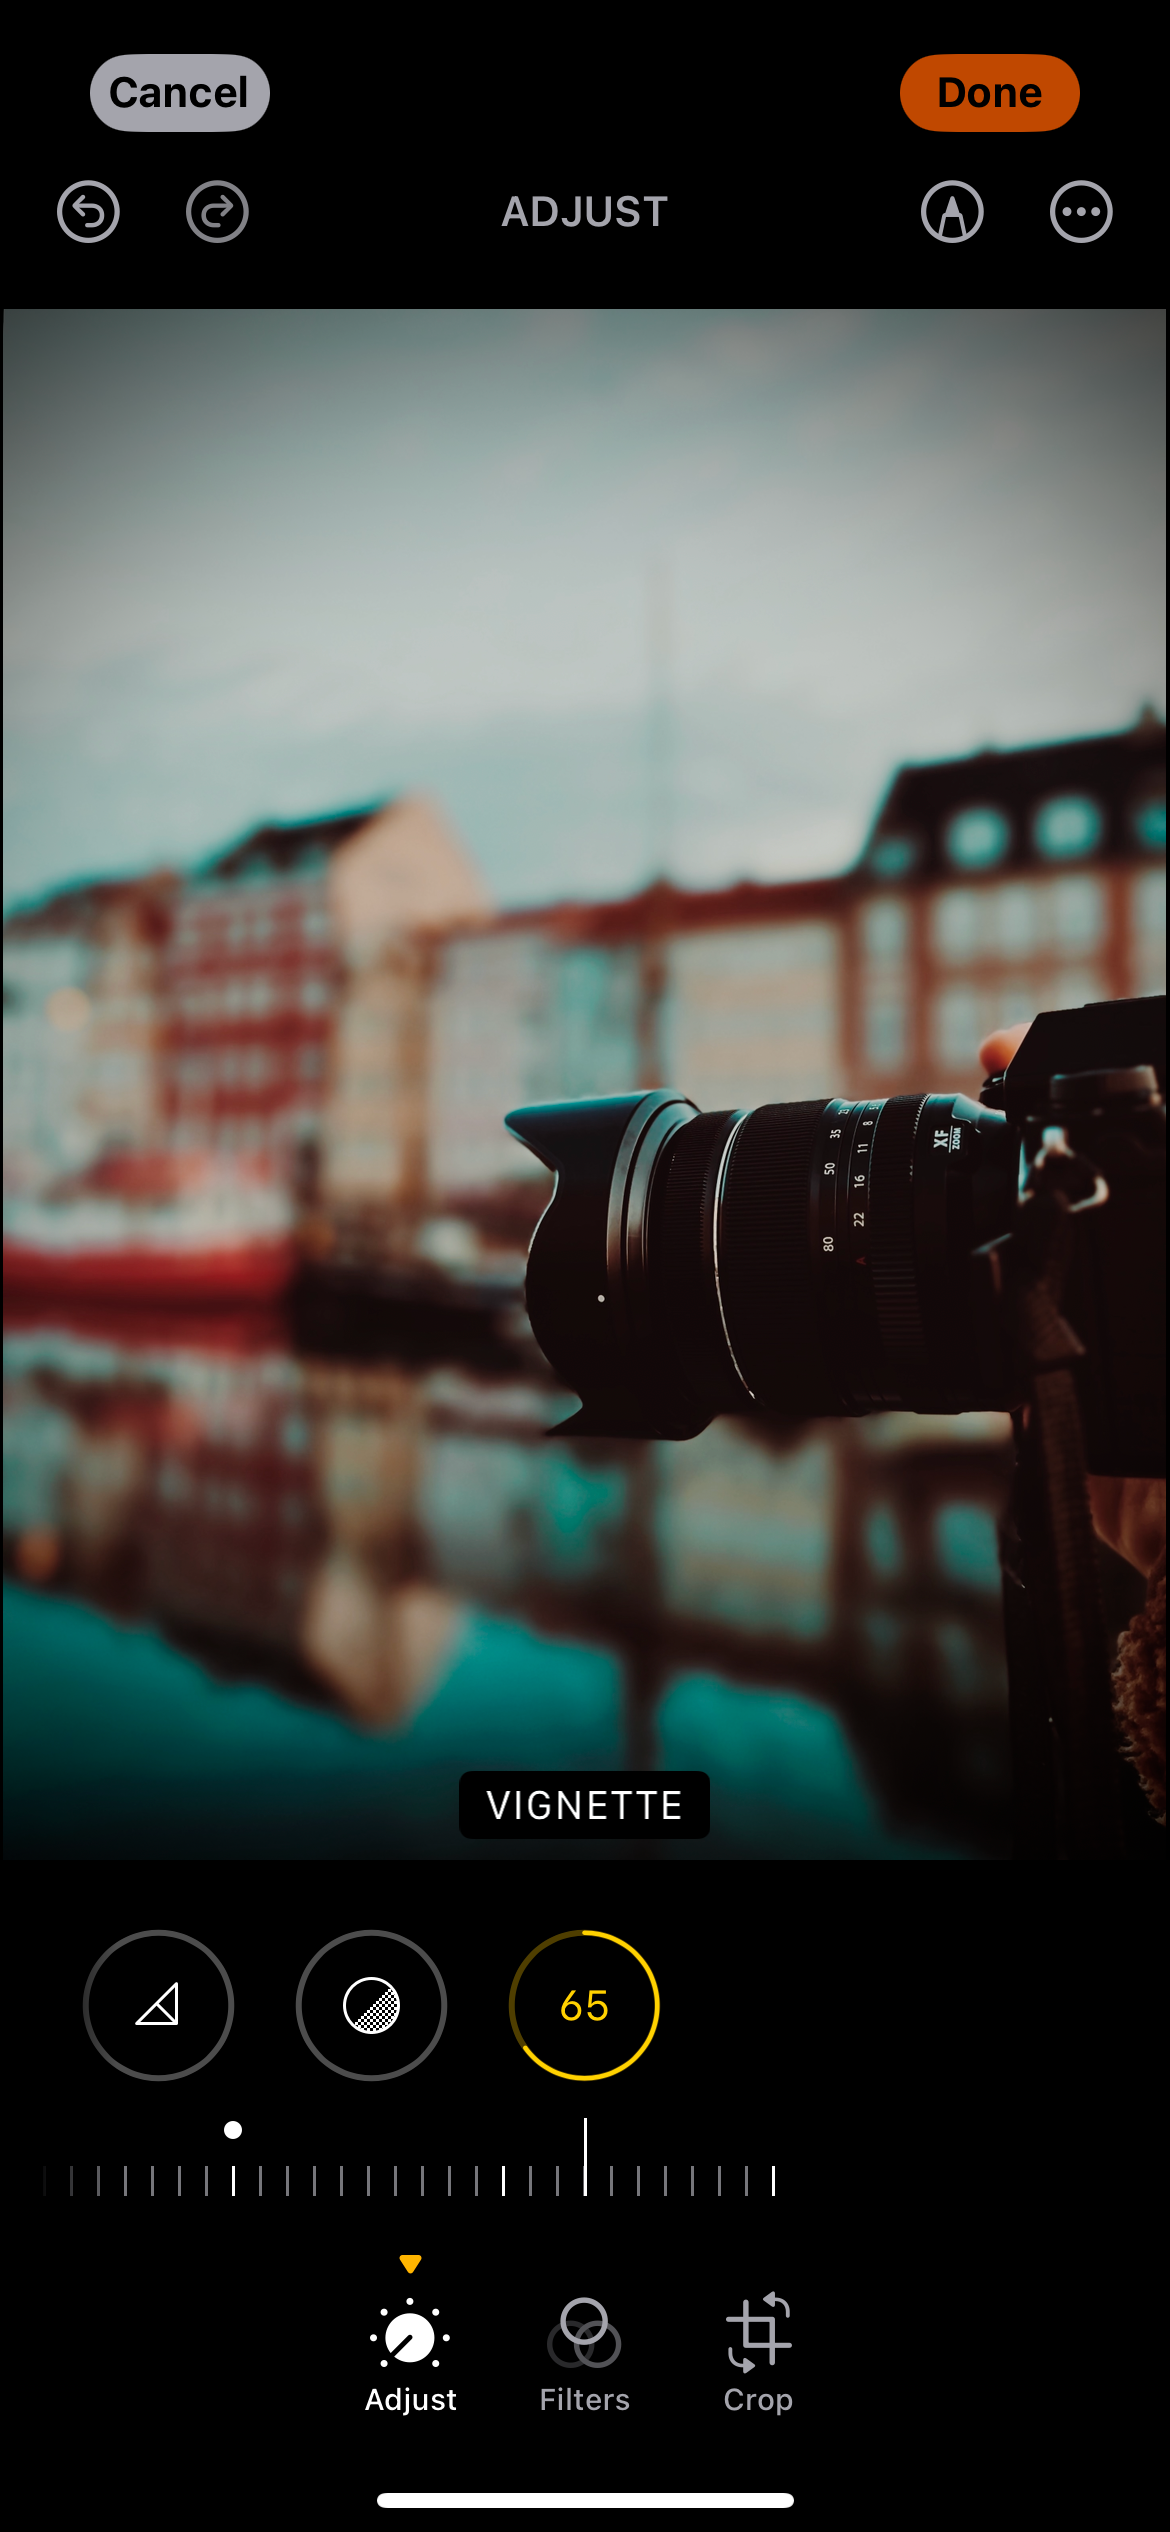
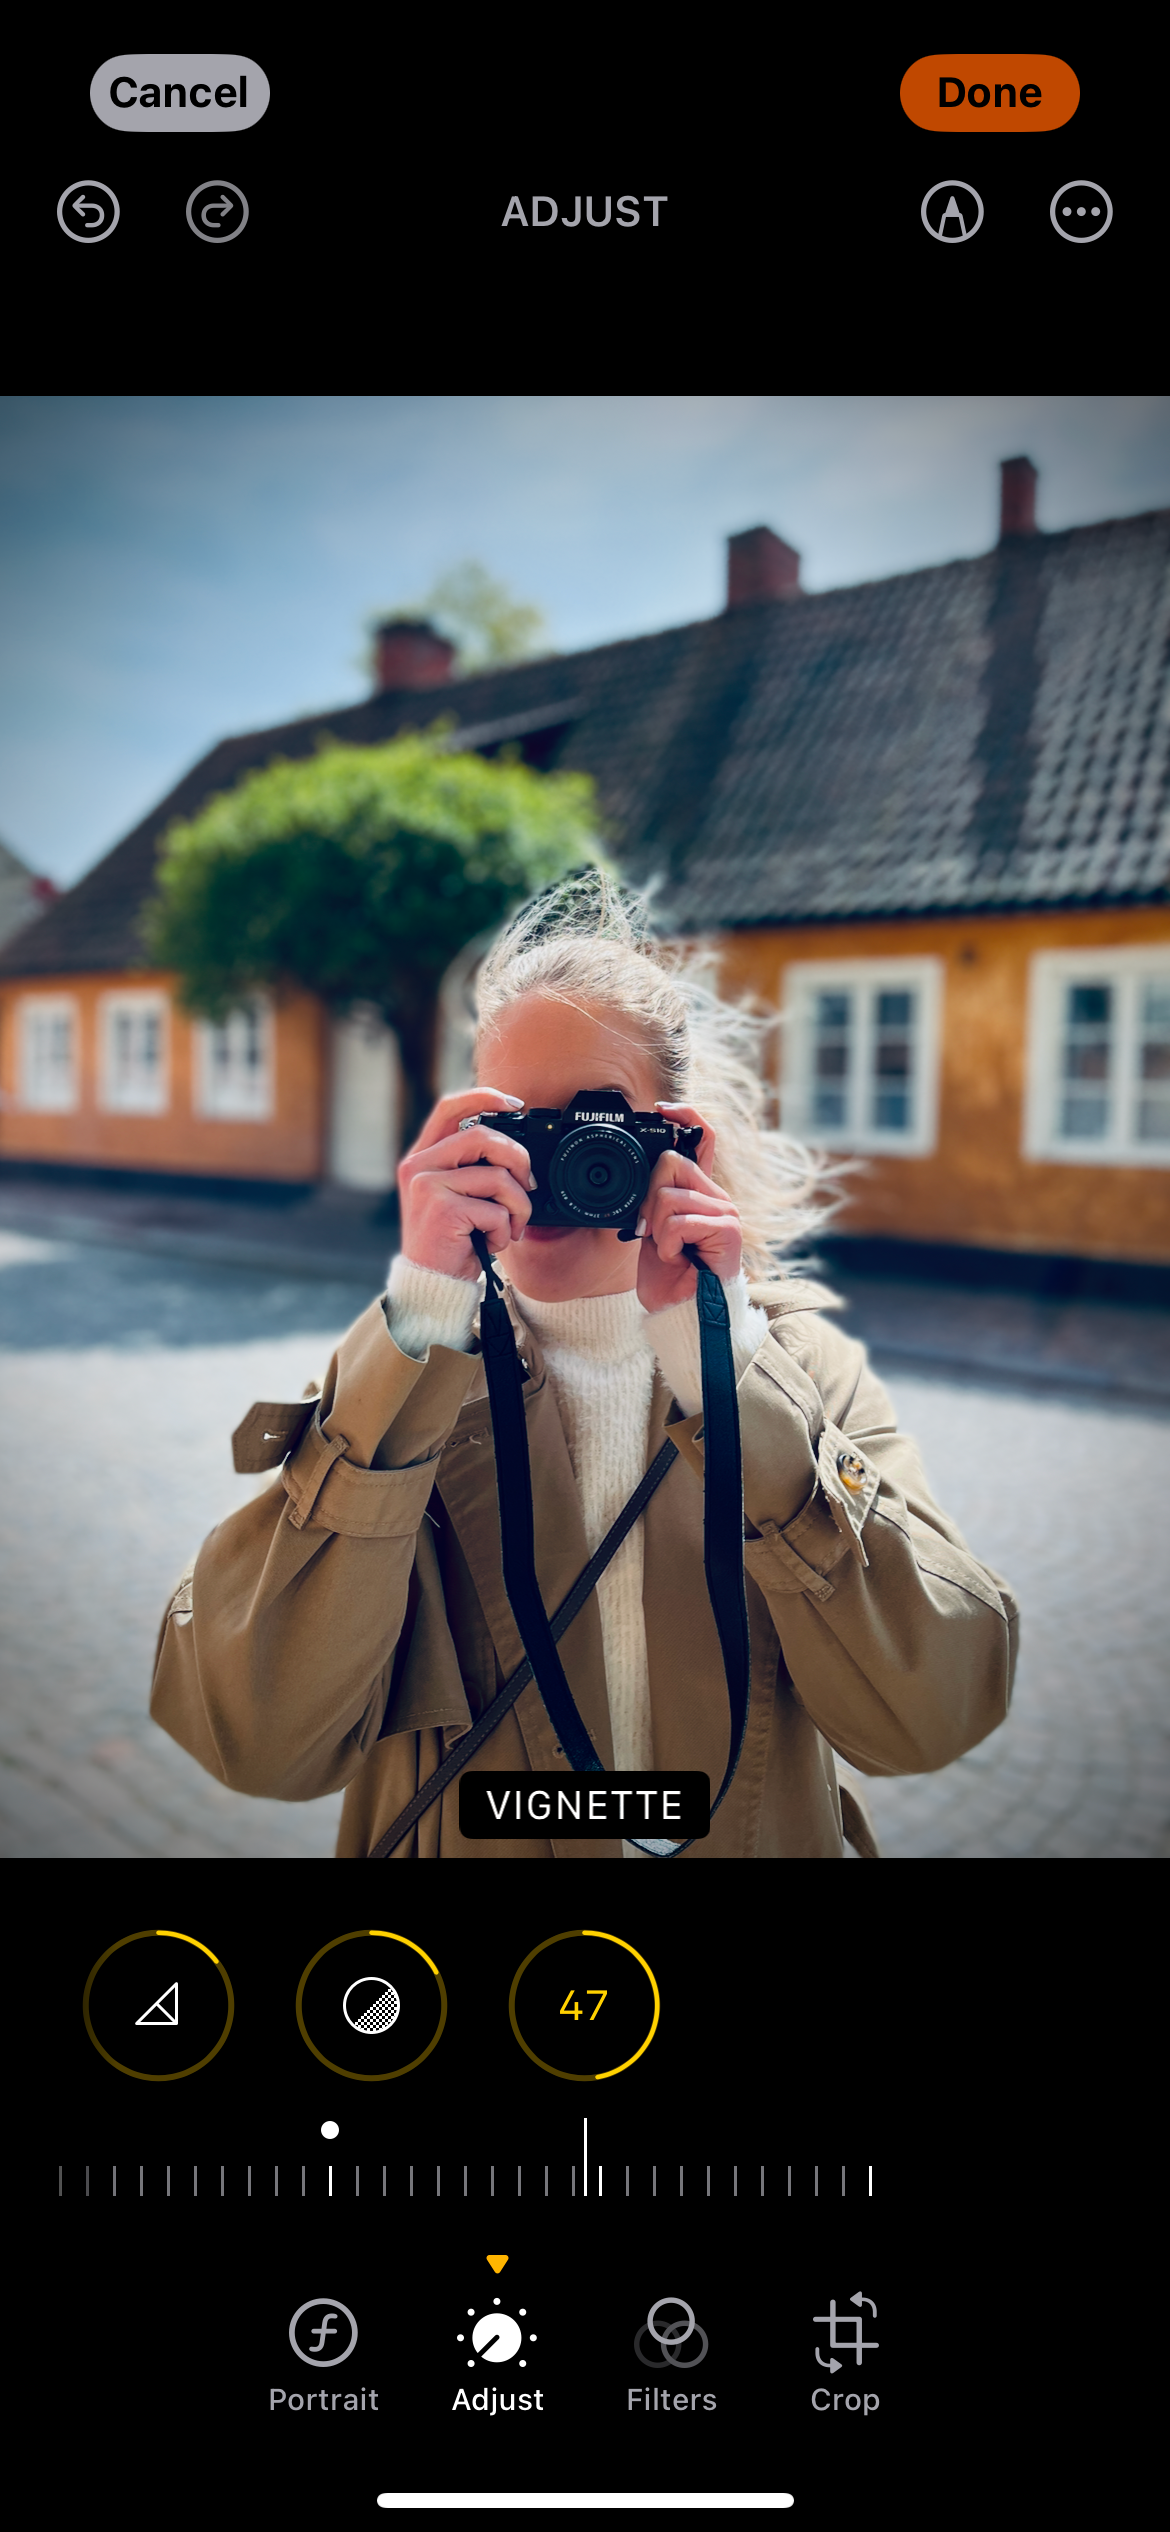
Learning how to maximize Portrait Mode will, if you have an iPhone, also nicely complement this effect.
4 Landscape Photos
Vignetting is sometimes challenging in landscape photography, but like portraits, it can be an ideal way to make the main subject—whether that’s a mountain or something else—stand out. I almost always use dark vignetting rather than white vignettes, but this is also probably because I largely take high-contrast pictures when out in nature.
The amount of vignetting you add to your images will depend on the level of overall lighting. On brighter days, you might need to add more of a dark vignette. You’ll need to add an even stronger vignette if you’re taking landscape pictures in low-light conditions or at golden hour.
5 Street Photography
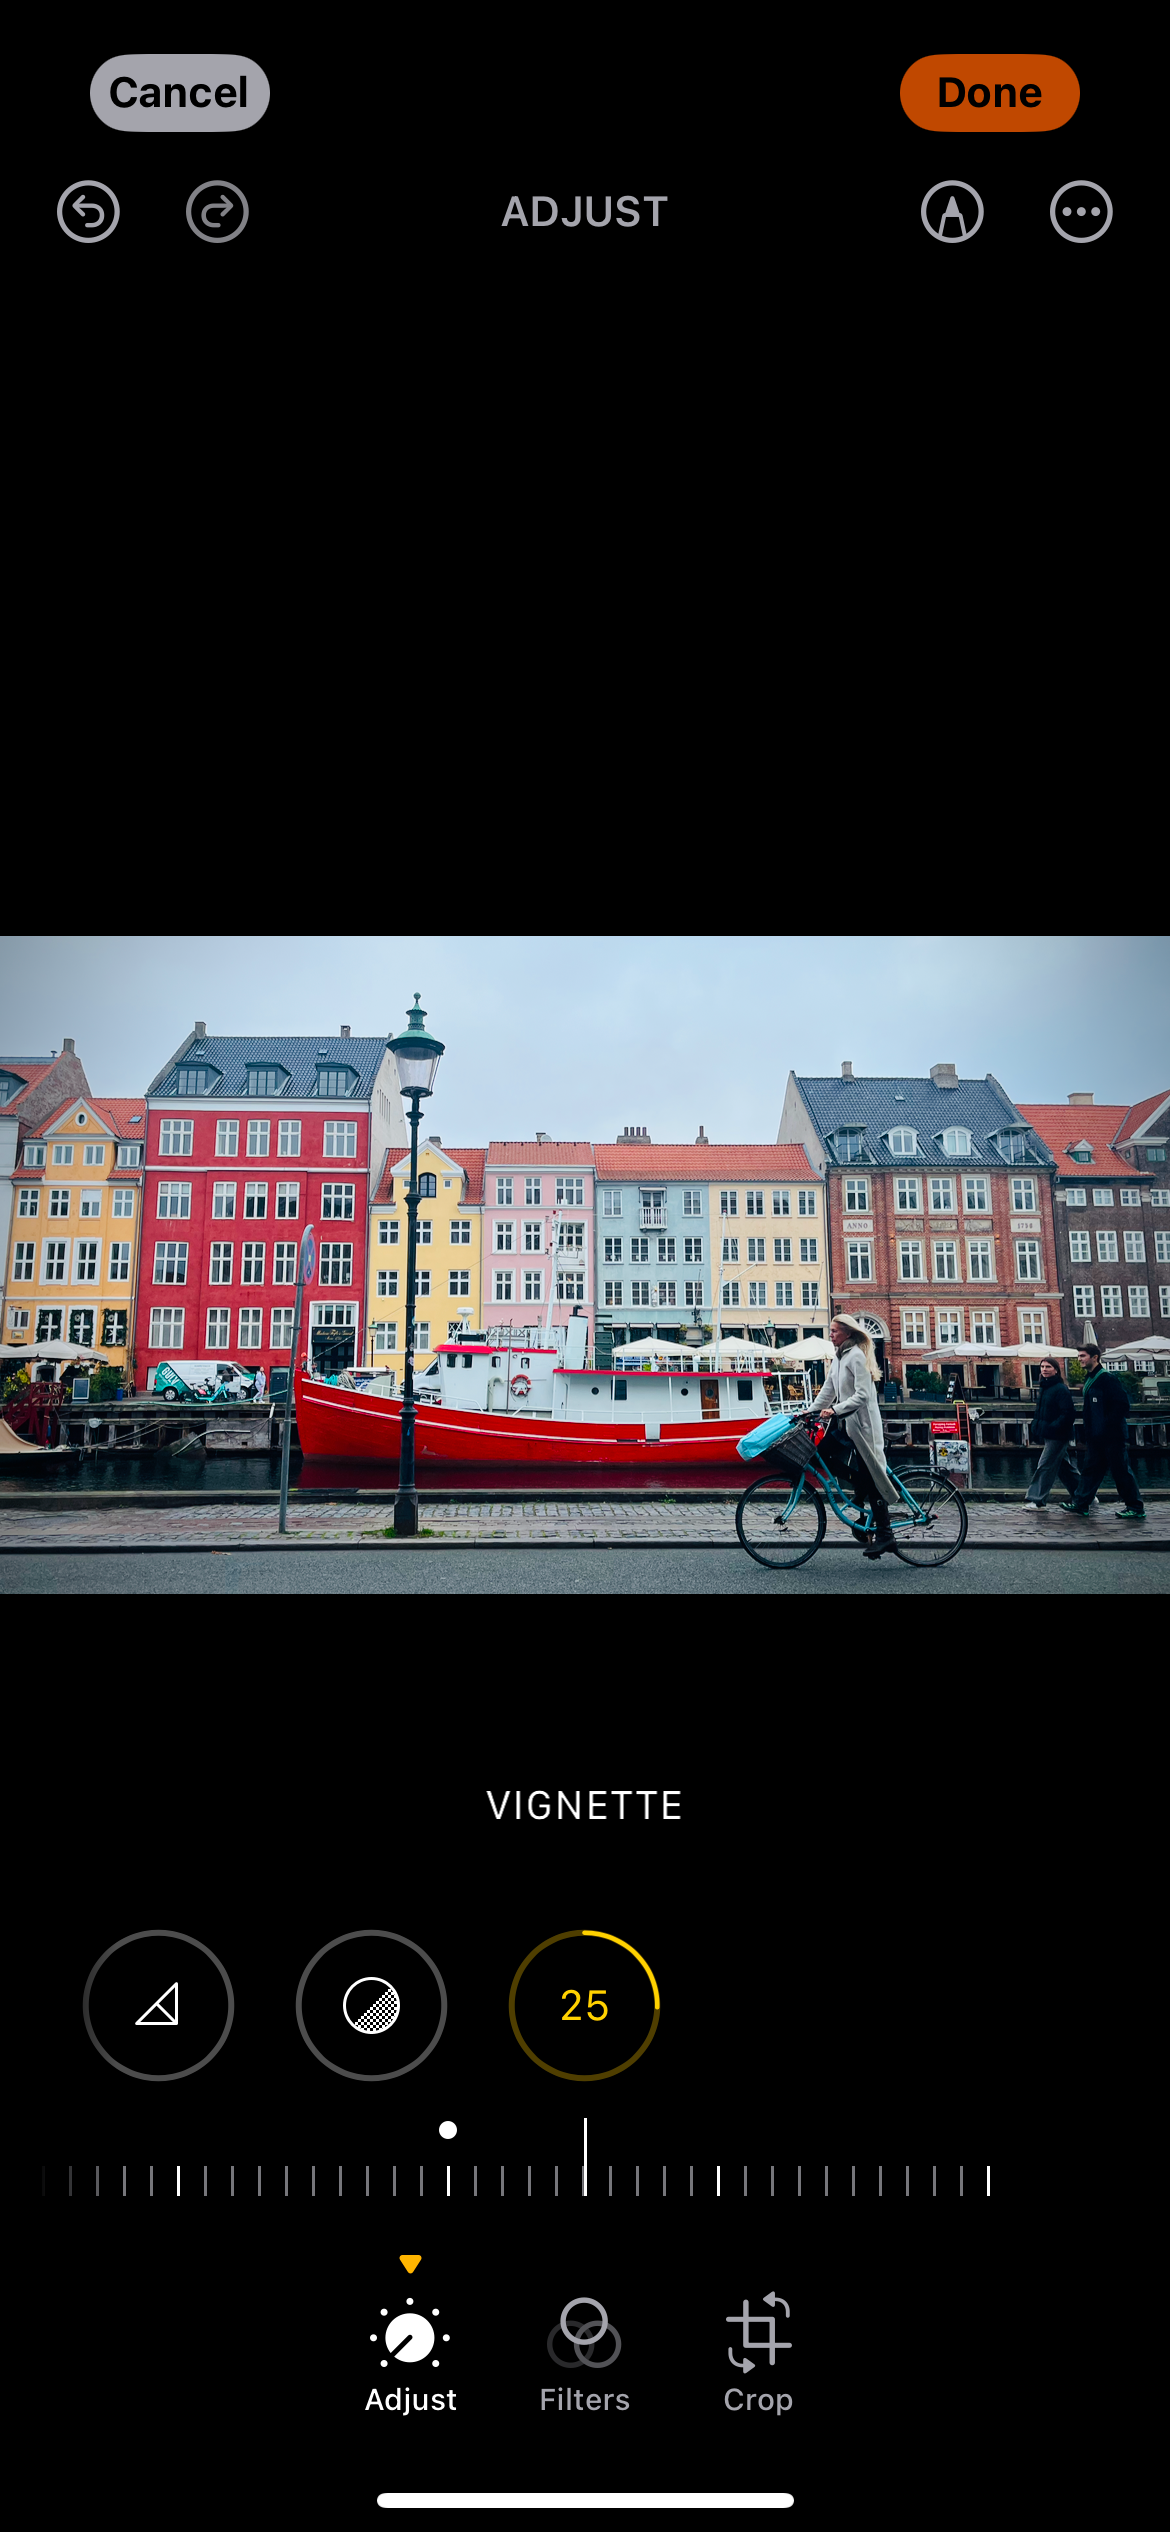
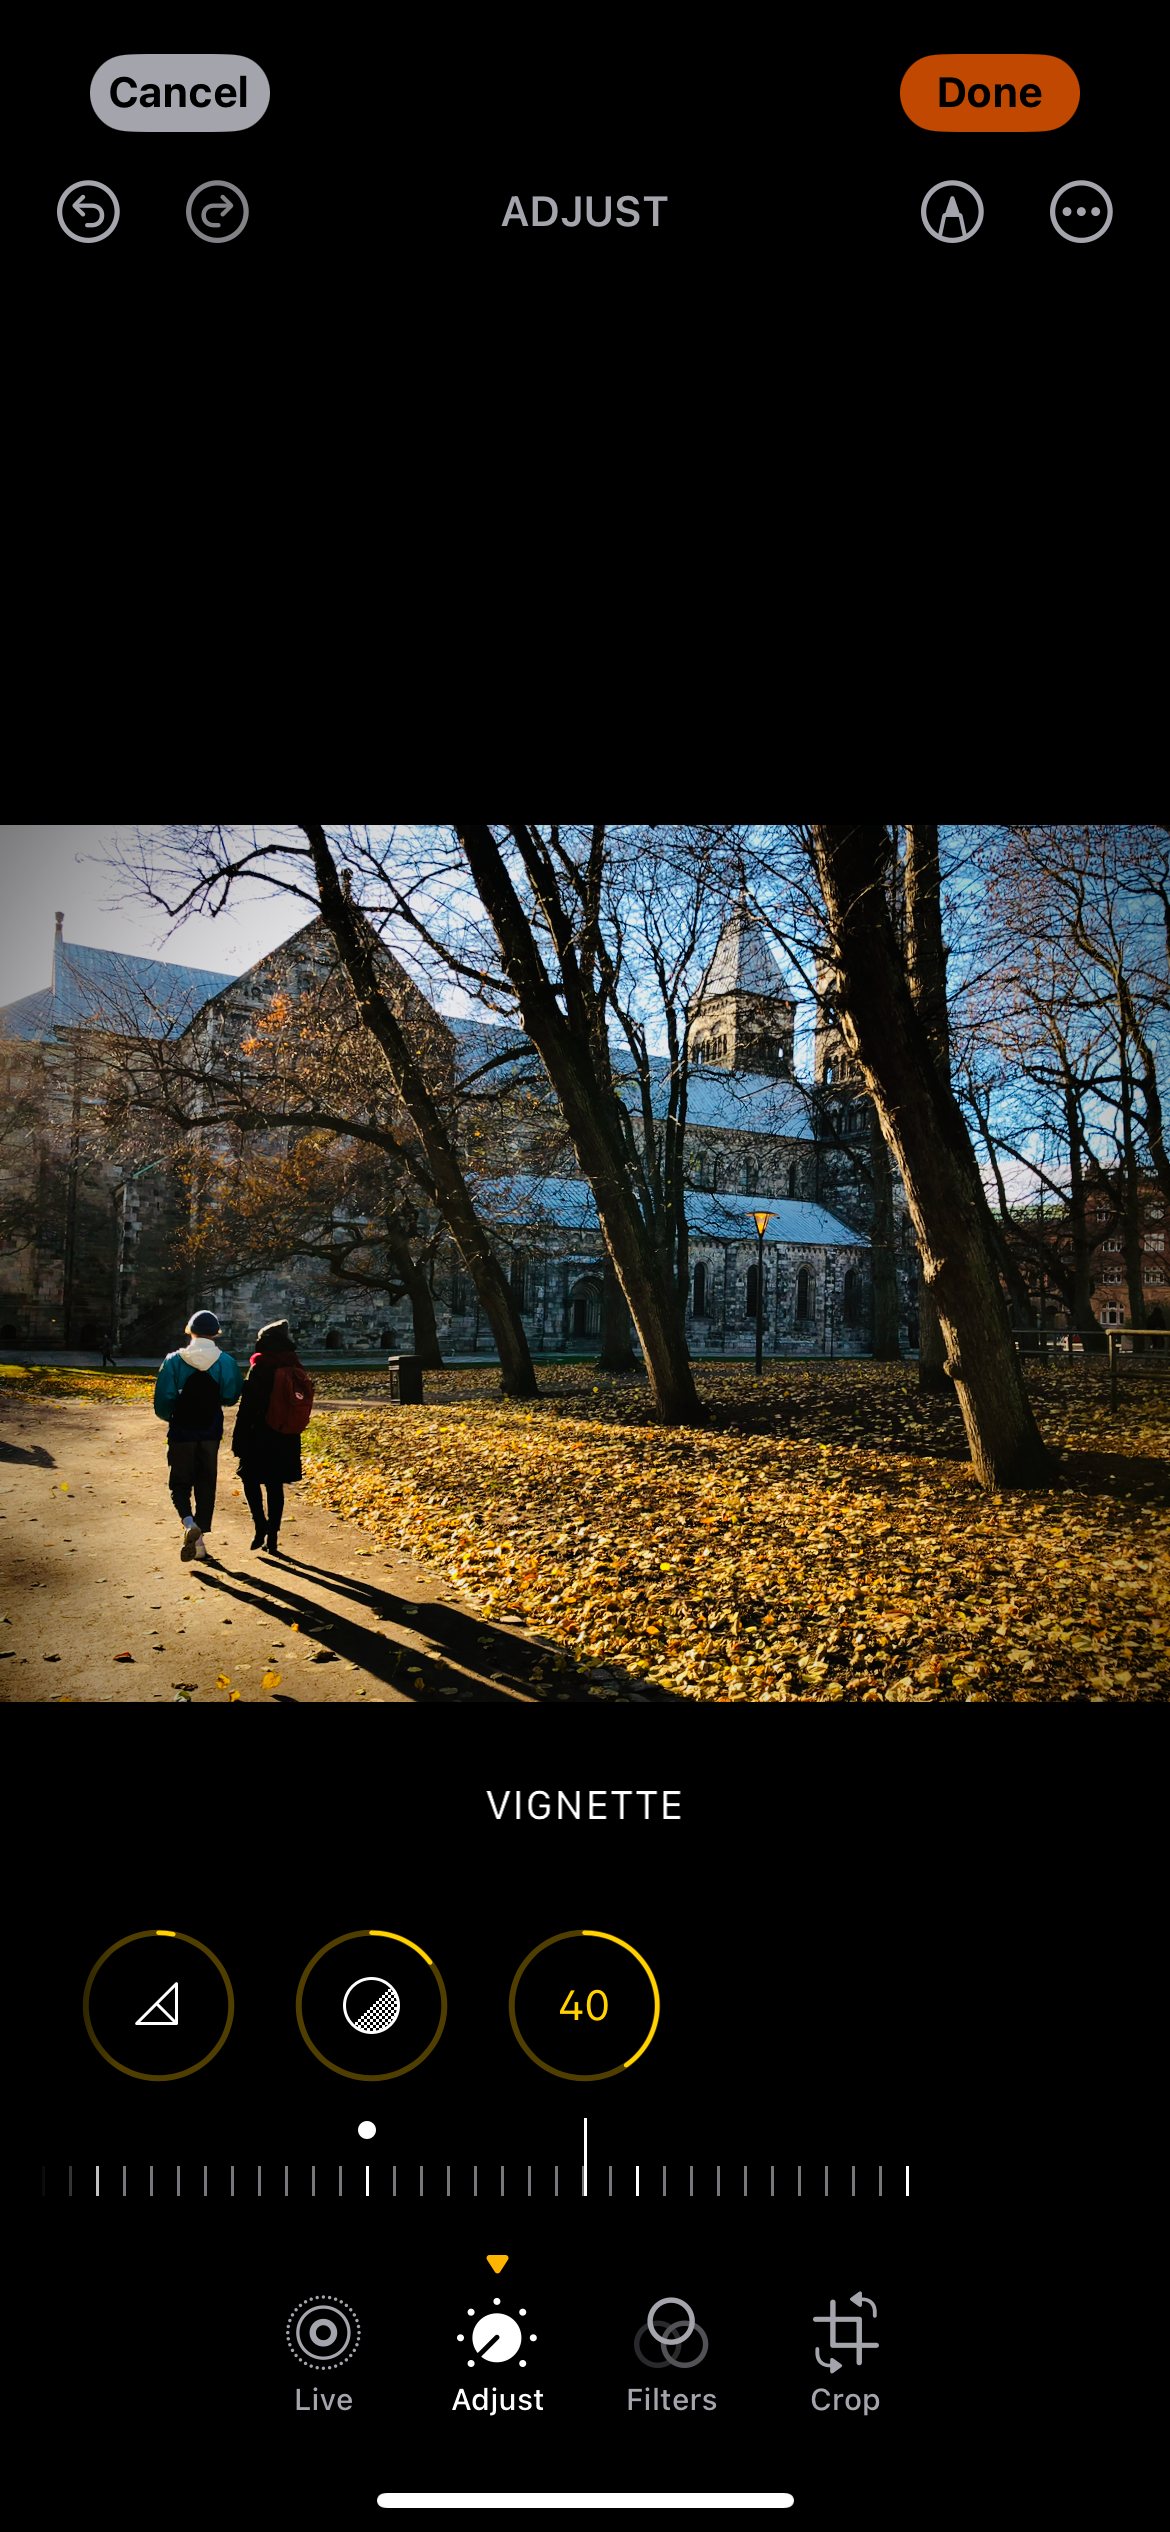
Street photography is one of my all-time favorite genres, and I’ve tried all kinds of editing effects to make my pictures stand out. I treat my street-style shots the same as portraits; my primary objective is to make the main subject more prominent. If there’s only one interest point, the vignetting should be stronger.
However, if there are multiple points of interest—such as several people that add to the picture—the vignetting should be more subtle. One clear example of this is below; I liked the effect of the two people in the corner and didn’t want to cover them with a vignette.
6 Architectural Shots
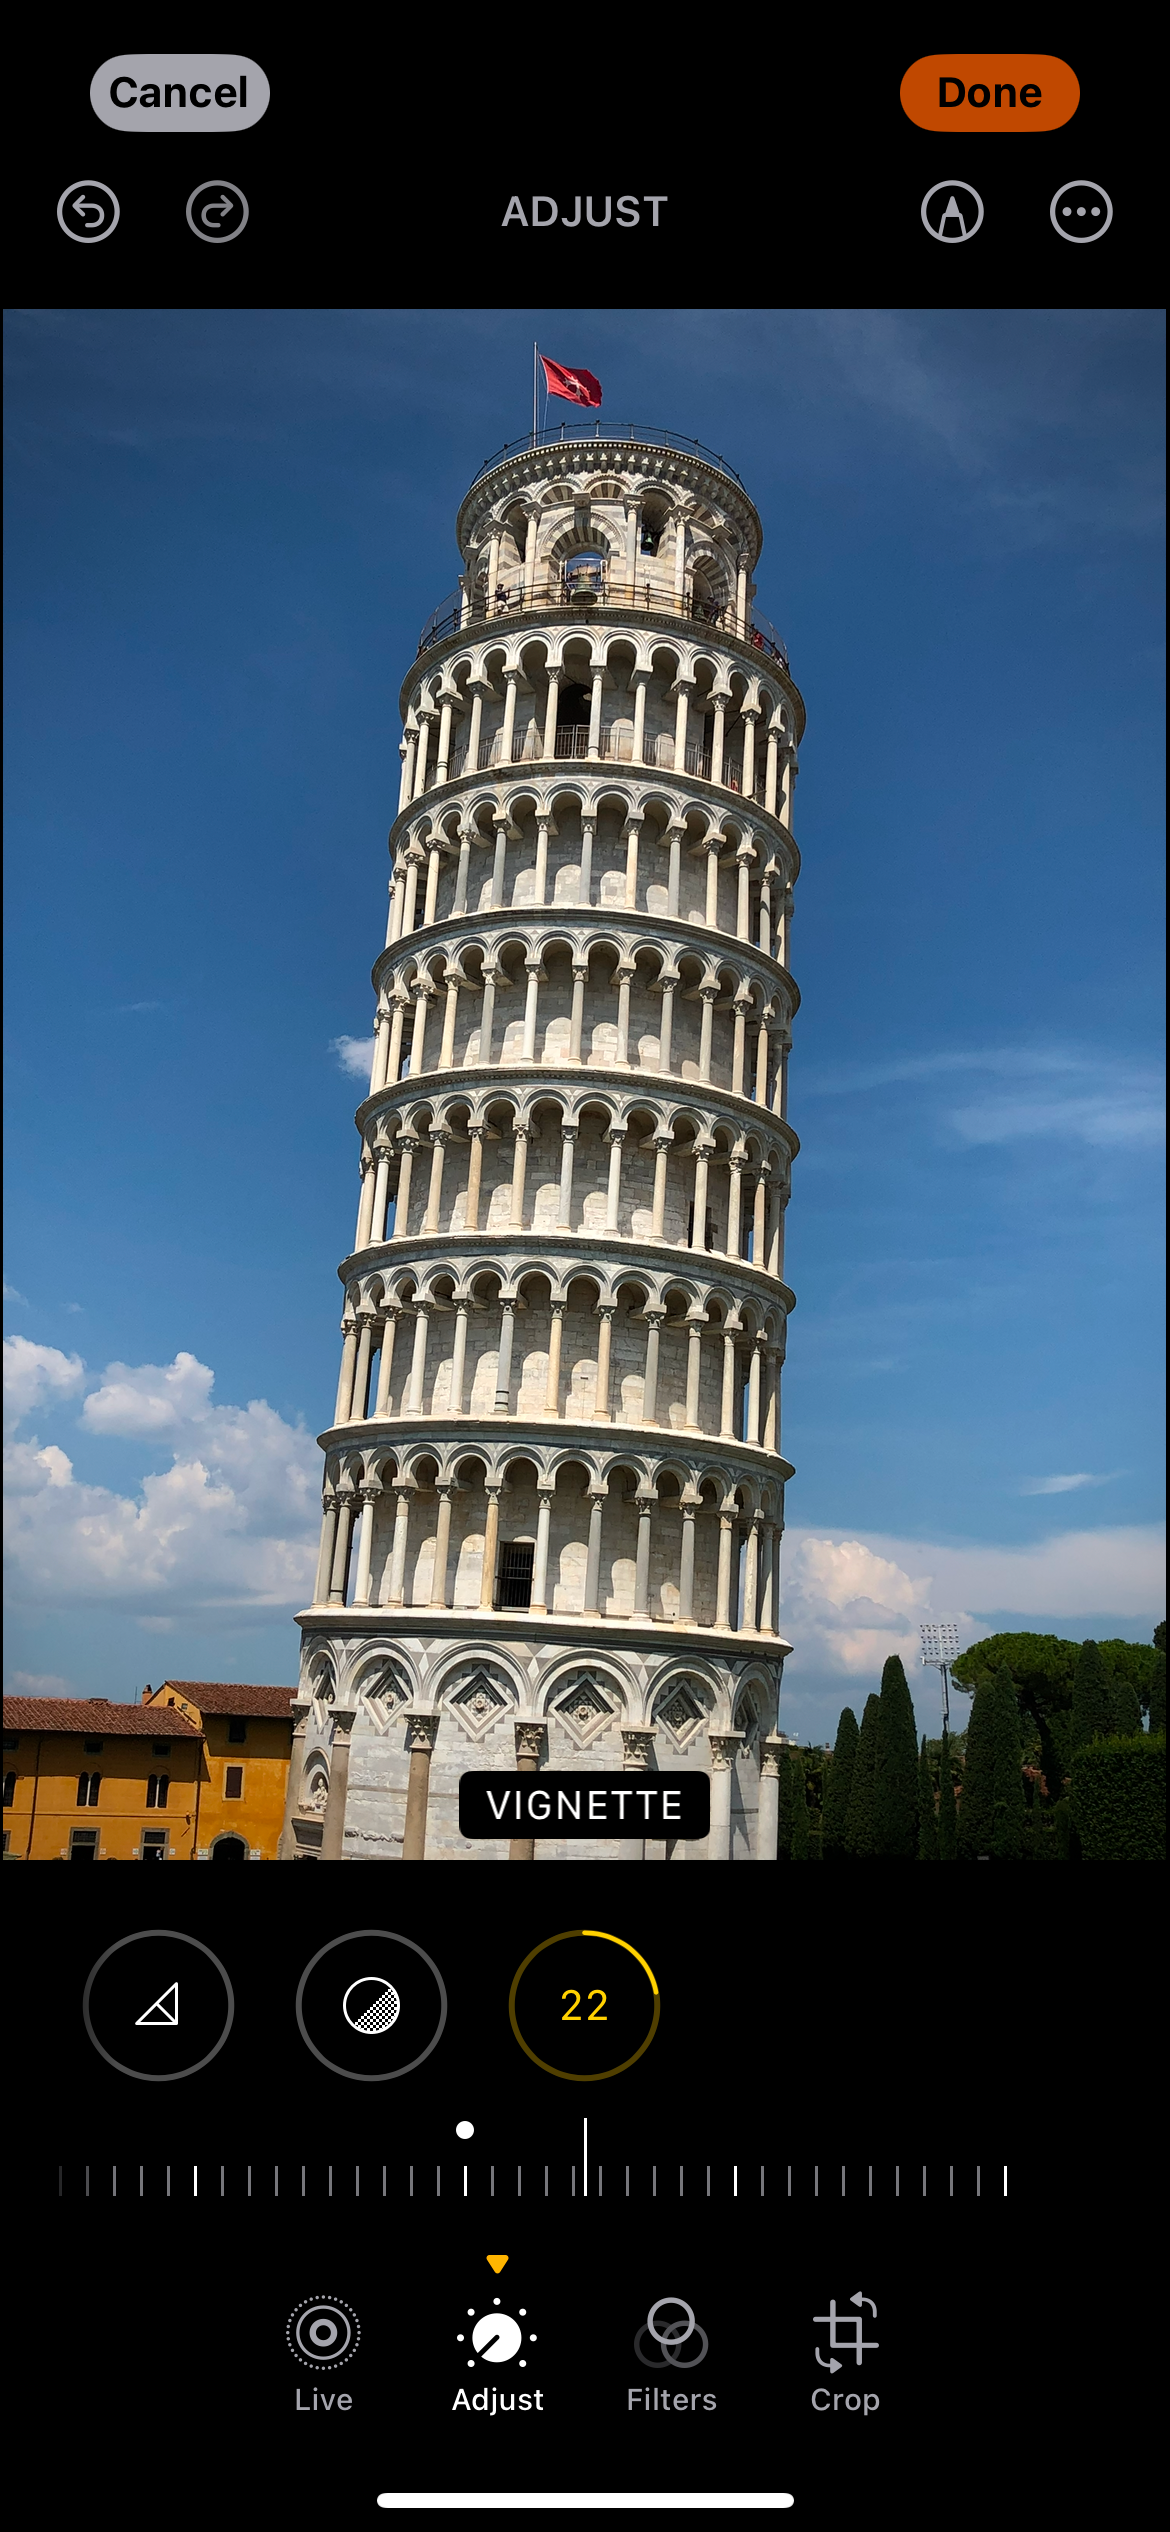
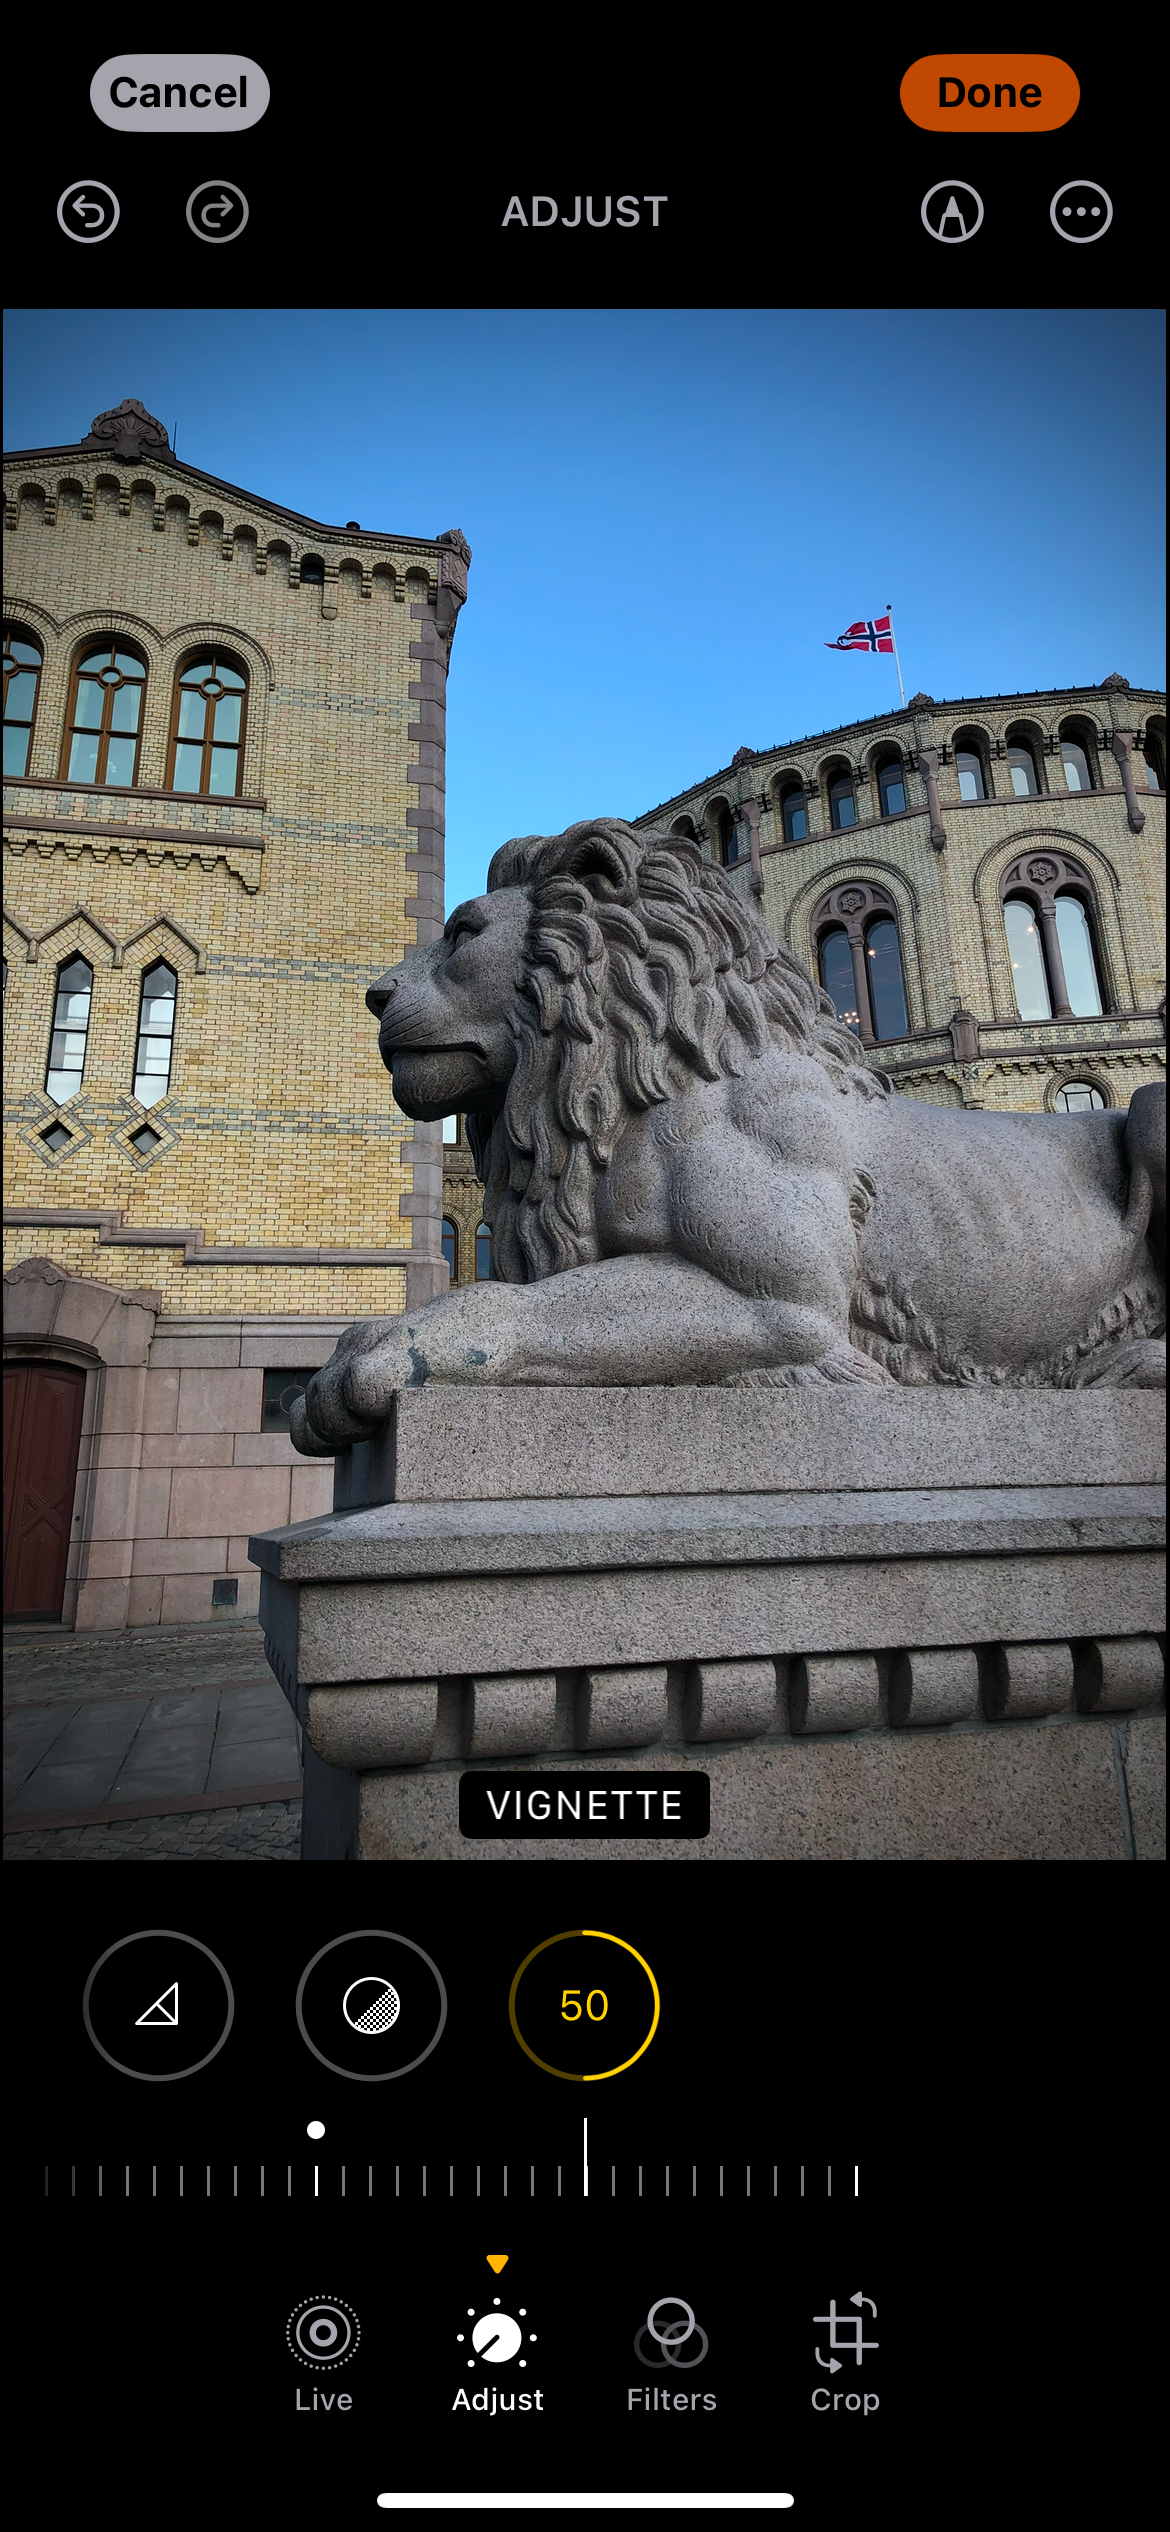
Architectural photography can be quite difficult to get right, but if you know how to use vignetting, it’s a powerful way to really make your images stand out. How I use vignetting will depend significantly on the scene in front of me. For example, if I’ve taken a picture of multiple structures, I will use vignetting to draw the user’s attention to whichever I think is the most interesting.
The way that you use vignetting in architectural photography will also depend on the lighting conditions you have to work with. If you’re capturing pictures in overcast weather, for example, you should adopt the same principles as you would with overcast shots (mentioned earlier).
7 Nighttime Photography
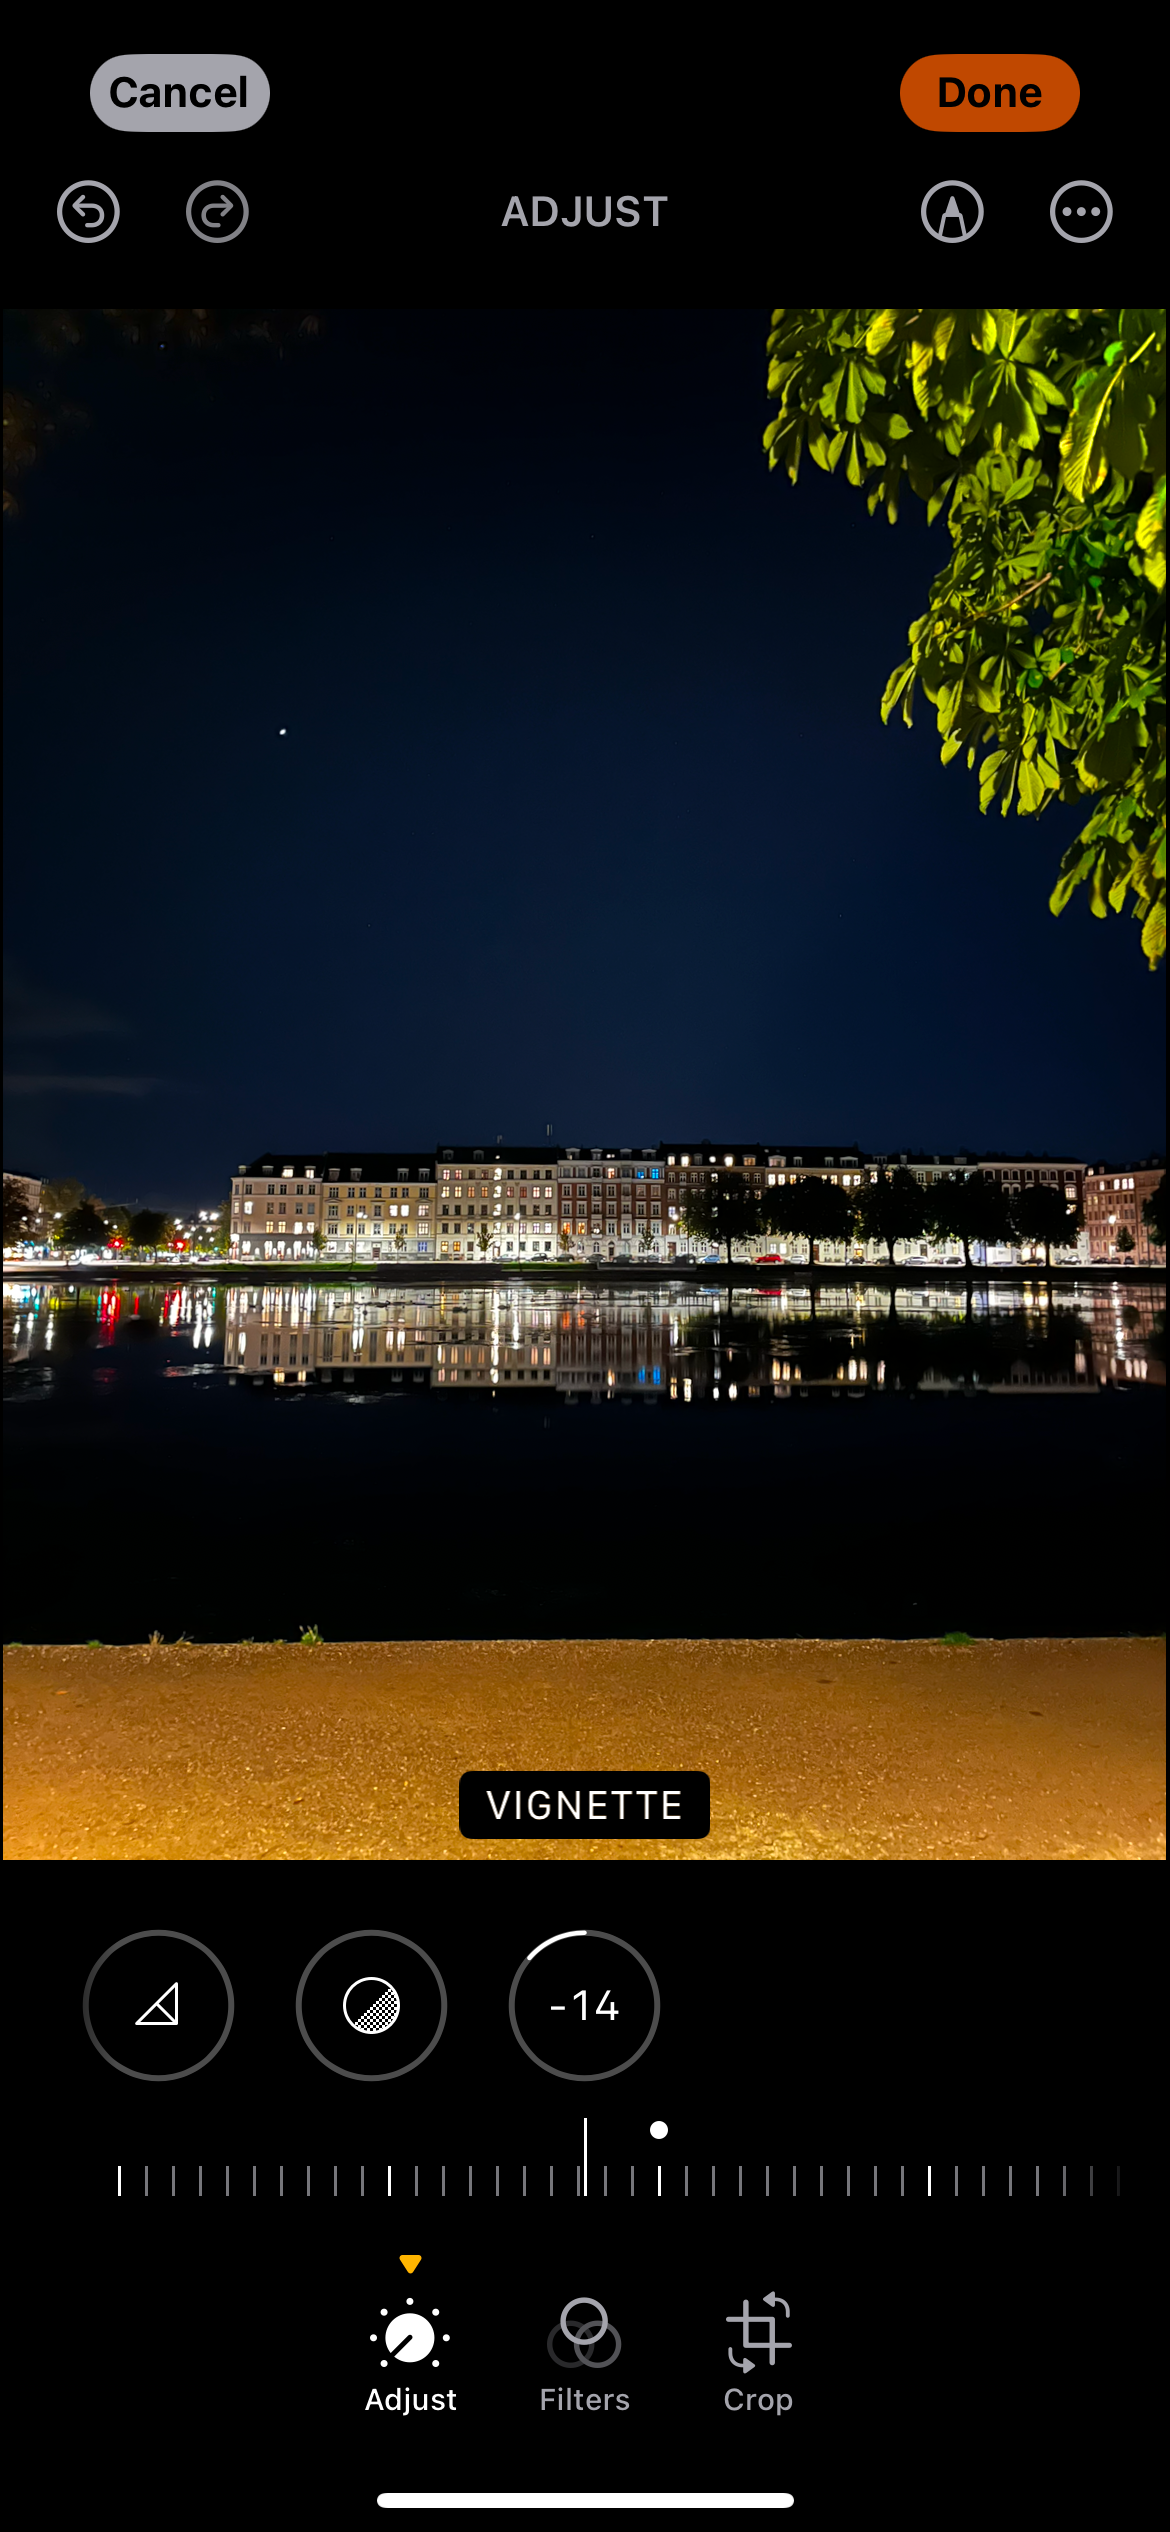
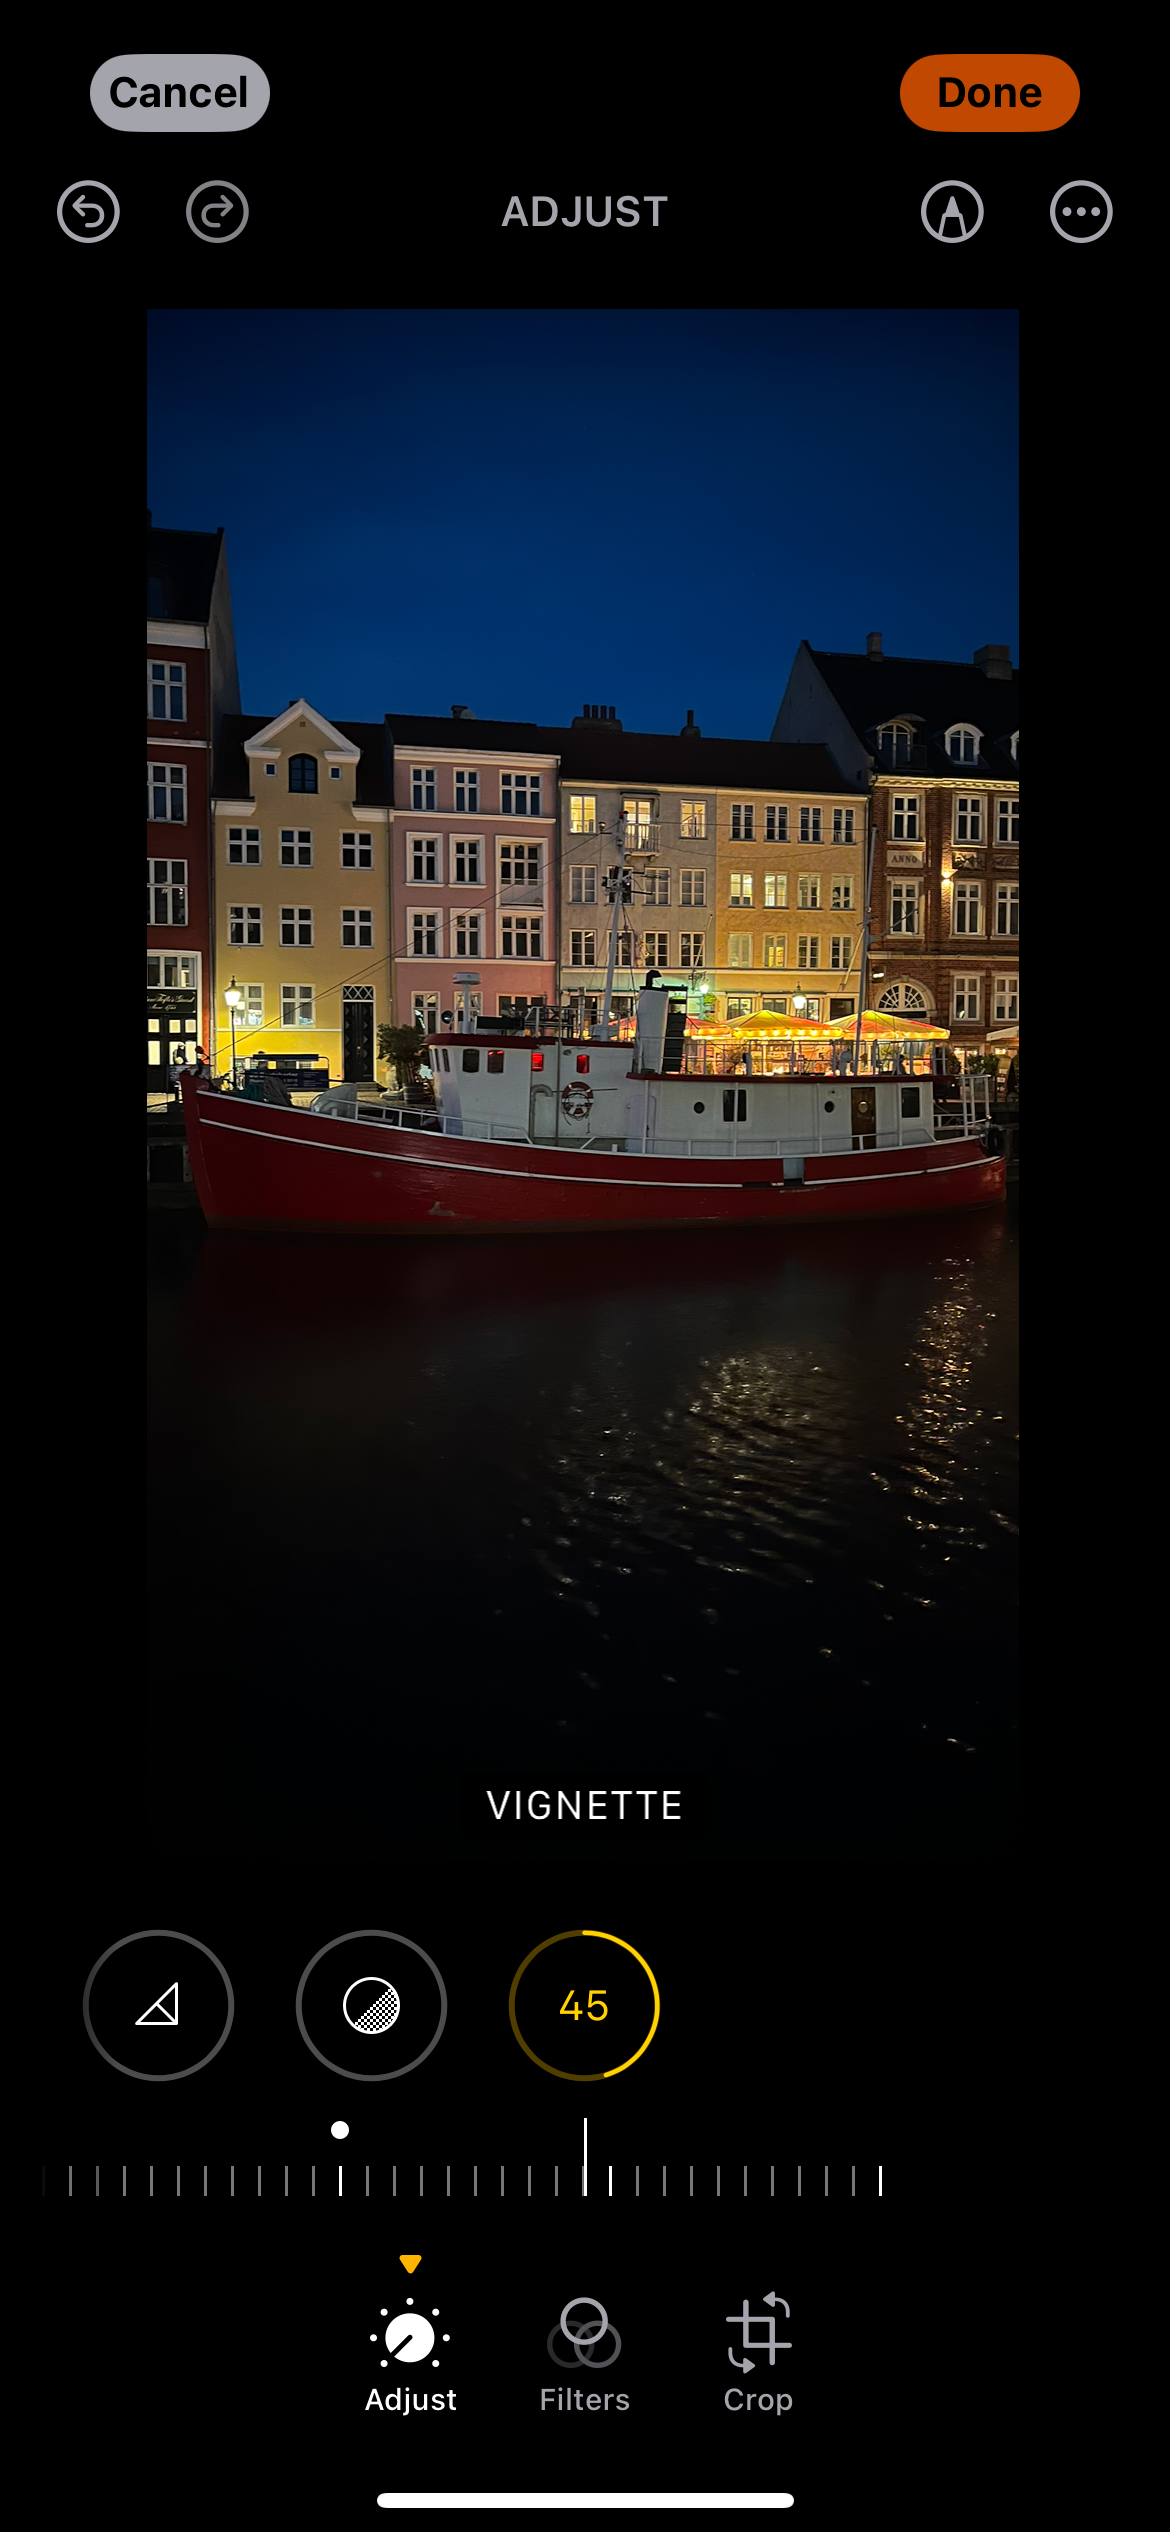
It’s easier than you think to capture good smartphone photos in low-light conditions, and knowing how to edit them will make them stand out even more. I rarely add vignette to nighttime smartphone photos, but I do think that doing so still has its merits in some cases.
If your nighttime image has a lot of light, I think that adding some bright vignetting to the borders can add a nice subtle effect. You may also want to experiment with doing the opposite with a dark vignette if you have one key focal point, such as a street sign. Think about the level of contrast in your image, too, as this will make a difference in what you do.
8 Food Photography
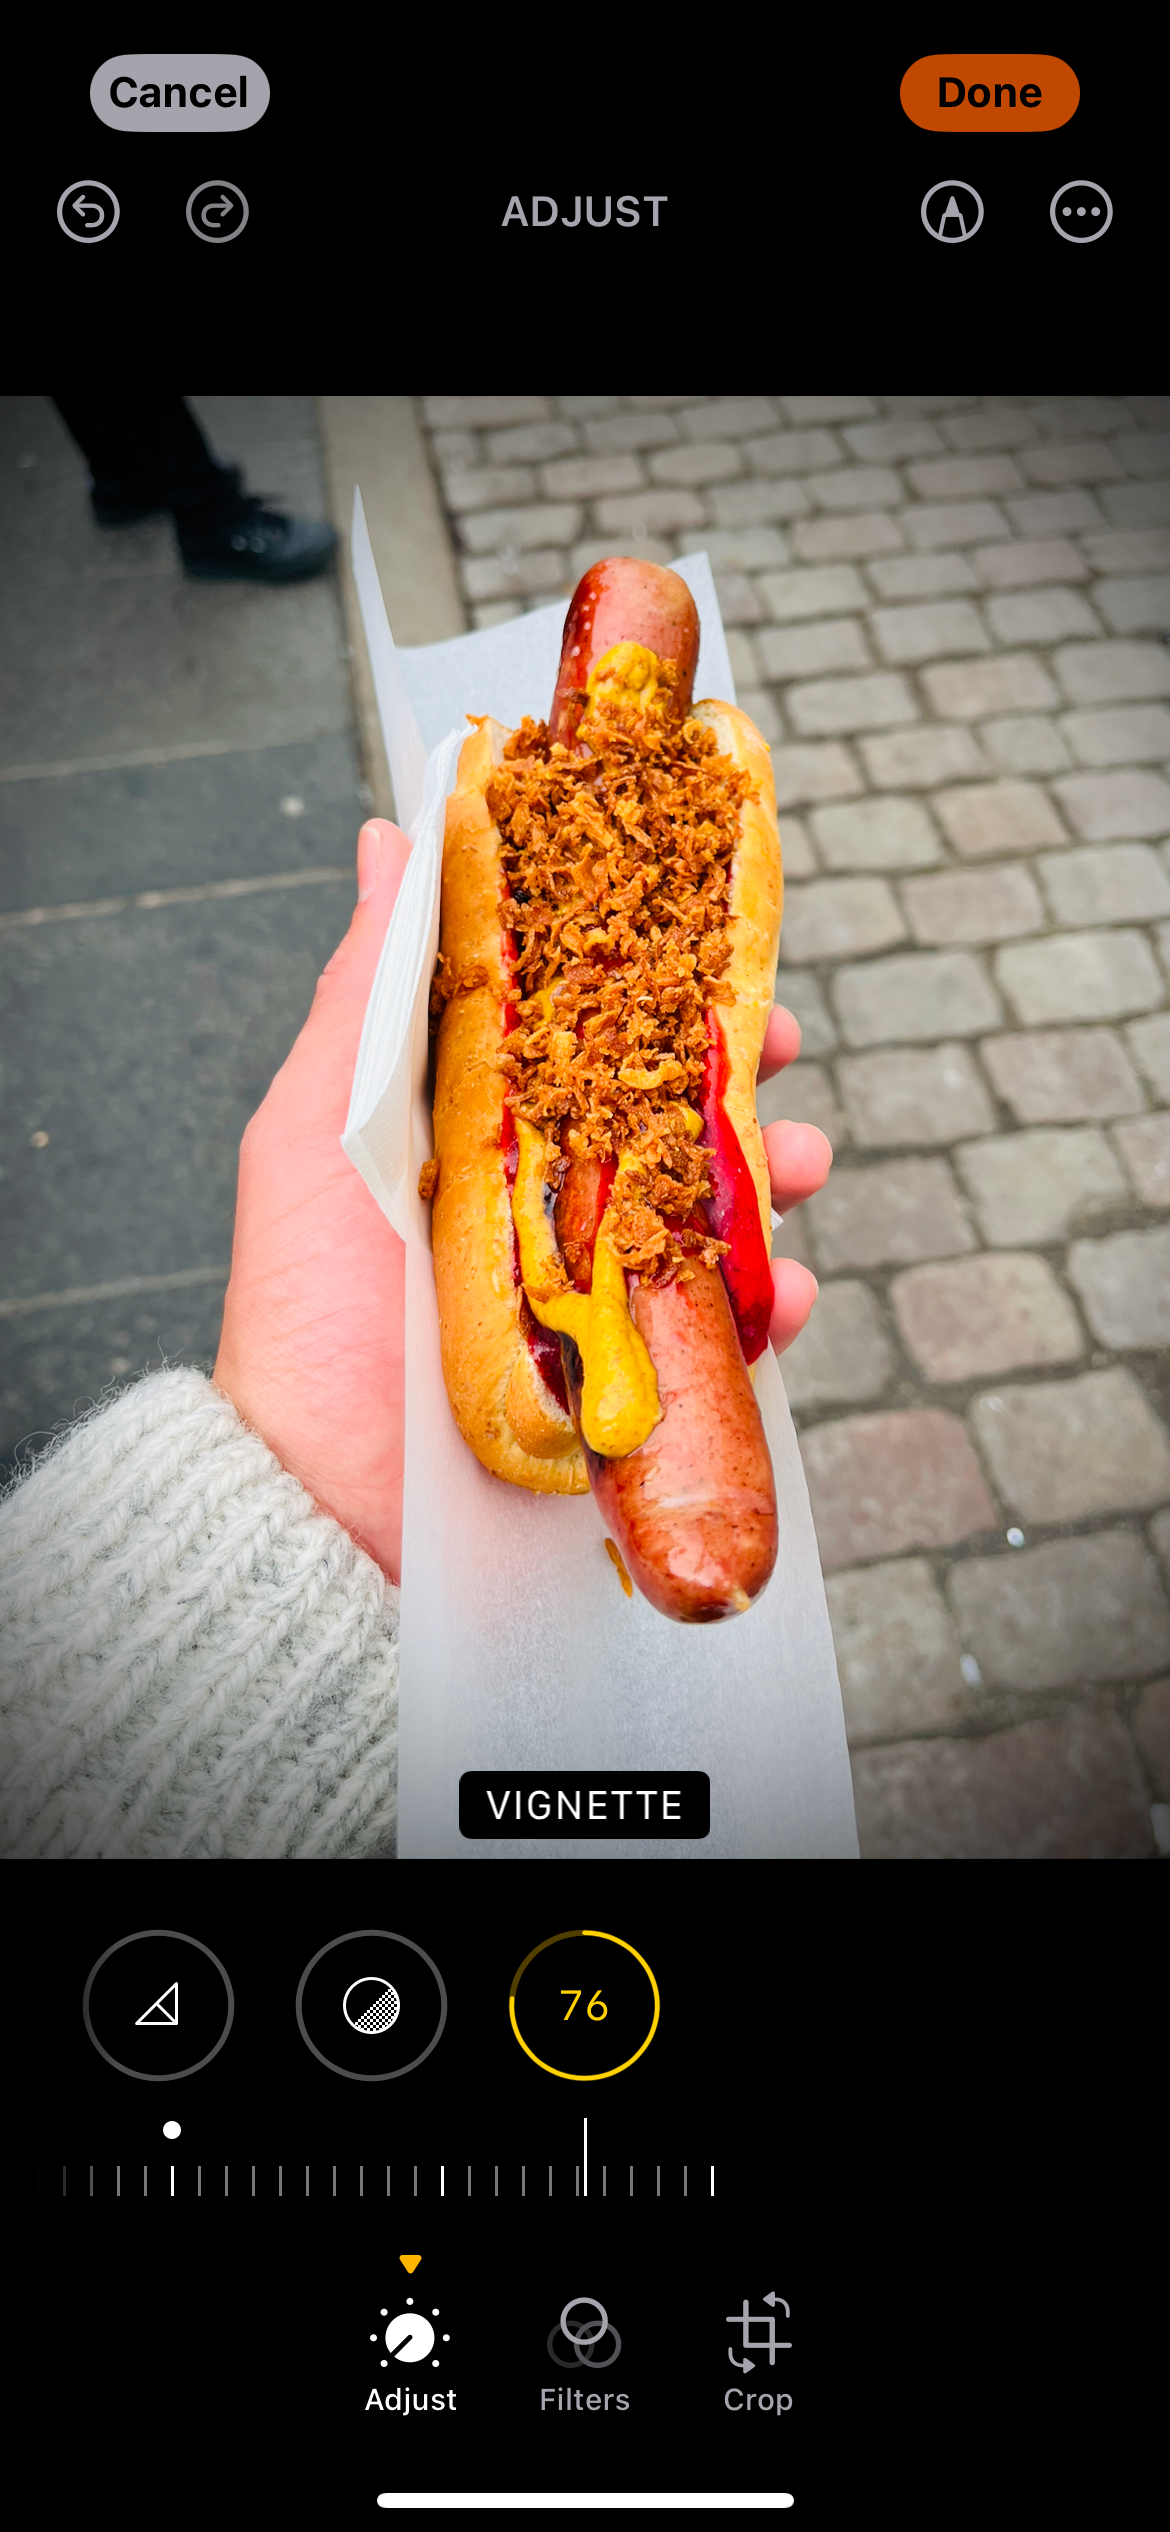
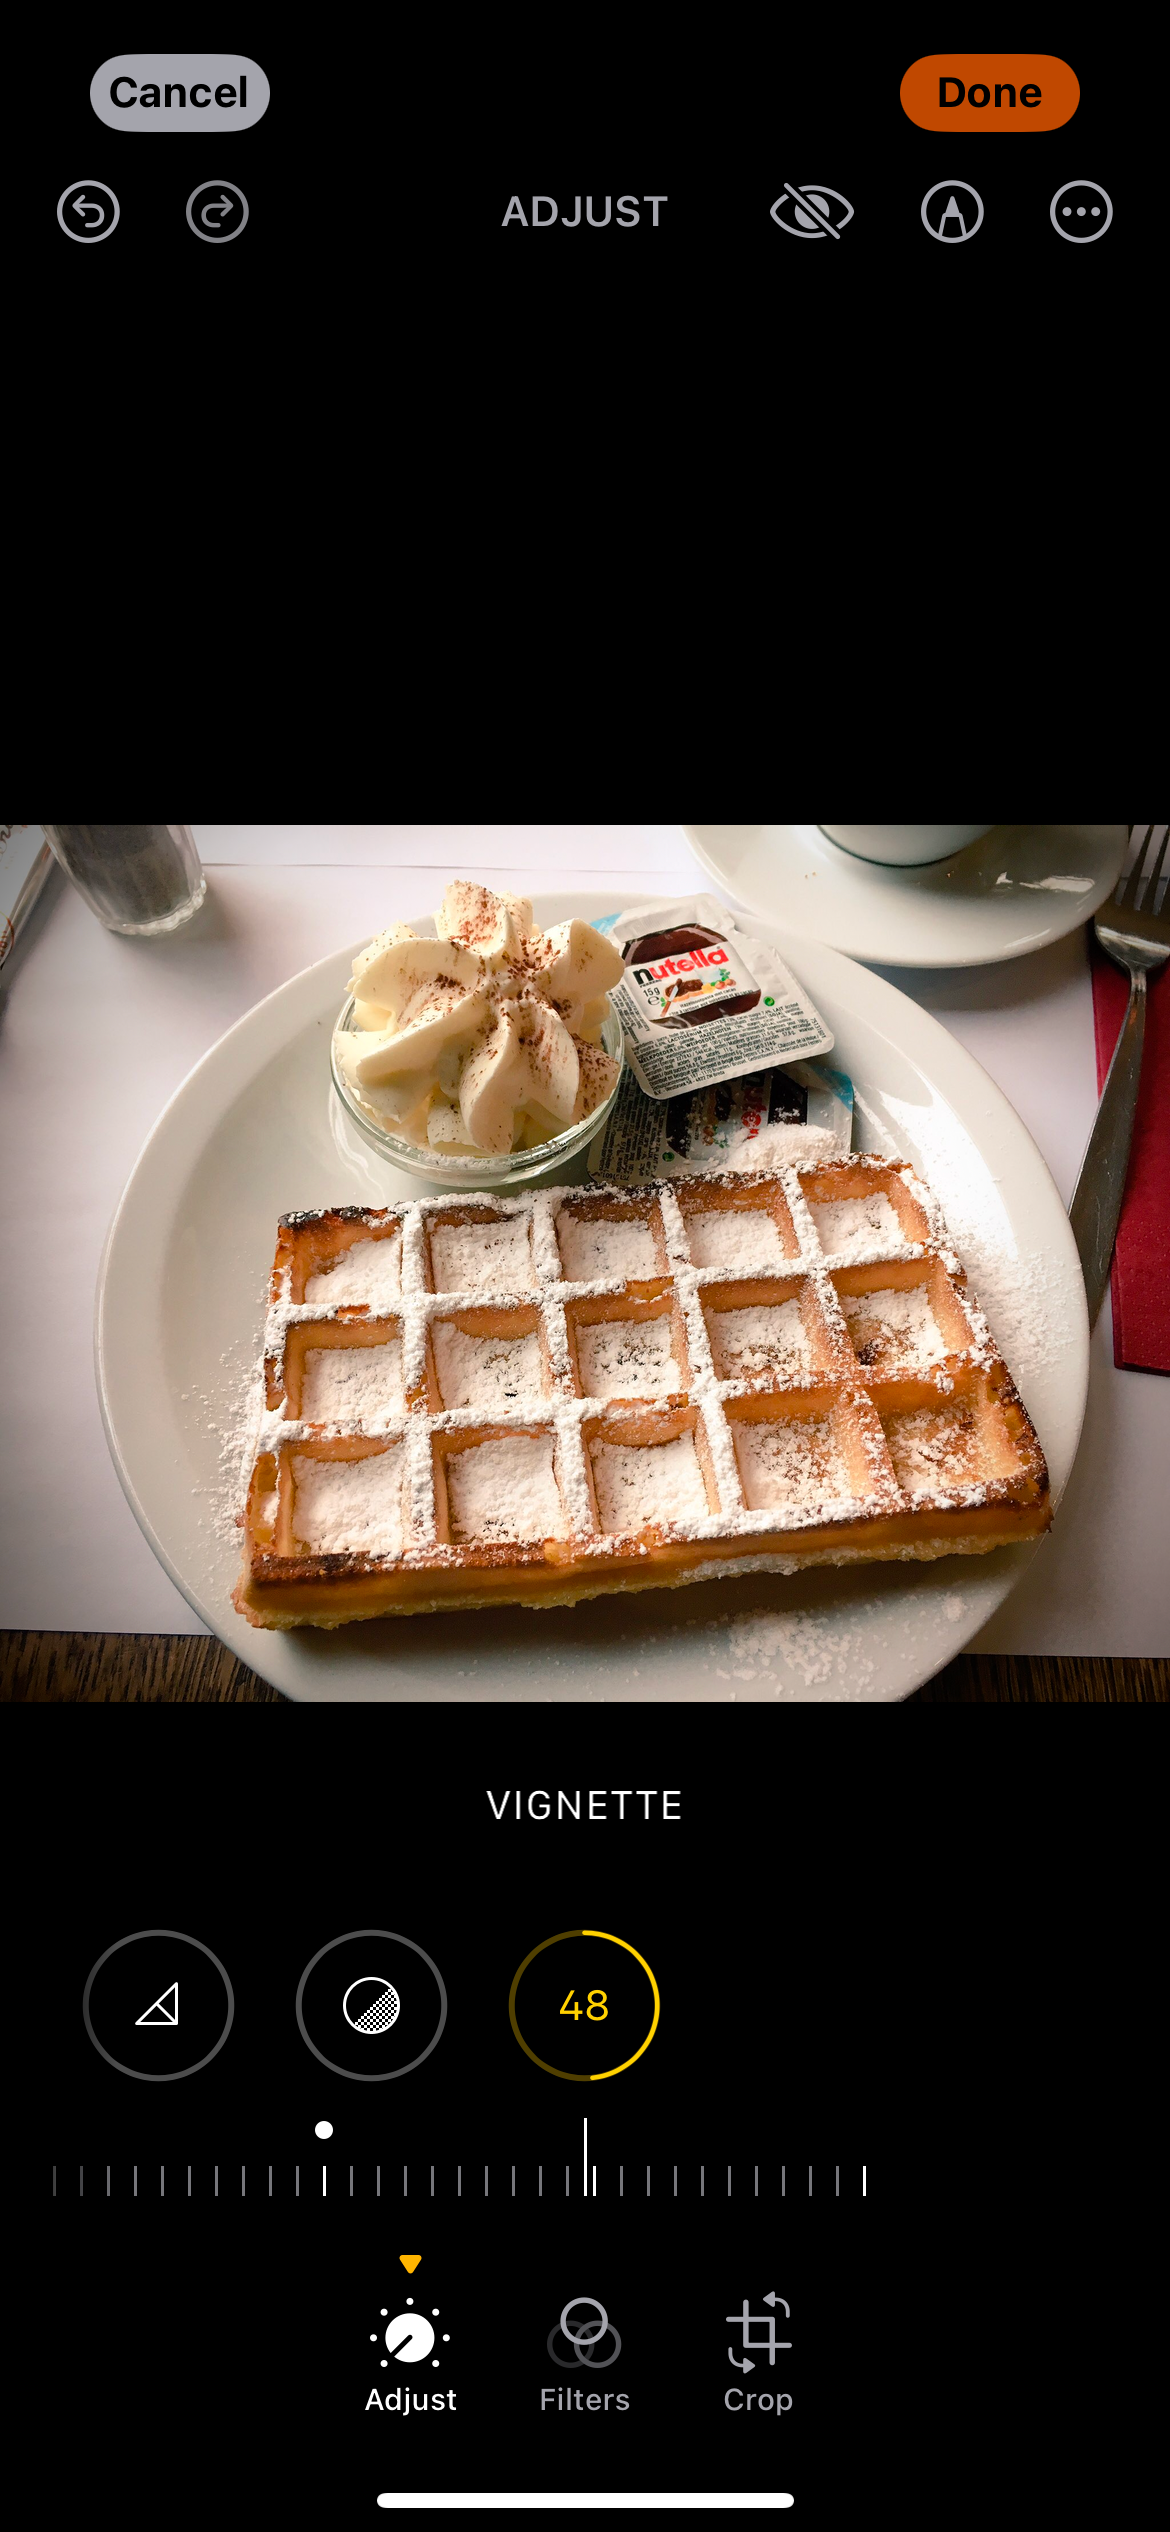
When taking photos of food, I almost always want to make just one thing the main subject. Vignetting is quite easy in this respect, and I almost always will use the darker version. While there’ll be slight variations because of lighting and whatnot, I usually have no problems adding as much vignette as I want.
I also tend to get as close as possible to the food when capturing images of it, which helps make the editing effects look better. I therefore suggest doing the same.
Vignetting is an easy editing style to learn, regardless of what you take pictures of. You can make overcast days look more interesting and really bring out the main subjects in your images. While you can use several editing apps to add vignette, it should also be available in your smartphone’s native photo editor.
